

This was the first real-time that I ended up tearing up the front of the car. After removing bumpers, shrouding, and an auxiliary radiator, the belt system was revealed. Replaced in this service were the timing belt, crank seals, idler pulley, power steering belt, AC compressor belt, and an alternator belt. The first belt ended up arriving at my house defective and was 2 inches shorter than the listed specifications online, thus leaving me to order another. During this time it was determined the timing was off on the motor originally, which could have been some of the culprits in the Audi running poorly. Upon receiving the new belt, the water pump was replaced and used as the tensioner in the system and then the remaining accessory belts were changed.
Project Chronicle
Author: KeithPutnam,
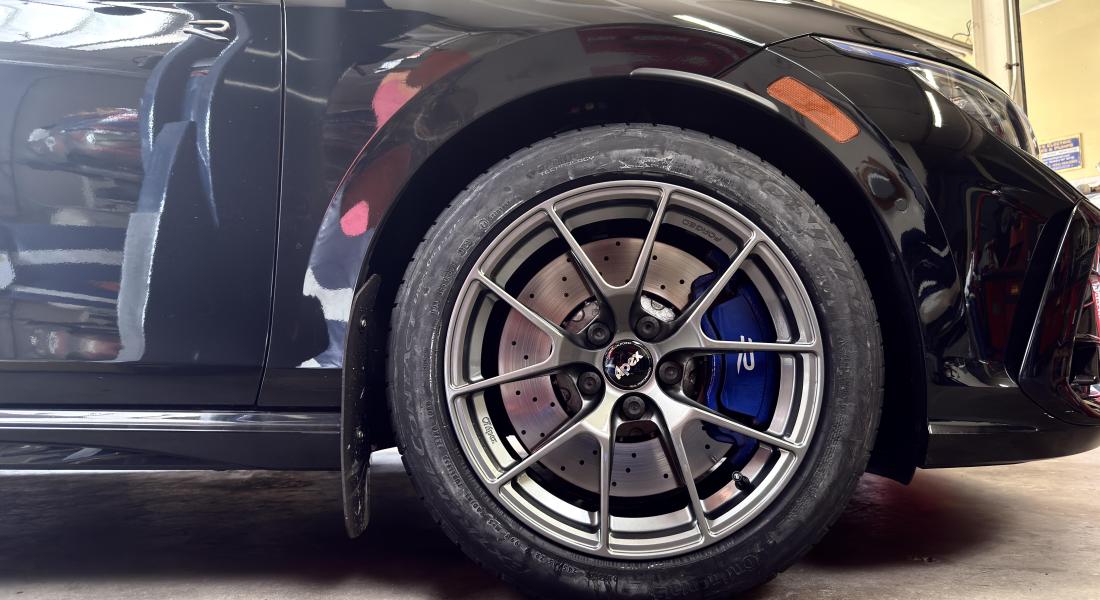
Had brand new Apex VS-5RS 17x9" ET42 Wheels in Anthracite wrapped in Continental ExtremeContact DWS 06 Plus XL tires in 245/45/17 tires and fitted by The Wheel Doctor in Yonkers, NY.
Author: KeithPutnam,
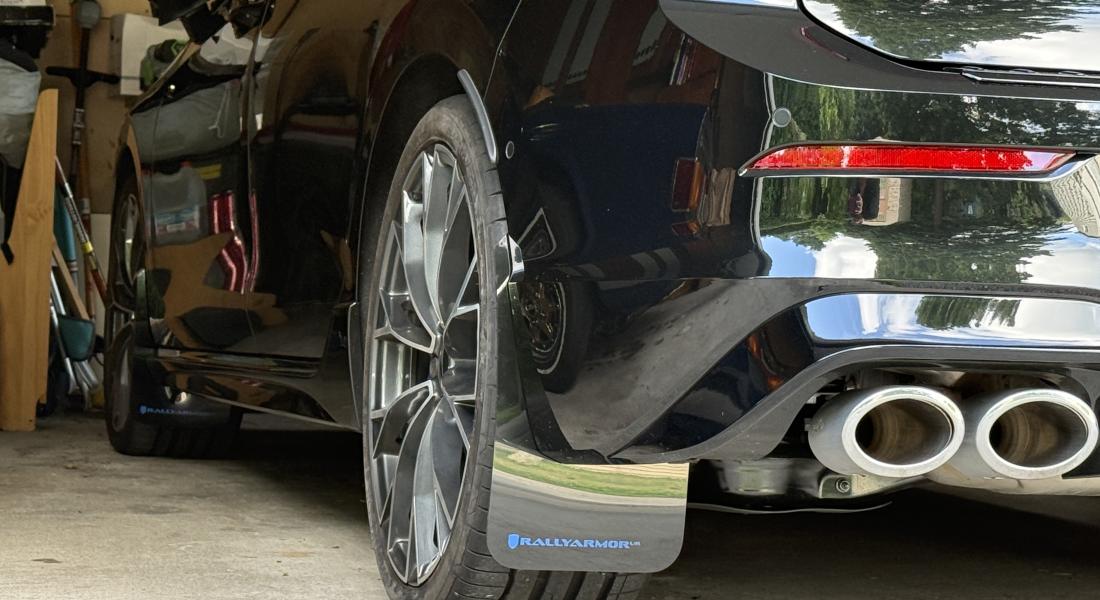
Added a set of black Rallyarmor mud flaps.
Author: KeithPutnam,
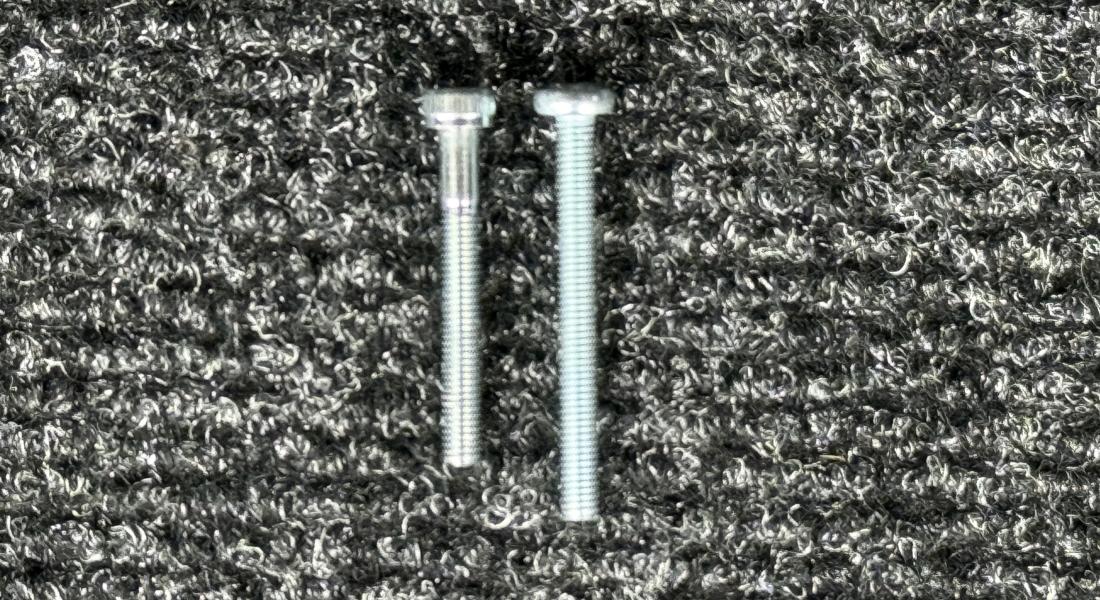
Added a rear stress bar from ECS Tuning to the trunk in order to reduce body flex and add rigidity.
I could not get the brackets to fit around the seat catches until I went to the hardware store and got some bolts that were a few mm longer than the ones which came with the kit.
Now that the brackets seem to be solid, I'm hoping the occasional need to remove and replace the stress bar if I need full cargo capacity will only be a matter of slacking the tension and removing the bolts which hold the bar to the brackets.
Author: QCMatt,
Installed KYB Rear Shock/Struts and Mounts.
Changed Rear Brakes
Changed Windshield wipers
Author: swede35,
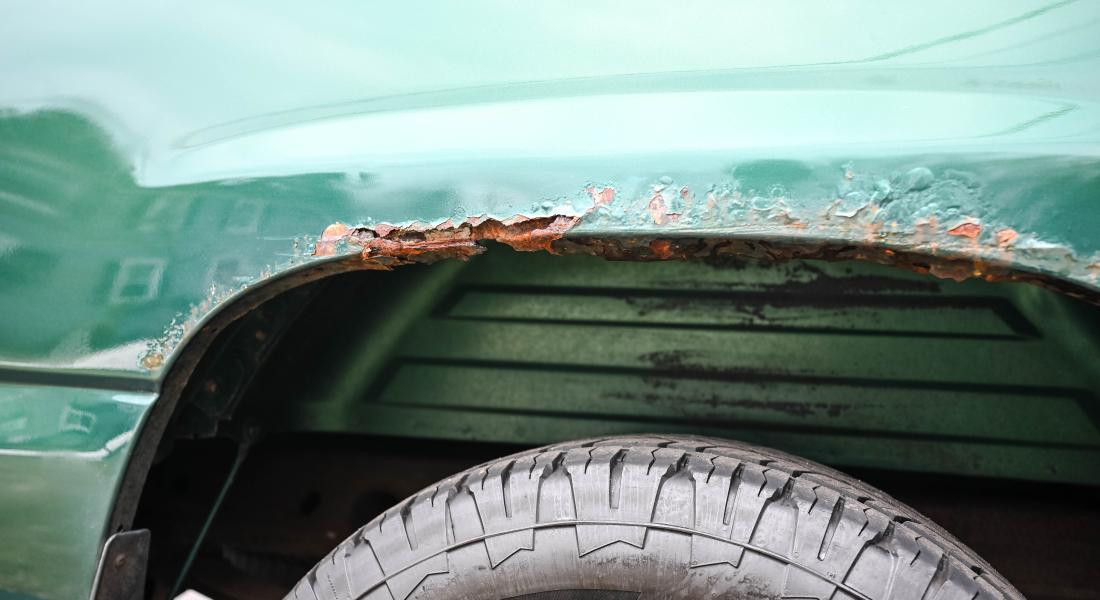
rix rust on fender and repaint bed and tailgate.
Author: kosex72542,
araca stage 2 update yapılacak.
alınacak parçalar:
- random
- random
- random
- random
- random
Author: s-carsgo,
I spotted this S6 Avant on Facebook Marketplace not far from me. I went there mostly to put eyeballs on it and see what sort of condition it was in just in case someone else in my online circles might be interested.
Upon arrival, the car was filthy so it was hard to know what sort of condition the paint was in under the layer of dust. I brought my VCDS along so I hooked the car up and discovered the car was relatively error free aside from one for secondary air injection pump (which has yet to return) and the big one for an internal transmission speed sensor issue. That 2nd code is not what you want to see on a 5HP24A transmission.
The very brief test drive in the impound lot (yes, this car got surrendered to the impound lot rather than paying the fees... clue #1) revealed that the car moved fine in reverse but was struggling to move forward in drive. Uh oh. That's typical A drum failure mode... but what if?
I told the lot owner I was definitely not interested in buying a car that needs a transmission as that is a huge expense on these cars and often "ends them" for average owners. He said to make him an offer anyway so I offered $1000. He passed and I headed home. As I was pulling into the driveway, my phone rang and it was his assistant. He just wanted to say sorry for wasting my time as he didn't know that the car had a bad transmission. He wanted to let me know that they fully updated the listing to denote that fact and had dropped the price significantly. He asked if I wanted it for the reduced price. Nope, still too much, thanks. Cheers.
A short time later I get a text asking if I'd be at all interested in increasing my offer since I seemed like the guy that knew these cars and could likely save it. Knowing they also had a tow company with flatbeds, I made one more offer for the car IF they also dropped it off at my house. Done deal!
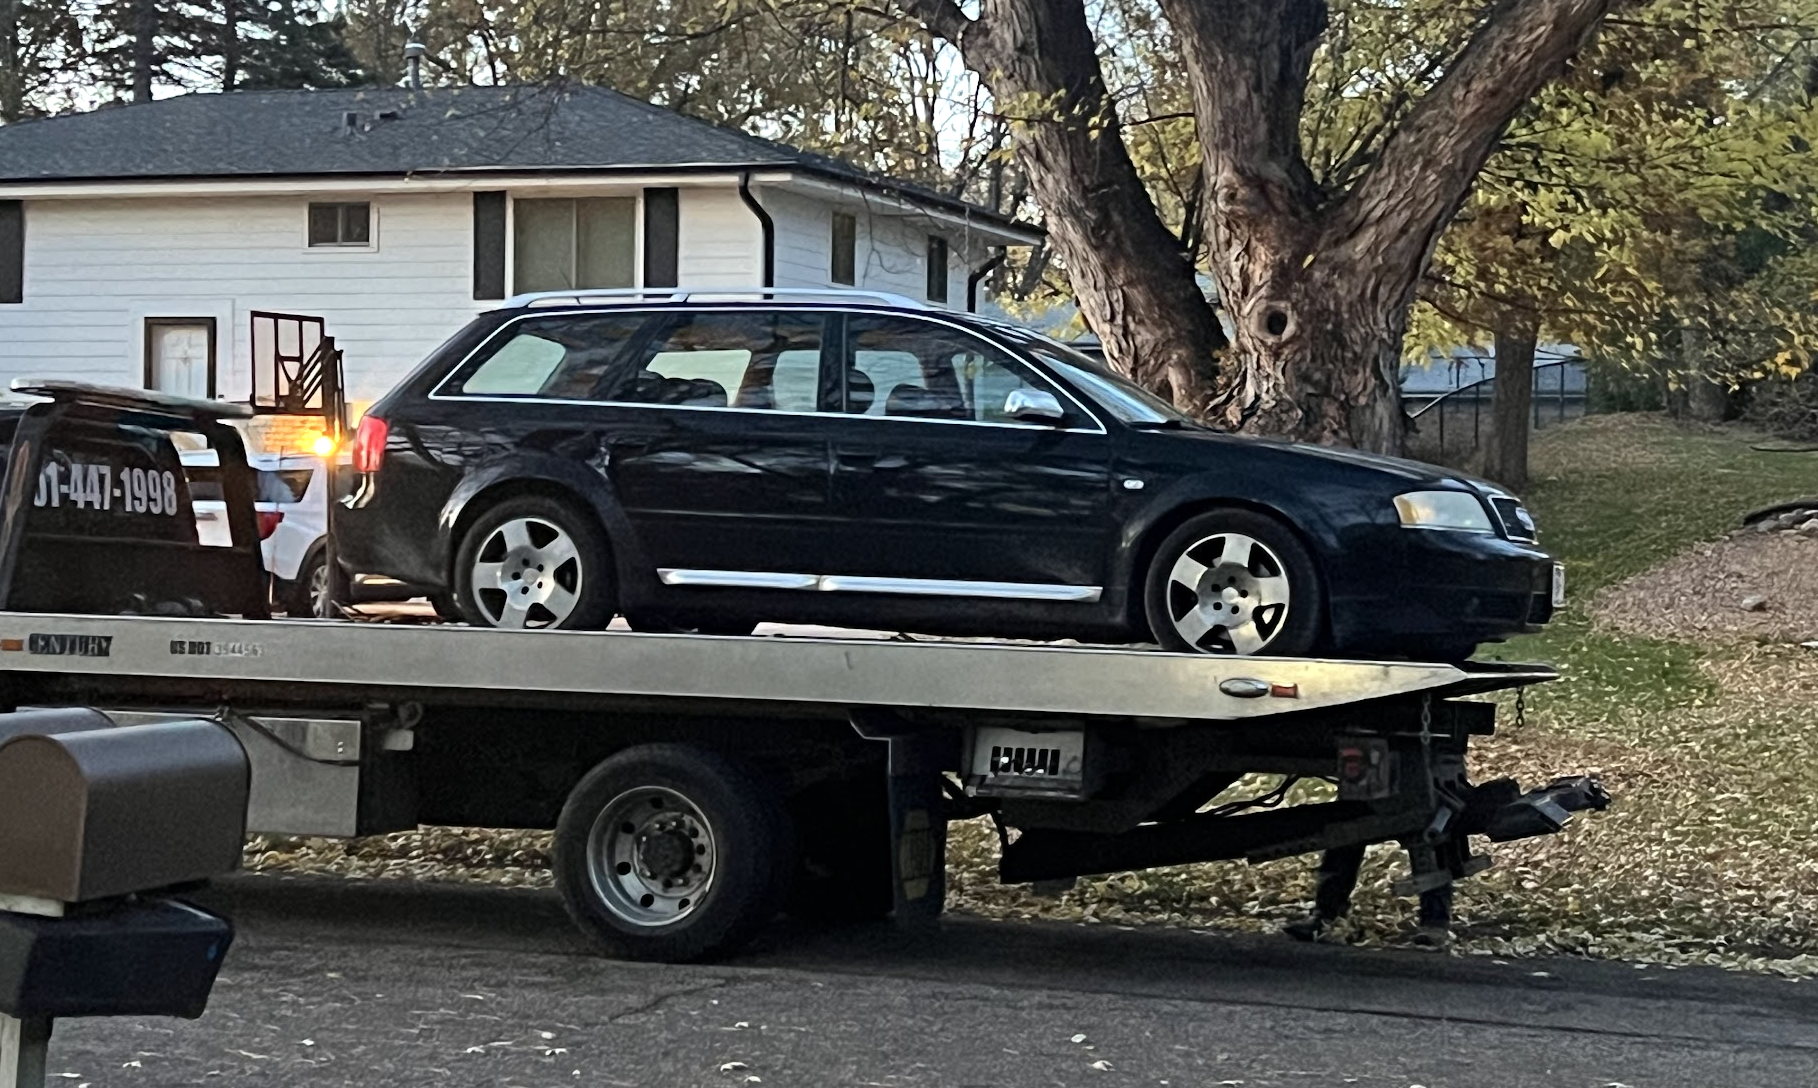
Step one was merely cleaning the car up as quickly as I could since it was late Fall and winter gets pretty serious here in Minnesota. The paint was... wow... absolutely filthy. It took a 3 step wash to get it to the point I would even consider letting a polishing pad touch the surface. Luckily, my patience paid off and the car would polish back much better than I had expected.
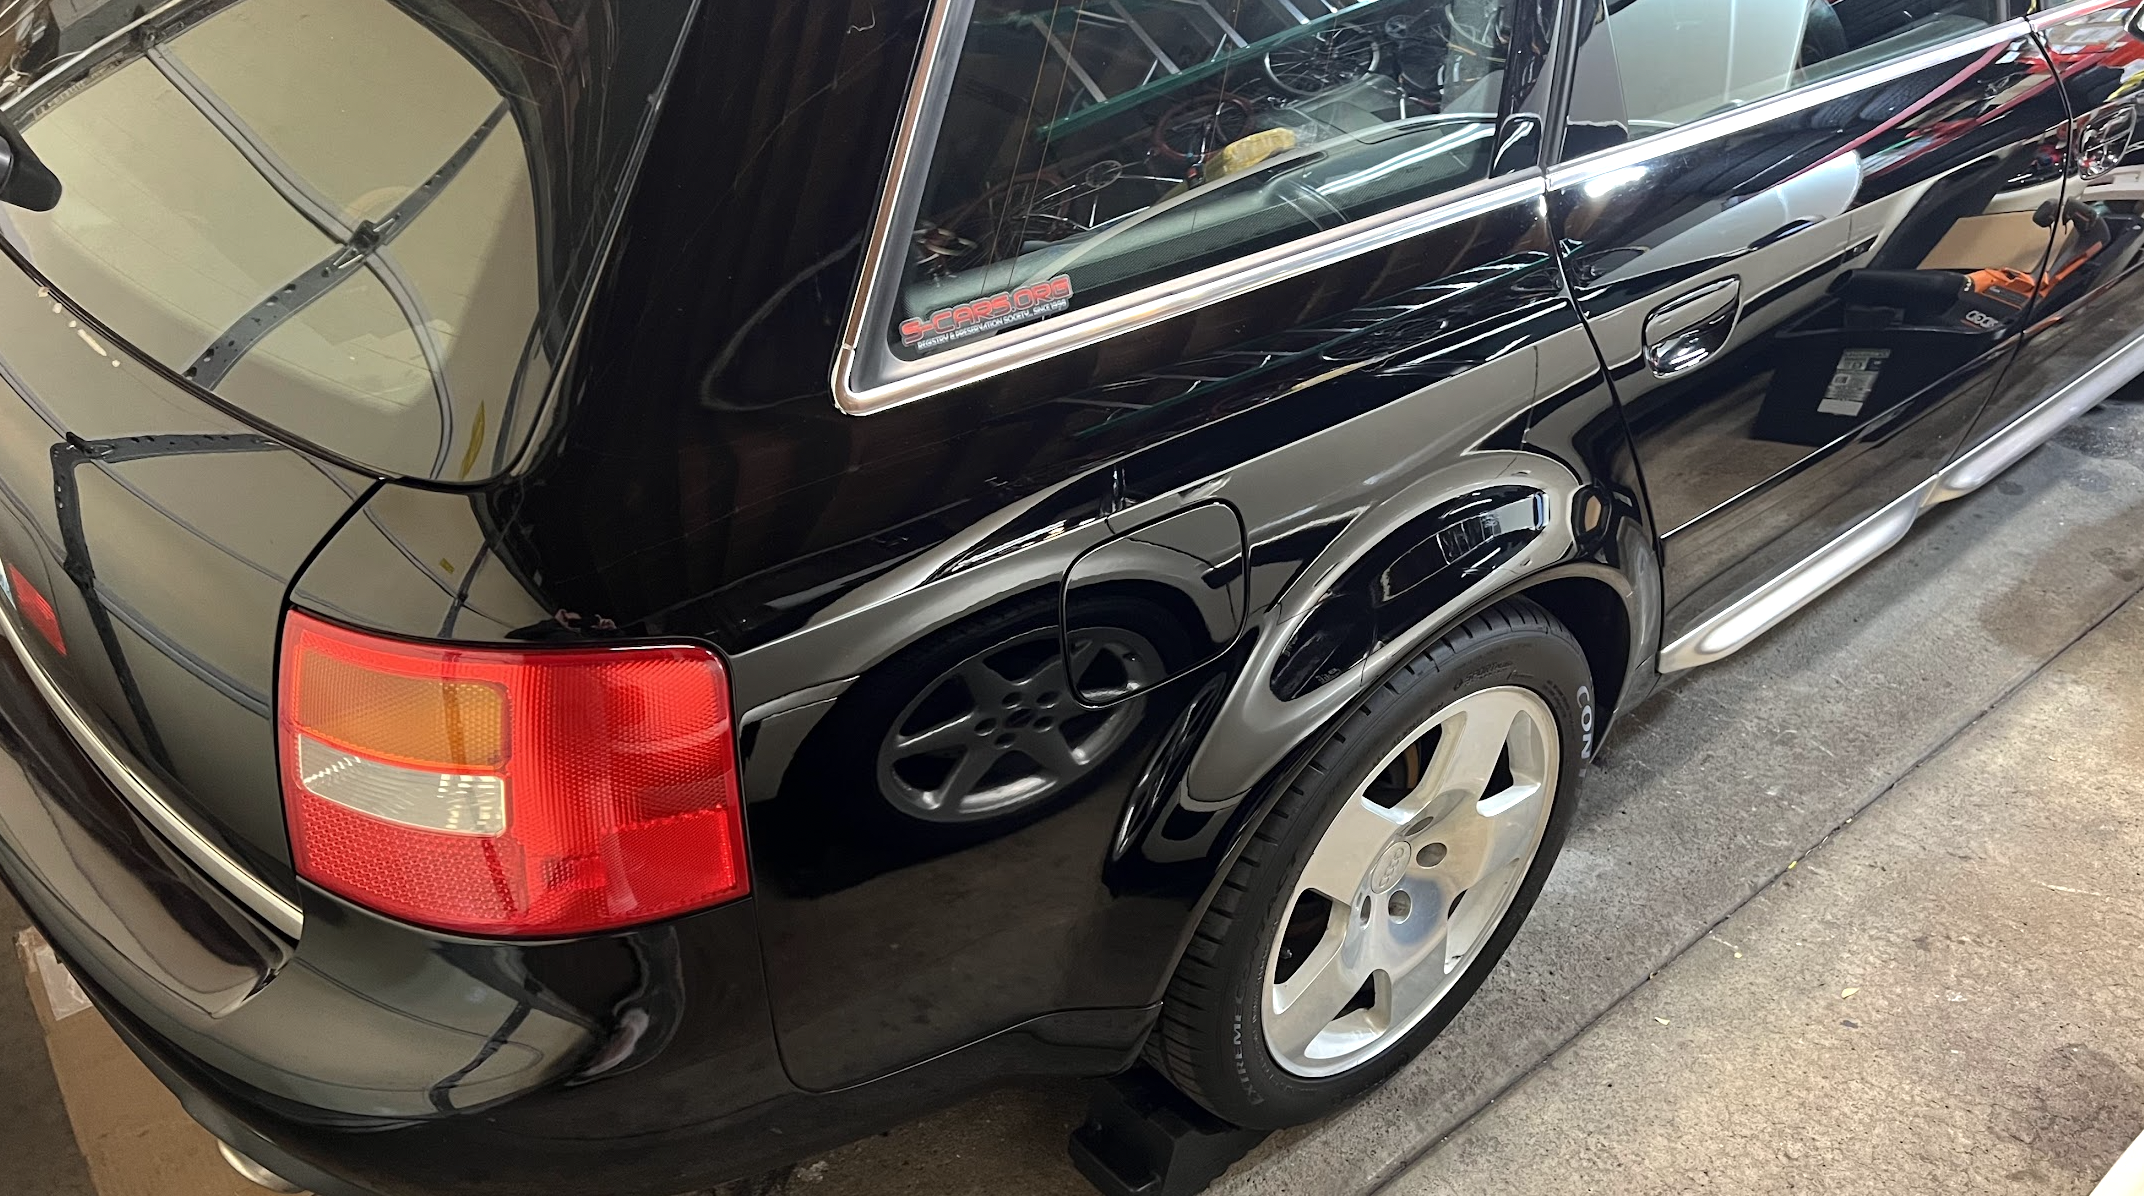
The car was now looking much better and we decided to try a "Hail Mary" transmission service to see if we could install a TransGo valve into the valve body and miraculously save the transmission. It was a long shot, and as it turned out, someone had been here before us with the same Hail Mary service idea. Darn!
That means... it's going to become a manual swapped S6 Avant in the spring of 2026!
Author: Jeff,
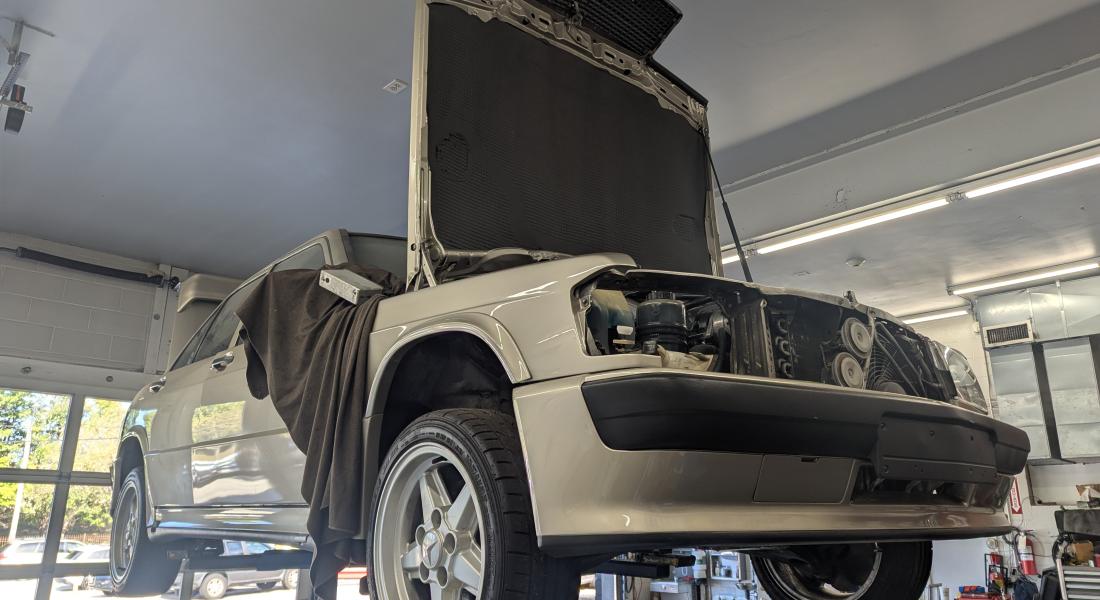
My 1986 Mercedes-Benz 190E 2.3-16 Cosworth has been in my possession since October 2018. The fall month is always a bit nostalgic for me when I think about this car's arrival in my life and the many events it triggered. More on that at another time. Right now, however, it continues to sit on a lift at my mechanic in Rhode Island, having hit a series of ongoing delays.
The issue is lingering fuel injection issues. The entire fuel system was rebuilt following its retrieval from the junkyard, as the tank was yanked out as standard operating procedure. The last time it stopped running was due to a clogged filter on the fuel injection assembly, and we suspect some other contaminants have entered the system at another point and fouled the fuel injectors, which were replaced two years ago. At least, that's the last stone that remains unturned.
The shop owners are people I now consider friends, but I do hope this vehicle returns home soon. I hate being testy but it's time for her to be driven!
Author: Jeff,
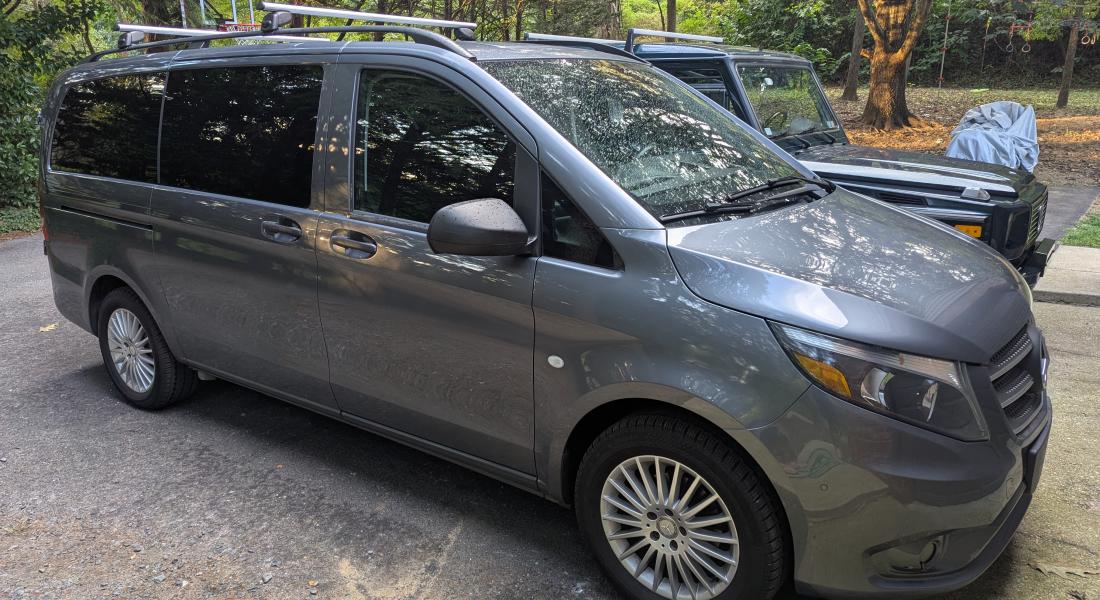
Nothing too crazy here, but as someone who makes it a bit of a sport to find OEM roof racks and cross bars, these were a very lucky find: the OEM Mercedes bars for a Metris van with the exposed roof rails.
This is the first time I've had a vehicle with raised roof rails and MY GOD is this the easiest way to mount cross bars. I thought having them bolt into the roof was straightforward but even then, you sometimes have to deal with corrosion in the mounting holes. This was a 10 minute install.
On the hunt now for an affordable gray MB "dachbox" to mount on top, but In the meantime, these bars add some much-needed visual toughness to the Metris' docile exterior.
Author: MaxLang,
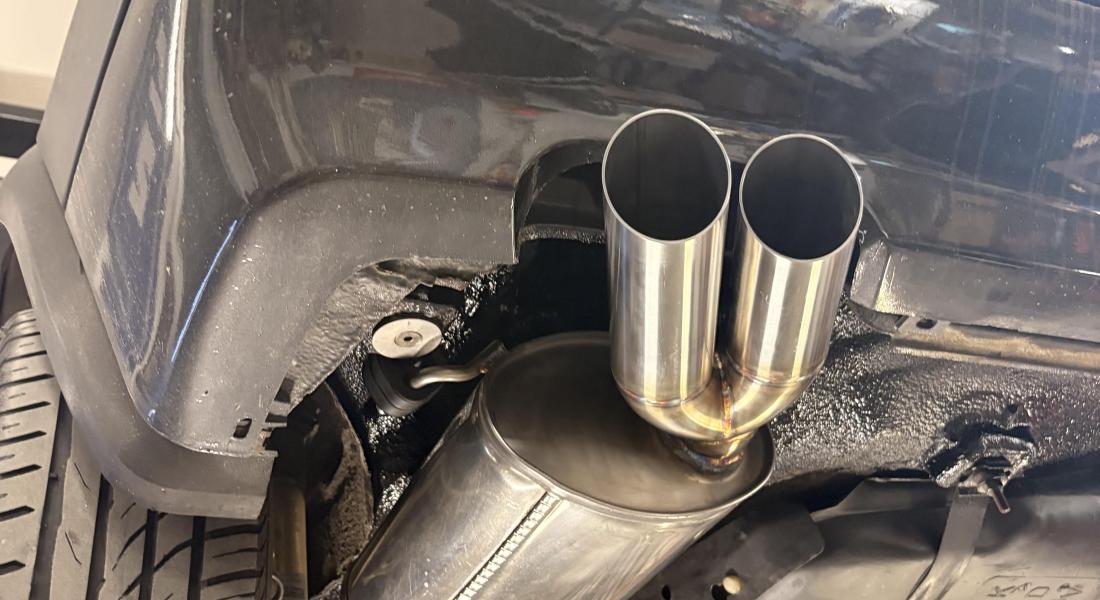
A beautiful stainless 2,5’’ exhaust done by Terävän Metalli. It sounds amazing, and looks even better, this guy can weld art! The undercarriage was coated on the same time so the bottom of the car is now completely different! Still have to do the rear axle
Project - More Details
Author: raf_speed,
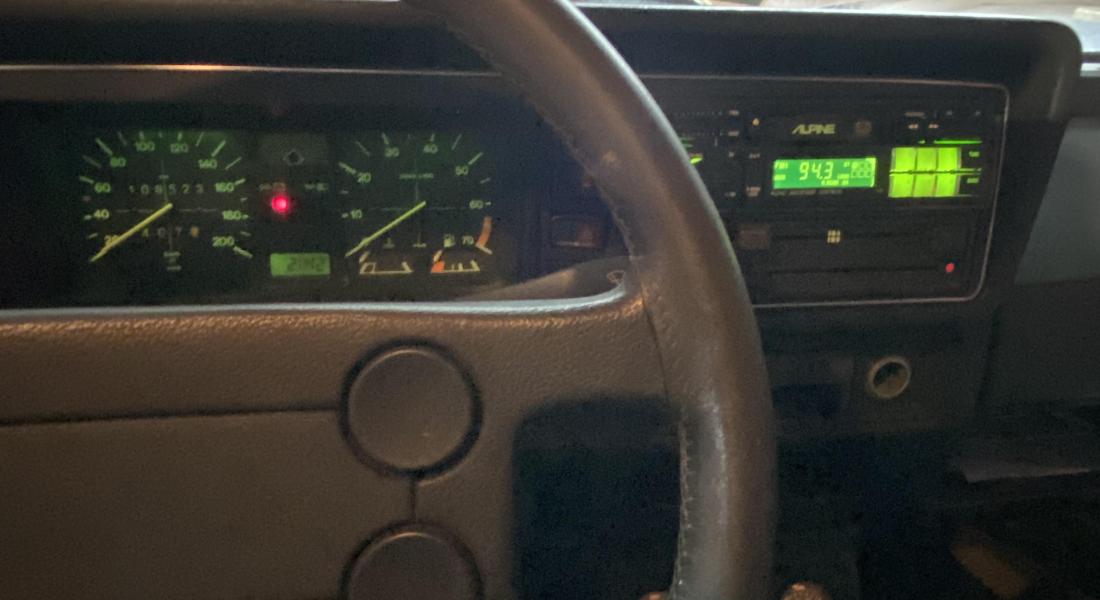
After many months of doing nothing on it, I’ve made room in the garage for her. Sorted some electrical issues. A melted headlight wiring was the issue. Also installed an Alpine tape deck, and fixed the wipers and blower fan.. We now have a turning engine.
We can now attack the infamous CIS system. Replacing the gas tank, fuel pump, filters , etc…
We also declared the Wrenching Wednesday Nights on the Jetta with my sons. I sure hope we will make progress this way!
Author: Larry Kosilla,
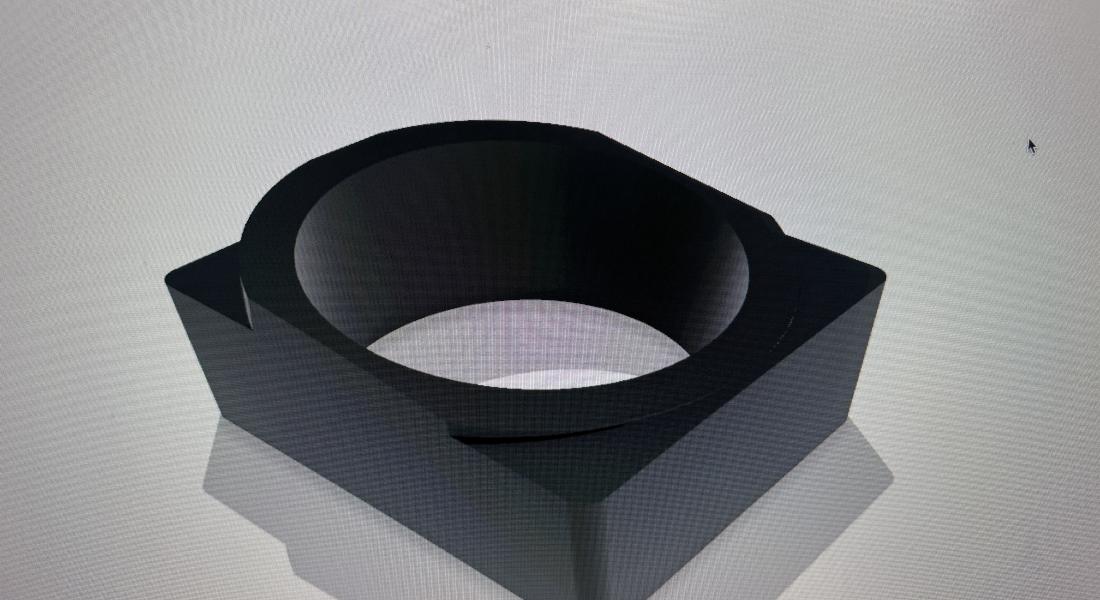
Author: Larry Kosilla,
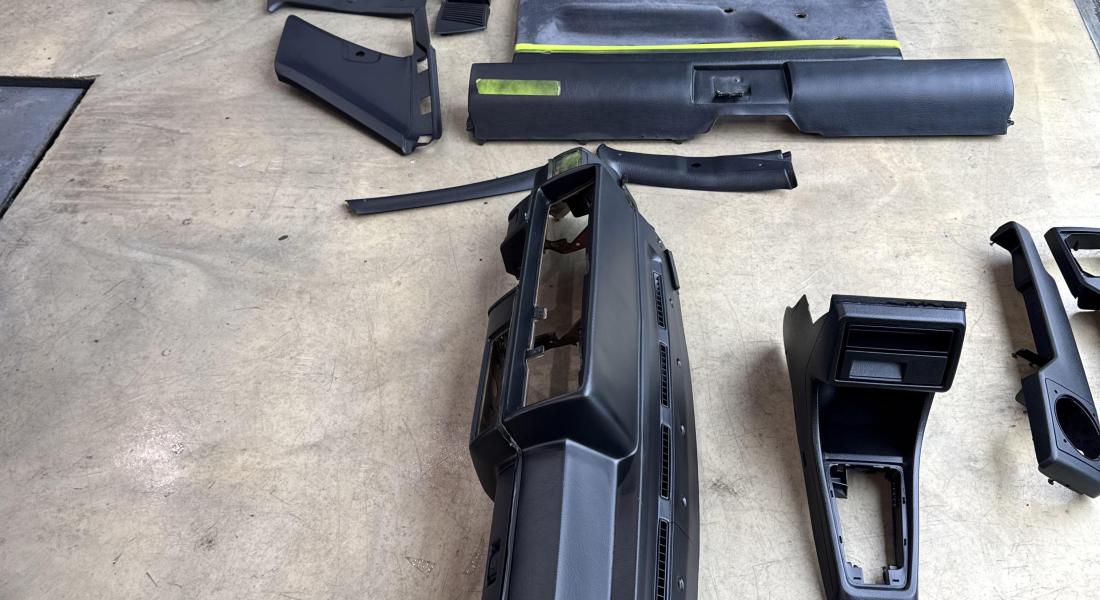
Author: Larry Kosilla,
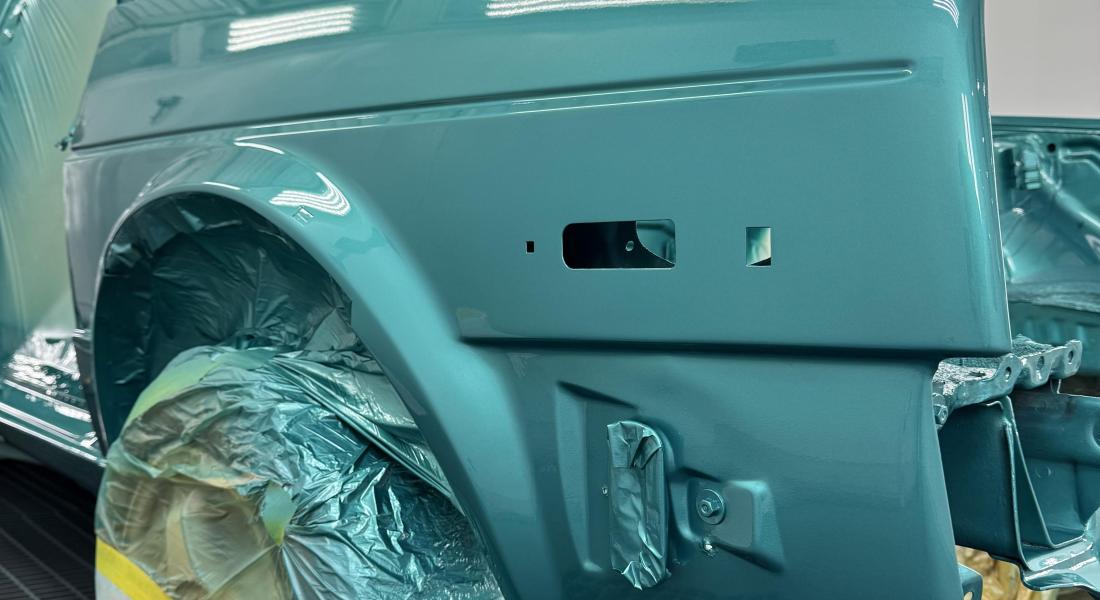
Author: Larry Kosilla,
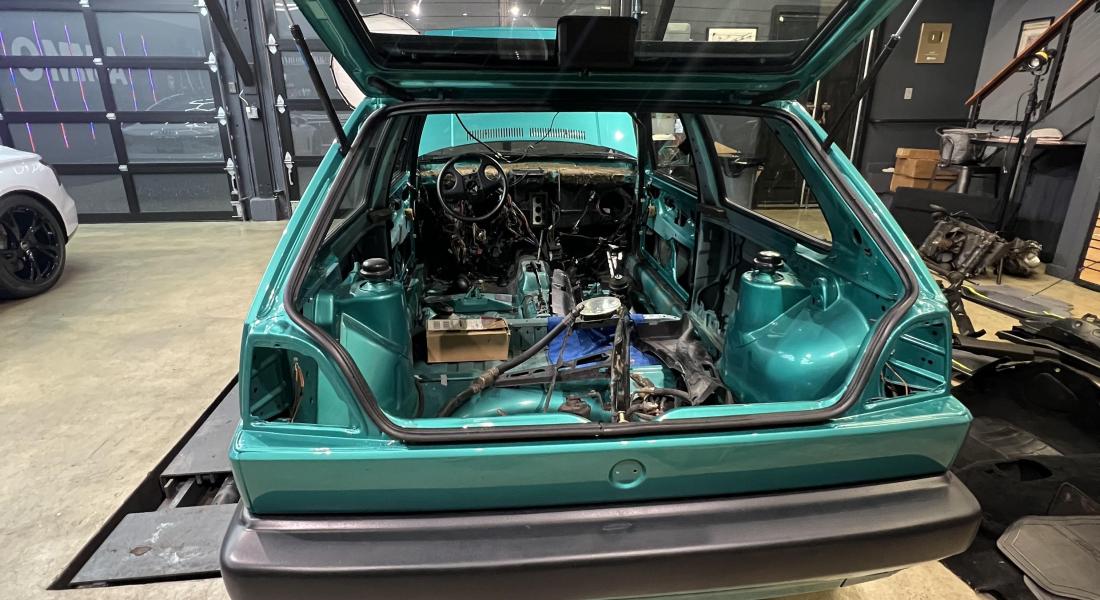
Author: Larry Kosilla,
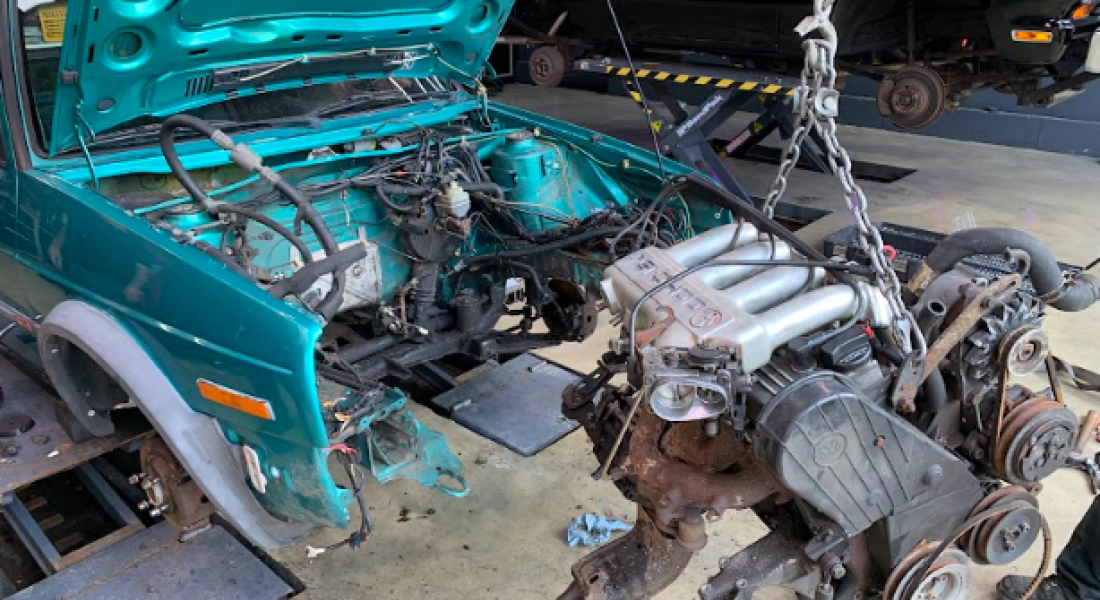
Author: Larry Kosilla,
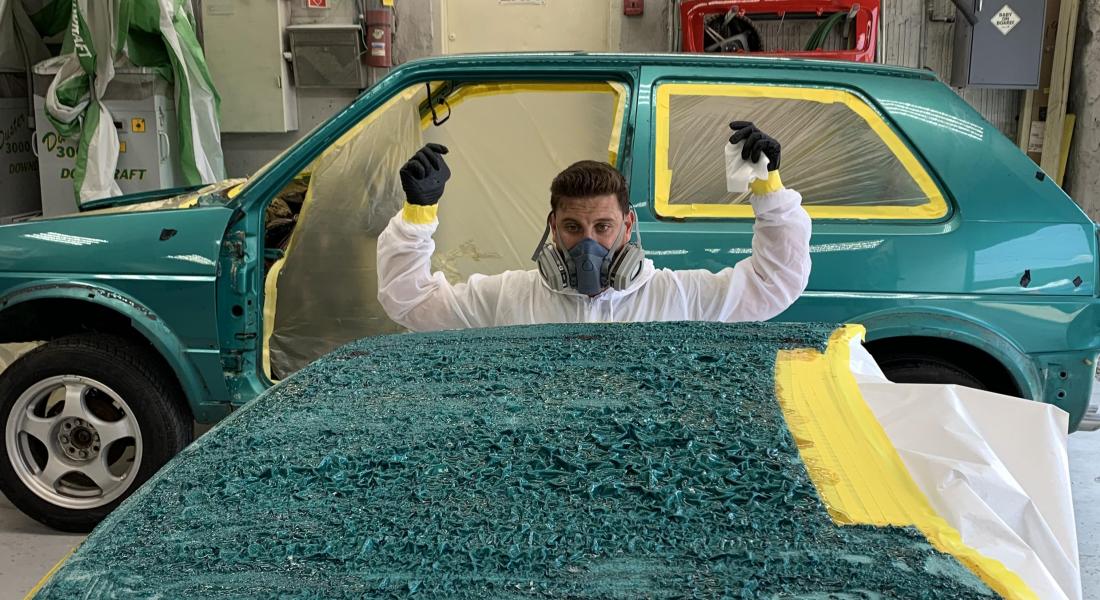
Author: n0juice4u,
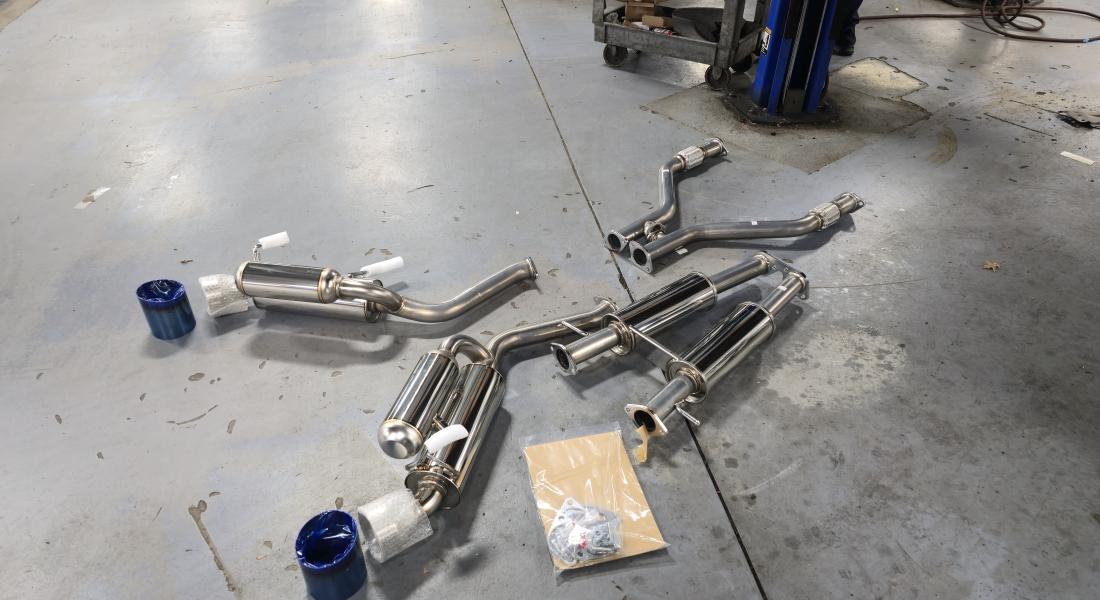
I installed a new catback exhaust that is slightly louder than stock but not too loud.
Author: Larry Kosilla,
Author: n0juice4u,
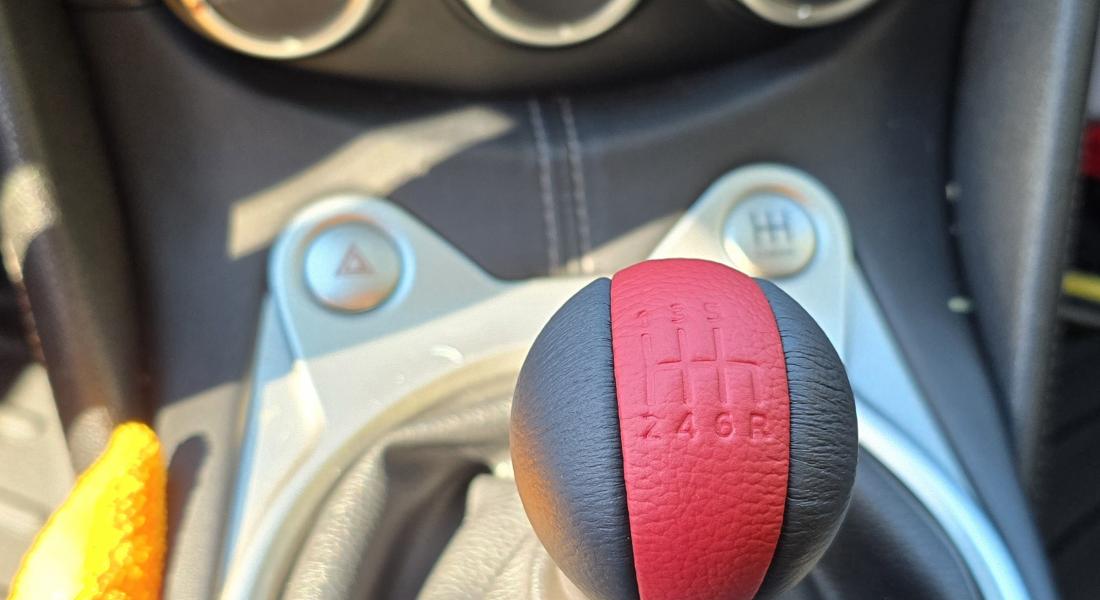
I replaced the worn OEM shift knob with one found on eBay with the same color scheme as the recaro driver seat.
Author: n0juice4u,
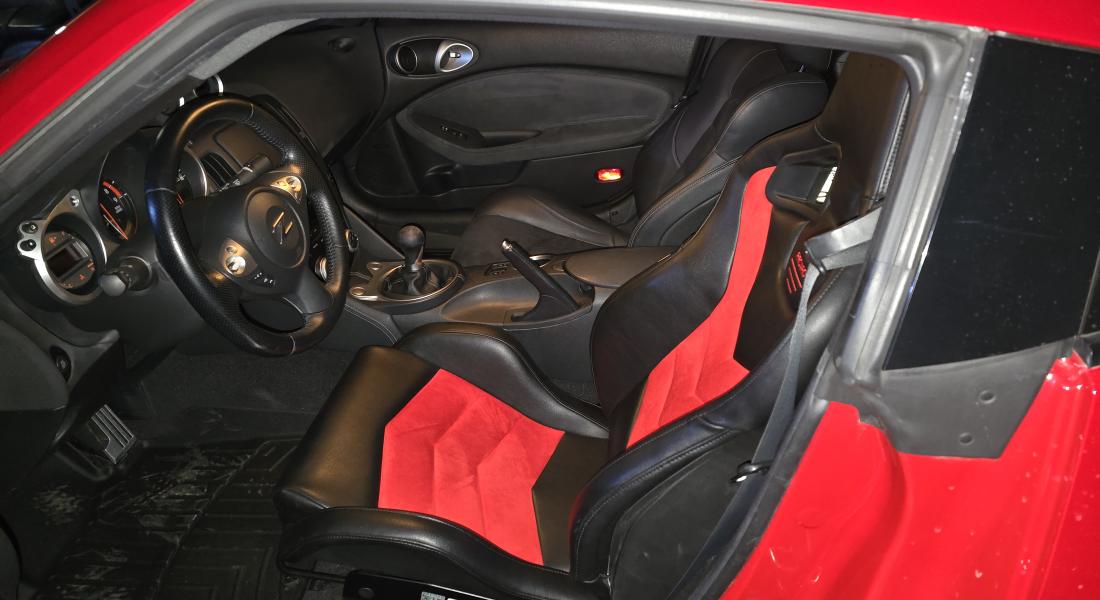
Installed a Recaro Sportster CS driver seat with a planeted seat bracket.
Author: john,
The oil change is easy at this point, nothing to really say here. The transmission service, while not specifically easy, is time-consuming and requires you to run the car and then top it up. It seems like the BMW-authorized procedure has been bastardized by the numerous YouTubers that have done this before, so I cannot provide a 100% accurate method for making this happen. What we did was drain the old fluid, remove the pan, replace the pan, fill it up until it's running out, run the car on the lift until the transmission is up to temperature, and then re-fill. No kidding, and not just the placebo effect, the car shifts way more smoothly than it did before.
There was no metal within the pan, and the fluid, while a bit stinky, wasn't even really that dark.
We also took the time to decontaminate the underside of the motor. What a mess these things make of themselves when the valve cover leaks over time (our first repair to the top of the motor, but this is the first underneath cleanup). This will allow us to watch for new leaks, etc...
Here's to another 137k.
Author: Jeff,
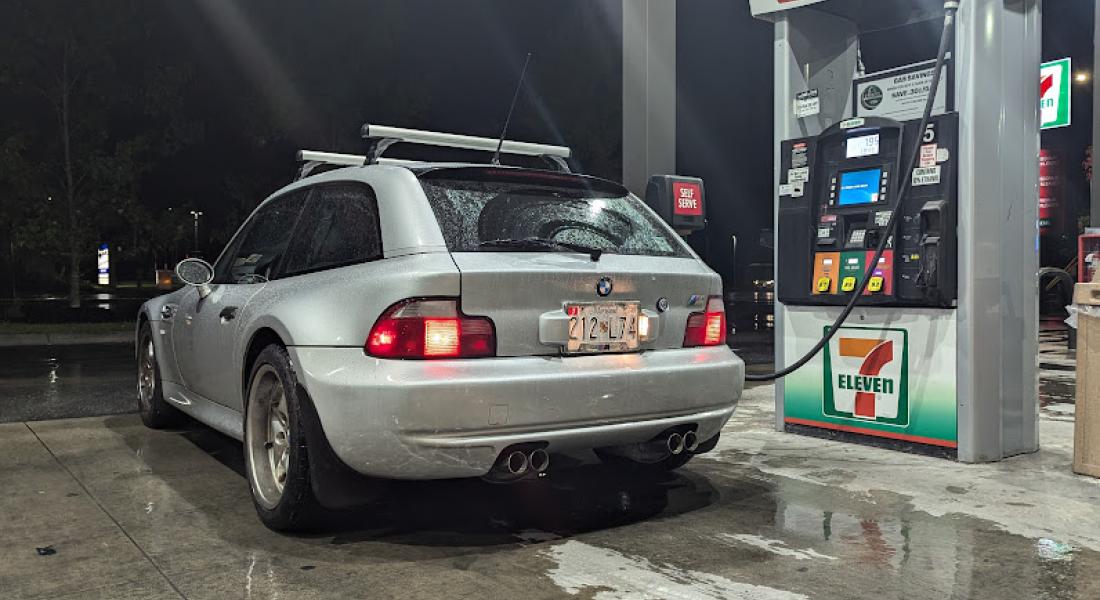
It has been years since I had a hobby car I made an excuse to drive. Despite having an ongoing rotation of vehicles stretching back about a decade now, it hasn't been since my departed 1995 M3 that I tried to find excuses to get out for a drive - but I've found that in the car infamously known as the clownshoe.
The 2002 BMW Z3 M Coupe is quickly nestling its way into my cold, dead heart, blending together all the rubber-bands-and-bubble-gum construction of an E36 car that I find so endearing along with the bonkers S54 powetrain that has all the smoothness of a classic BMW I6 but actually wants to rev to 9,000. Combine that with the classic BMW traits of the door being at the perfect height for your elbow and the fact that this car is tiny! - my head hits the ceiling - and you have a vehicle like nothing else on the road. It's what I imagine it's like to drive a TVR with airbags and ABS.
All in all, I am so happy I took a chance on this forgotten breadvan, and I'm eager to correct its remaining ills to bring it all the way back as soon as possible.
Author: Jeff,
After selling my 996-chassis Porsche 911, I was pretty relieved to be done with the looming threat of bore scoring and a replacement IMS replacement to my existing IMS replacement. The fear mongering was pretty intense, from both fellow owners to individuals who own shops that service 911s. The makers of IMS kits are now suggesting that you may need to replace your original replacement, which is a big change from the "one and done" approach. And even if your car has no evidence of bore scoring, there are legions of enthusiasts who will say your car probably has the issue.
I hate to admit this, but it got to the point that I couldn't enjoy the car. That being said, I didn't like it that much to begin with, so it wasn't all that heart breaking to see it go. So now, with this in mind and the 2001 Z3 M coupe in the garage, we move to the next persistent threat: rod bearings. In the BMW world, rod bearing replacement is the equivalent of IMS replacement for Porsche owners, but with perhaps less risk because your engine won't instantly blow up but rather slowly degrade.
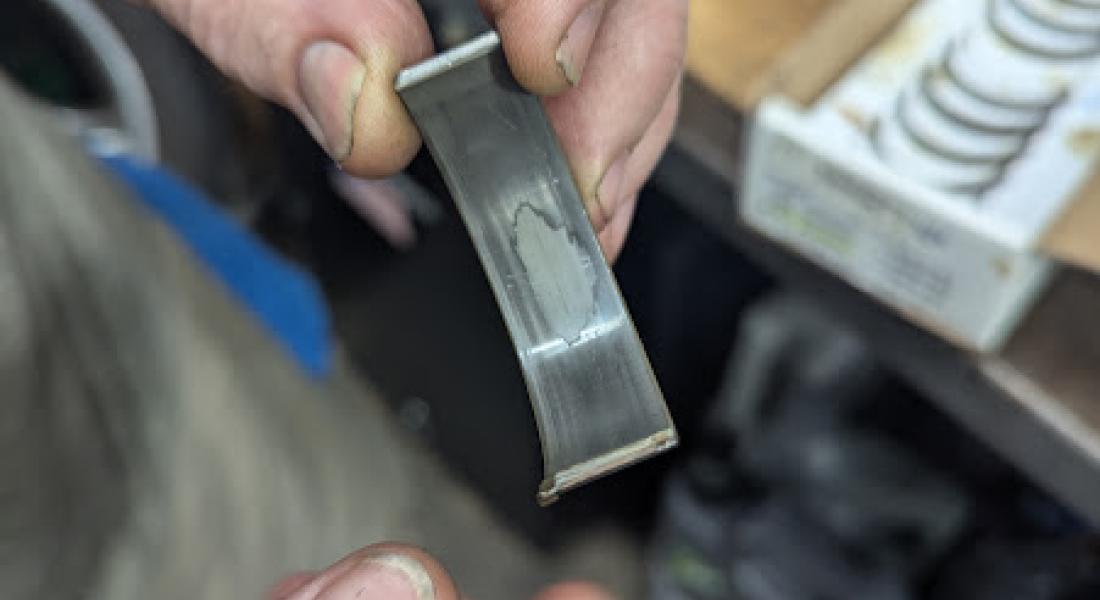
When I got the Z3 M Coupe, there, of course, was not evidence of bearing replacement, so this was first on the menu. However, once the original rod bearings were replaced, it was evident they were in fine shape and could have remained installed for years to come. Should I have had them done? Well, most M car enthusiasts would say it's worth the insurance and comfort of knowing the job has been done, but I could have delayed the job and dealt with some other more pressing maintenance needs in the meantime.
Regardless, the condition of the original bearings suggests a history of frequent oil changes and lack of abuse, so there's the silver lining - along with knowing I won't have to tackle this job for years to come.
Author: Jeff,

The M Coupe went to the shop this week for the long-awaited rod bearing servicing. As part of this, the engine mounts and oil pan gasket will also be replaced. Since I was waiting for both the title paperwork to come through and to avoid driving it without the bearings done, the car hasn't seen much use except for around the neighborhood. As such, one of the main concerns was how notchy the gearbox was. I'm happy to say, those concerns have all but dissolved after taking it on a meaningful cruise.
The transmission became much easier to live with within 10 minutes of driving as the fluid warmed up; otherwise, there were no surprises with this car despite four years of inactivity. When I got to the shop this week, the front subframe had been dropped and in looking under the car, I was pleased to see how many OEM stickers were still present on parts; some, like the shocks, are original Sachs units that will need to eventually be replaced, but it's amazing how stock this example remains.
The transmission notchiness could be explained by the fact that it had the incorrect fluid. In addition, the rear subframe is mint with zero popped welds. The engine internals are beautiful with no signs of metal shavings or any other damage. I will need tires but I knew that; otherwise, there have been no ugly surprises thus far.
Author: Jeff,
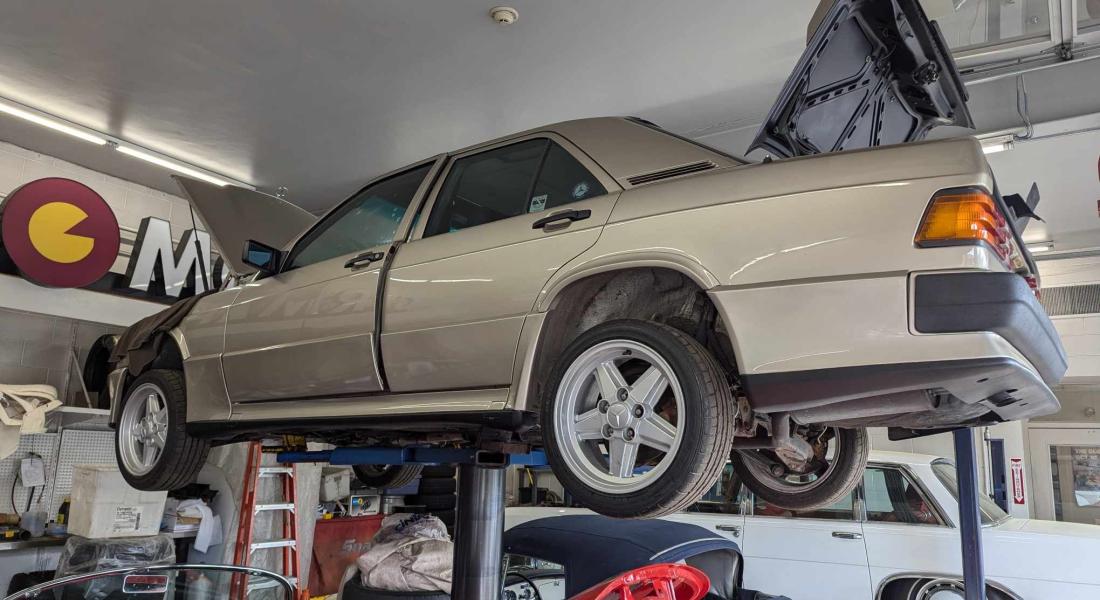
When I moved to Maryland, I had to leave a few cars behind due to being "in progress" once the moving van arrived. The Isuzu Trooper RS and the Lexus Land Cruiser were among them but had clear expectations of being down south before too long; the Mercedes-Benz 190E 2.3-16 Cosworth was far less certain due to needing a wide range of "finish" work.
I had a trip up north recently where I stopped in and visited the Cossie, as it's been parked at my longtime Rhode Island mechanic's shop for the past year. It received a short burst of work wherein the timing chain was replaced and some other mechanical sorting was done, but it still has fuel delivery issues and needs an assortment of work related to the interior: dash replacement, window regulator replacement, factory alarm troubleshooting, and other odds and ends.
I would very much like to see this car home, but it's been almost six years since it came home from the Pennsylvania junkyard. Since I plan for it to go back to my body shop for some additional paintwork before it comes home, we're still likely six months out from completion. It's a drag, but at this point, a few more months is relatively meaningless.
Author: Jeff,
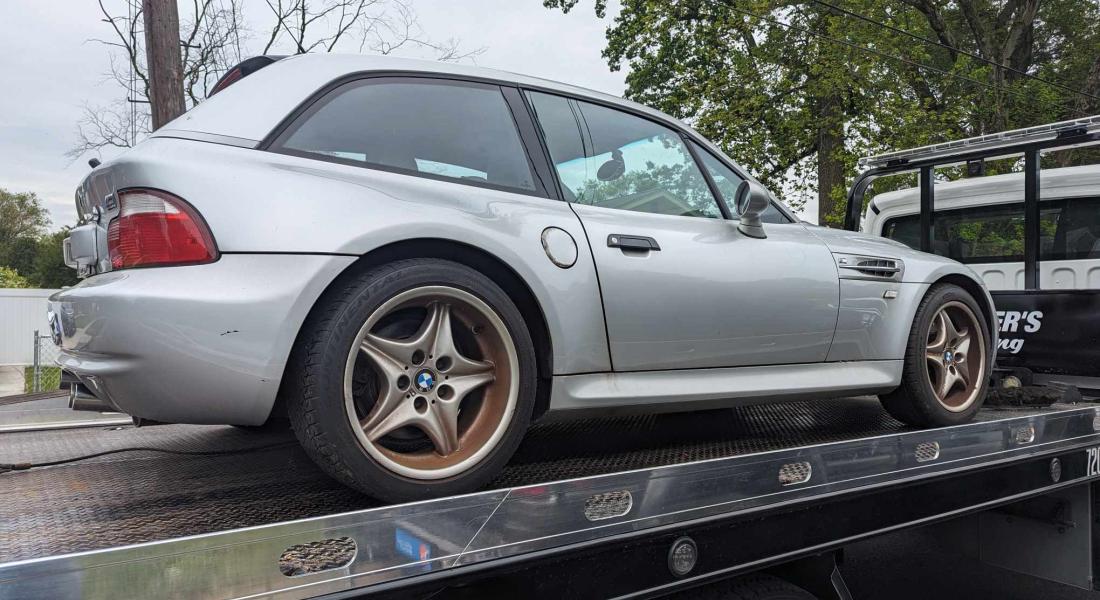
It has been a long while since any updates have been posted here, and for that, I apologize. Like everyone else, there's 10 pounds of crap in a 5 pound bag, and that's my one and only excuse for the lack of posting. The most exciting news I have is that I've acquired a bit of a unicorn in the last few weeks in the form of a 2001 BMW Z3 M Coupe, one of a handful equipped with the snorty S54 inline-six and made rarer still for being a sunroof delete example.
I found the car fairly close by in Silver Spring, MD on the ancient BMW message board, Bimmerforums. The seller was going through a few things lifestyle-wise that meant the Clownshoe had been relegated to the back burner, and was left parked in the driveway of a house he didn't own. Covered with a cheap car cover and not registered since 2019, it was clear this M Coupe was in need of a rescue, and after very little haggling, I agreed to buy it. The price was fair for a car that will need a fair amount of preventative maintenance to drive confidently, including rod bearings, rear subframe reinforcement, and shift pins in the gearbox.
Just 678 S54-powered M Coupes came to the U.S. in 2001 and 2002, making it one of the rarer cars I own - but also slotting nicely into the assortment of vehicles all built in limited quantities, save for the E30. My 996 will be leaving soon, and that will freely up space and resources for bringing this forgotten Clownshoe up to snuff. More to come!
Author: Jeff,
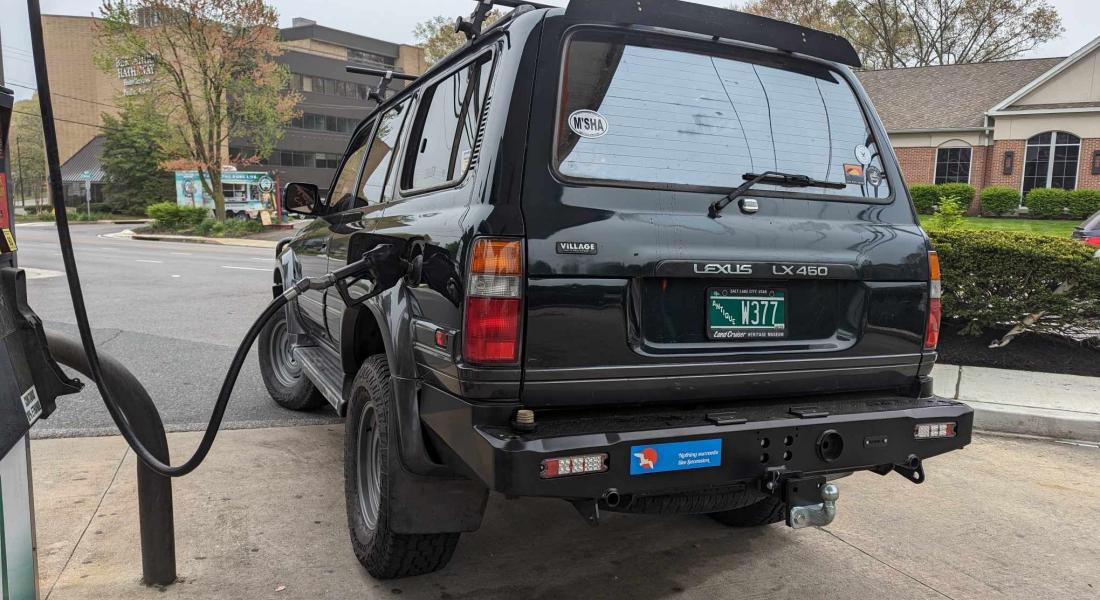
The LX450 has been a long project, with the biggest curve ball being the unforeseen headgasket leak that prompted an engine rebuild. I had my patience tested with wanting to see this truck through, and I'm still a bit shocked I kept with it. The main driving factor was I've always harbored some regret when I sold my E36 M3 with a bad headgasket, largely out of frustration. I felt the 80 Series trucks had good potential for positive ROI and didn't want to make the same mistake twice.
So, we persisted, and it got down to Maryland about 2 months ago with a healthy motor. Of course, nothing is ever done, and all of the basic needs that come with a project I suddenly realized still needed doing. The biggest was the brakes: the stopping power was weak at best, and as this is the vehicle I transport my kids in, bad brakes were not an option.
I bought a "performance" brake kit from Rock Auto consisting of huge vented rotors and carbon-ceramic pads. This made a nice improvement, and as an added bonus - when you remove the rear brakes - the parking brake cable is accessible, and since my original cable was seized, we could finally get this job done as well.
However, in inspecting the truck, it was discovered that the lift kit had seriously stretched the OEM brake lines, so those were tossed in favor of extended stainless steel lines from Slee Offroad. A simple brake job turned out to be anything but; however, with all of this work done, the truck brakes very well and it's one more step closer to using this like the daily I intended with full confidence in putting it through the paces of everyday use.
Author: john,
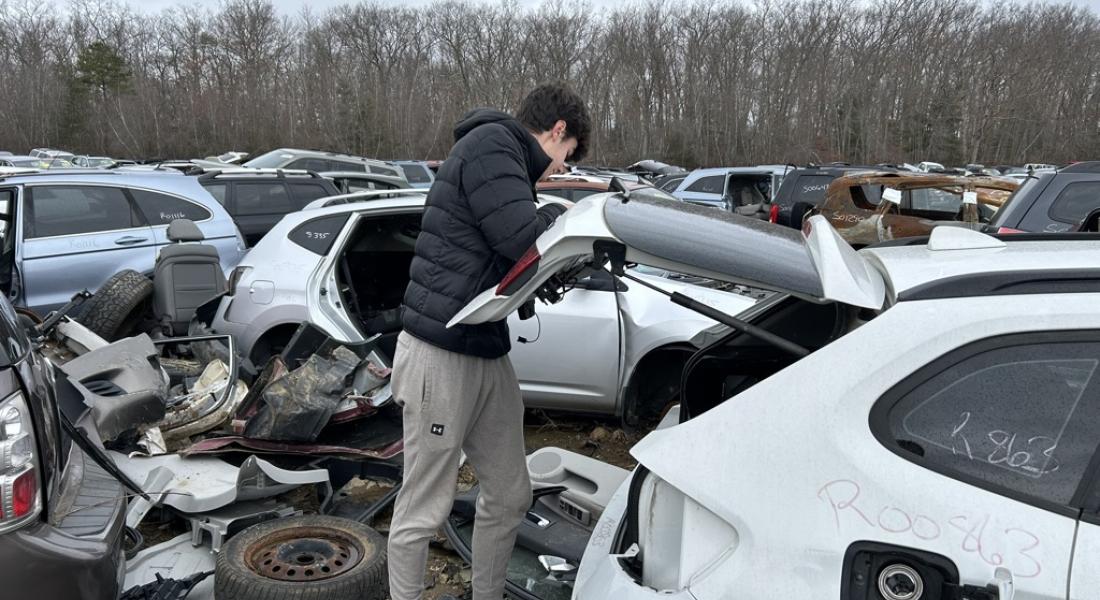
I'll keep this one short as this is unplanned project work... A little boo boo has pushed in the fender. Luckily, a white 2014 X1 was at a local pick-n-pull, and it donated it's no-dings fender to our cause.
Somehow I didn't get any pics of the fender install, but suffice it to say the fender has been installed and you wouldn't know that it was swapped out. The color is exactly the same, and even the texture of the paint looks the same. I guess good job BMW with your paint?
Author: john,
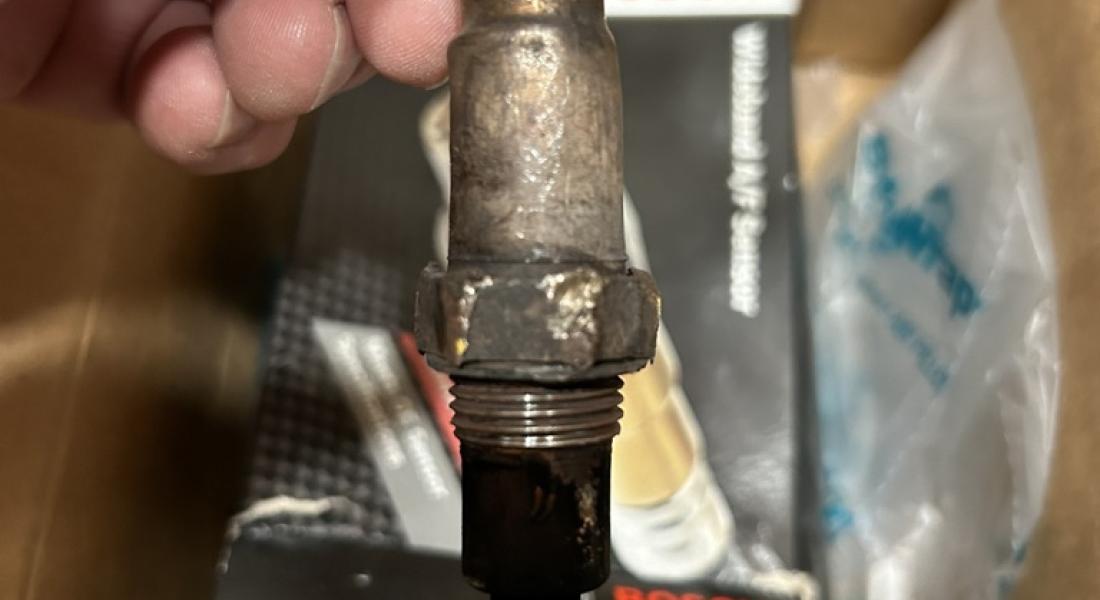
Not sure if someone who wasn't familiar with this device would think it was a piece of coal with a partially rounded-off bolt threaded into it-- If they did that would be a good guess.
I know O2 sensors can be a pain in the ass to remove; the upstream was about a 5 out of 10, but this downstream-- I'm going full 8 out of 10, with 9 being failure with recovery, and 10 being failure and you just throw stuff and go home... Once again, there have been struggles and this was another one. We just snuck this out before it was rounded off; I really thought we were gonna fail on this one. MAPP gas, hammer taps, and it finally broke loose. Had to go slow to make sure we didn't pull the threads out, but it came out. Extra suckage was around the wiring up behind the head, as you have to take the plastics off of the top of the enging compartment out, again... Once again, the positive is that we're getting really good at pulling that stuff off, but it's still a pain each time you have to do it.
Author: Jeff,
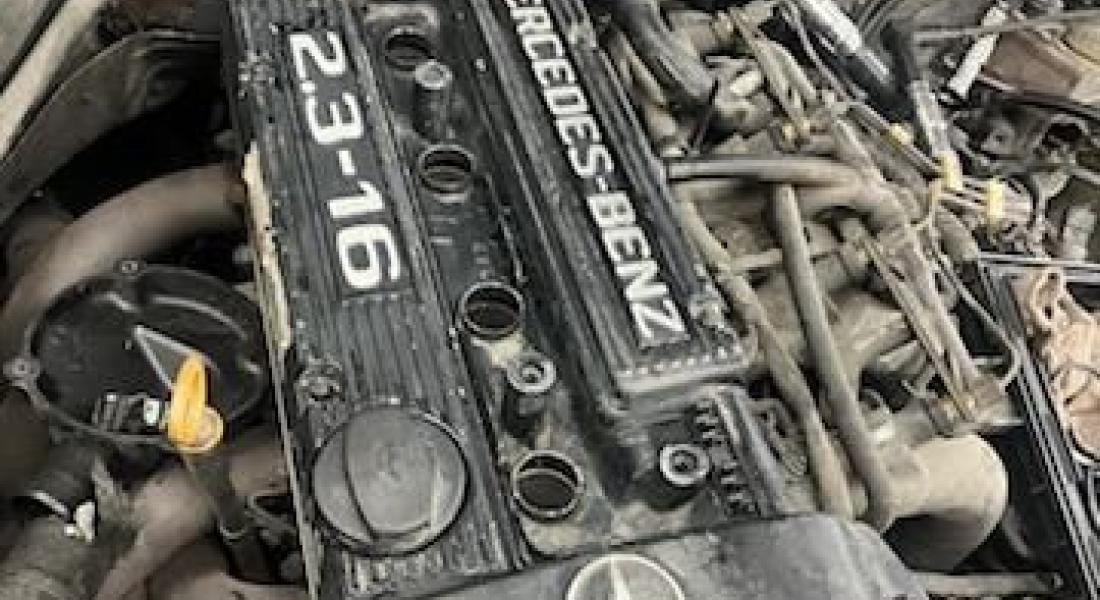
My 1986 Mercedes-Benz 190E 2.3-16 Cosworth has left the body shop after being there for over a year. To say the owners of the shop were glad to see it go is an understatement; there is still some finish work left to do but hopefully, if it does go back, it will be in the paint booth for a day or so and then completely done.
Right now, it is back at my mechanic's for the second phase of mechanical work that will hopefully see the car fully sorted out after starting with the basics of getting it operational, which took place over three years ago. The first order of business was to replace the chain tensioner, a known failure point, and completely devastating to the these engines should it fail.
Upon inspection, there was a good deal of slack in the chain. This was not entirely unexpected, and I bought both the tensioner and the chain when I acquired the Cosworth in 2018, figuring it would not have been done based on who owned the car last. At the same time, the water pump was replaced along with the thermostat.
Other updates include replacing crushed sections of hydraulic hard lines supporting the rear load leveling system; these were obliterated when the 190E was moved by forklift in the junkyard. In addition, the Cosworth-specific oil cooler that hangs adjacent to the radiator is an obsolete part that was removed in the salvage yard, stripping the threads on the oil lines in the process. The shop made it work on a temporary basis but the cooler was rendered junk when it was removed as part of the radiator removal process. Incredibly, a radiator shop in Rhode Island that maintains a large stash of obsolete components in a warehouse on the Cape had the *exact* replacement part, and OEM to boot. I'm blown away by that ridiculous stroke of good luck.
A few more things to button up and then it's onto the interior for dash replacement.
Author: john,
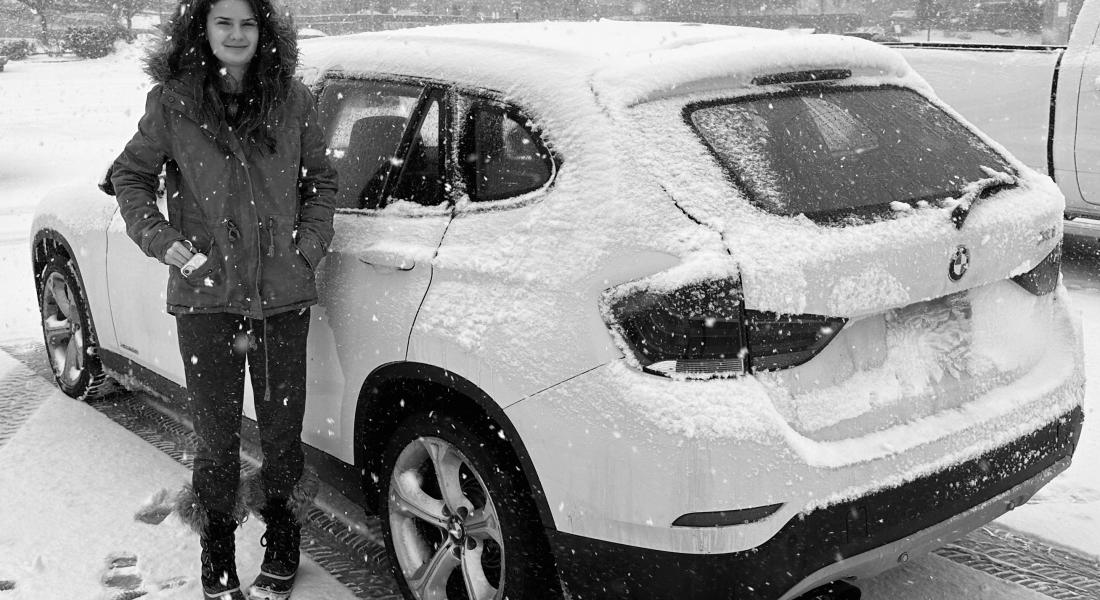
Not a lot to say other than this project is actually on the road. Need to get a few weeks worth of shakedown miles so that we can figure out what are best next steps. Observation #1 - The suspension is shot. This was not unexpected, but it's pretty bad. However, everyone's pretty psyched we got this far this fast, so, still focusing on the upside...
Author: john,
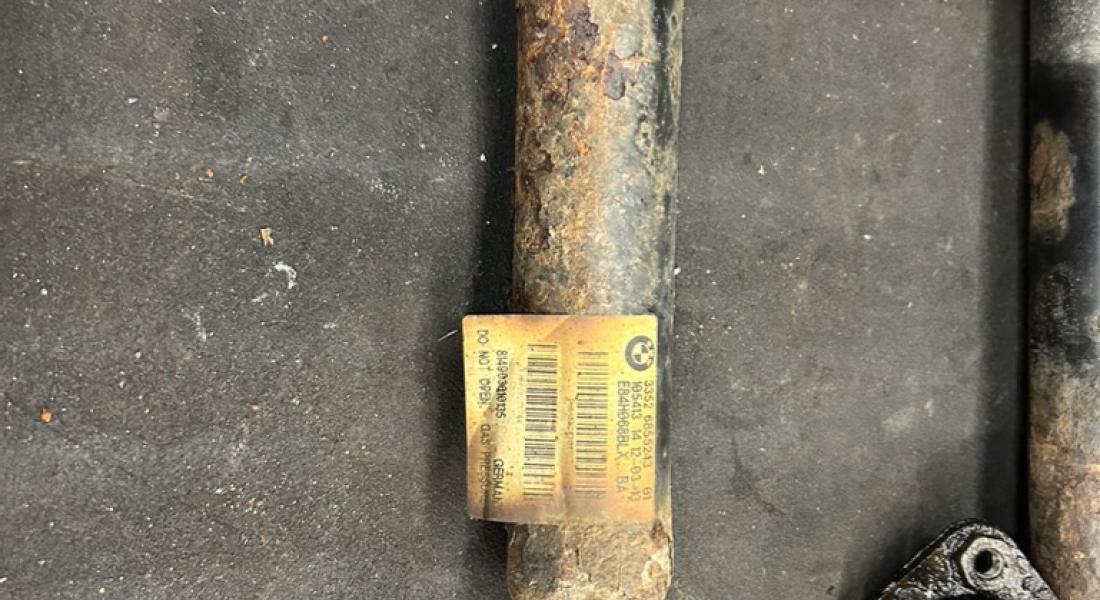
I'm going to keep asking myself how this happens, but I already know the answer - BMW shop rates, that's how. Original shocks obviously, so dead that they don't do anything other than let you pull the piston in or out with ease. Every corner of this thing was springs-only, unbelievable if someone was actually driving this thing.
Replaced with the obligatory Bilstein B4 OE replacement.
More tips, as there's zero information on working on an E84 X1 available. Anything I can do so that someone else doens't have to endure the agony that we did has to give me positive karma...
- You cannot get the front struts out / in with the lower tie rod end attached! You have to remove the tie rod end from the spindle, which will allow the front suspension to fully extend, and then the strut will come out. You will need a tie rod end remover / spreader cuz this guy is really in there, and an impact gun is a nice-to-have. Don't even attempt without the correct tools. Rent them if you need to.
- On an old rusty install, the end of the strut won't want to come out. Once the lower strut jam bolt is removed, you have to spread the housing apart. Some people say they use a 3/8" to 1/4" adapter and turn it, but I didn't want to put that much initial pressure on it. A tapered steel punch works fine. Spreading it sufficiently will alleviate the need to beat on it with a sledgehammer.
- ON AN XDRIVE THE HALFSHAFT WILL FALL OUT OF THE TRANSFER CASE WHEN THE SUSPENSION DROPS. WHATEVER YOU DO, DON'T SPIN THE HALFSHAFT. BE NICE TO IT, AND JUST PUT IT BACK IN PLACE. You'll feel if it's not going in, and can see the inner boot twisted if it's been moved. DO NOT pound on this to get the shaft back in.
- Assembly is fairly straight-forward once it's apart; just mind the halfshaft.
Now the ride is great; not super-stiff, but what I would expect. On to the next issue!
Author: john,
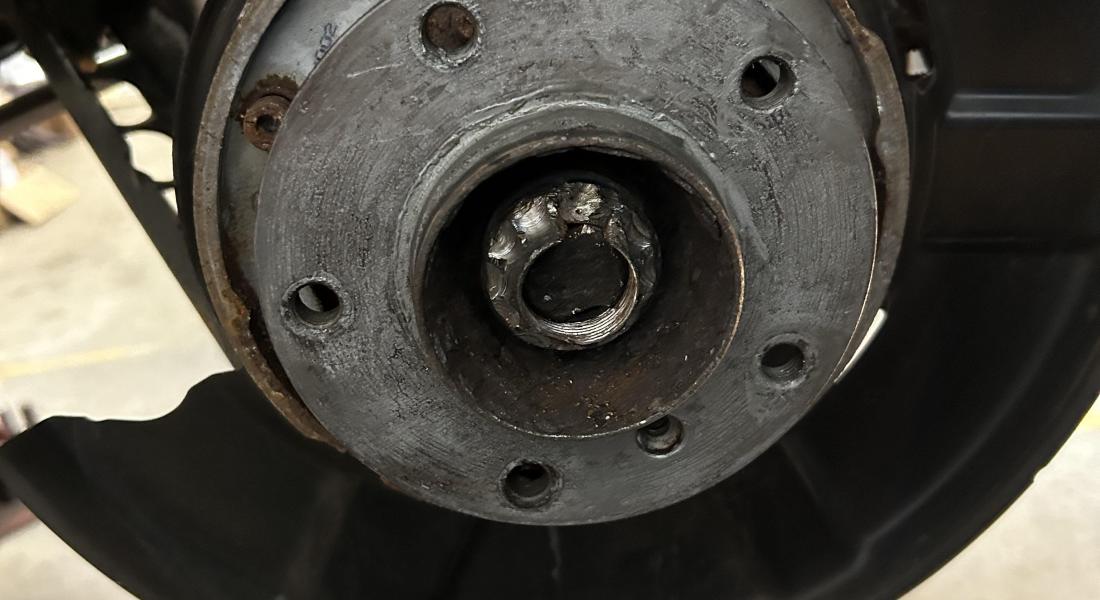
Rear wheel bearing on a 10 year old car with a bit of corrosion. Maybe my biggest DIY challenge so far-- This job is no joke. We had access to a lift, air tools, impact gun, etc., and we needed all of those things in addition to fire, patience, penetrating oil, and ingenuity.
In the pic, you can see a nice shiny axle nut. When new, this thing is torqued to 150 ft. lbs. So getting it off a week after it was built was already going to require breaker bars and leverage. This nut was rusted so heavily that it was basically round, and it's only shiny here because it's been cut down by a die grinder, which was a fabrication move to make this 32mm nut into a 30mm nut so that we had 12 points to grab onto. We finally got the nut off, but 10 years of rusting together plus factory press-fitting of the hub made hub removal nightmare #2. Enter slide hammer, which was an emergency measure auto parts store tool rental (thanks AutoZone!) on 12/23 @ 7 PM. 15 mins of slide hammering and the hub is off. Now the actual bearing which is secured with four internal to the trailing arm bolts that are not only rusty, but hidden behind the axle, shock and trailing arm. Doesn't matter if they break or not, but they're large bolts so breaking them will be a challenge, so lots of extensions, some heat, finally bolts are out. Bearing removal - Once again, slide hammer with a wheel hub puller, and the bearing is out.
Next challenge - Built a press to install the new bearing on the old hub. Parts houses say use a new hub, but seems like it's going to require the same work to reuse the old hub. OK so the press is probably the easiest part of this job; straight-forward process but still sketchy as the bearing is a tough push. Patience and the bearing is seated and hub is ready to go. Finally some forward progress.
Time to install the hub back on the half shaft. What nobody tells you, and what's not in any of the how-to videos that are out there (and you don't know until you try to assemble the hub back onto the half shaft) is that the splines of half shaft don't really go into the hub without some sort of miracle. Seems like the hub may have been hot and the axle cryogenically frozen when originally built to ensure a tight fit. The general idea is to try to get enough threads on the half shaft exposed so that you can thread the new hub nut on (nut is now 36mm), and then slowly pull the shaft through the hub via tightening the nut. You can't do this unless you catch several threads with the nut, and getting the shaft this far exposed is almost impossible. I'm like, WTF, I've never seen this; if you search "E92 can't get axle in the hub", you'll see various horror stories on how bad this job is. It's that bad. Several hours later, careful heat on the hub, hammering the axle flange from the rear with a 3/8" extension while turning 90 degrees to coax it through just enough, by some miracle the axle exposes enough threads to carefully start to draw the axle through the hub with the nut. Victory is close.
Reassembly of the parking brake (the mechanism of which is another clever puzzle dreamed up by BMW's crack engineering team) complete, reassemble rear caliper carrier, put the brake back together, and it's done.
Author: Jeff,

The 190E Cosworth, which arrived in my garage as a soggy, rotten, trash-filled mess from a Pennsylvania scrap yard five years ago last month, is near the finish line. I've lived in three houses since I bought this car, and I'm hopeful it will be a permanent fixture in my garage sometime in the next six months.
The bodyshop is buffing out the paint and assembling the body kit. The interior is going back together. And those two details are super gratifying considering I bought a complete spare body kit and interior sometime in December 2018, all with the expectation I would someday have a car worth putting them on/in.
Today, I ordered a wiper blade insert and two pieces of reproduction hardware for mounting the bodykit doglegs ahead of the rear wheel arches. Truly nitty-gritty stuff, and my body guy should have the car fully assembled by the weekend. Or so we think; there's always something that shows up missing. For instance, I plan on having the lenses replaced on the European headlights because - why not? Well, because, the car will be otherwise mint and pitted lenses will be a serious let-down.
But don't get too excited: there's still a laundry list of mechanical work to be done before we're truly "done."
Author: john,
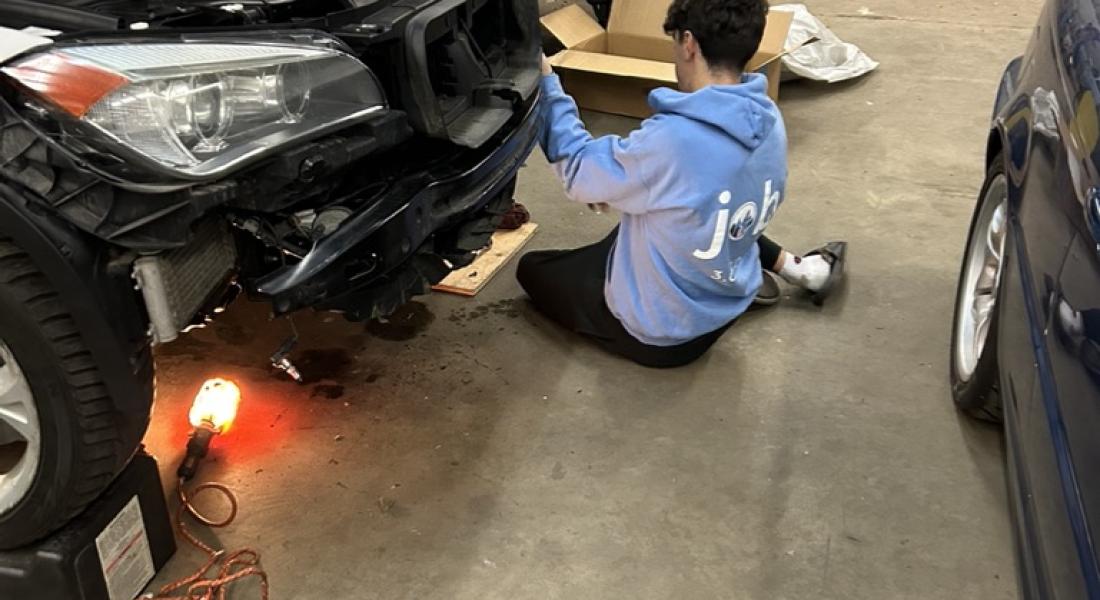
Initial reassembly complete. Not much to say other than we were able to sort a bunch of stuff out, replace a bunch of broken plastics, size up what we need to do to re-mount the radiator (coat hanger support still hanging tough...), and will start to work towards the mechanical repairs list.
Look at how happy Boy Genius is...!
Author: john,
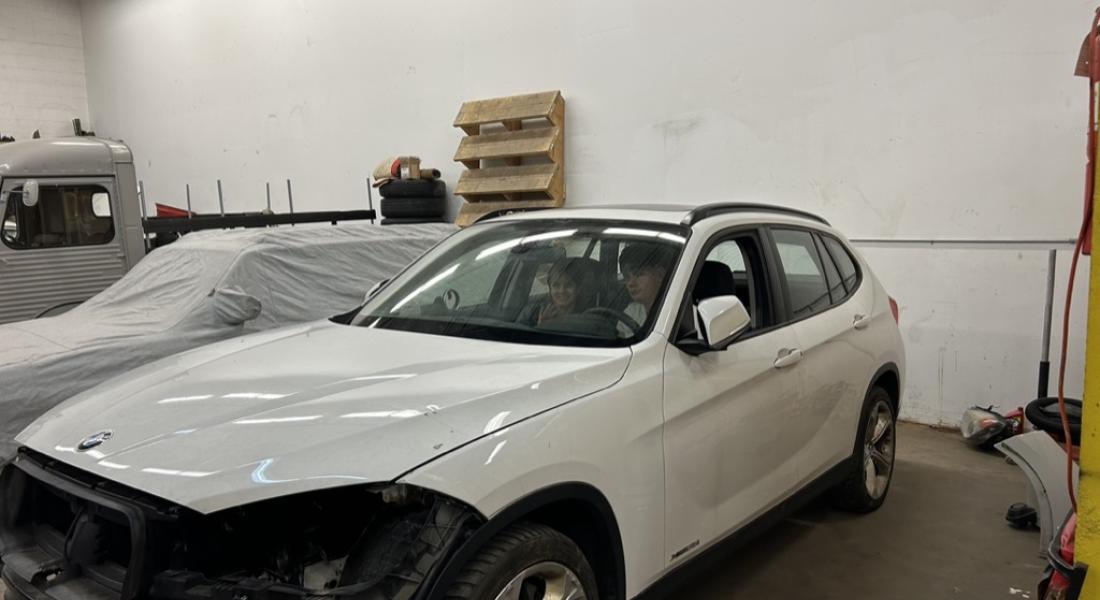
Going forward and focusing on the positive-- The inside stakeholders on this project are in love with this thing. My first car was a 1980 Monte Carlo that was two-tone Dark Claret metallic and Claret Metallic red. The Dark Claret had turned into baked horseshit with no more metallic, and it smelled musty because the passenger side rear footwell always filled up with water when it rained. So this is a major step up for Boy and Girl Genius.
Back to the car-- The non-geniuses that owned this previously must have decided that the undertray that lives under the engine was a nuisance item, and decided to not bother reinstalling it. This person also had the parking sensor that was missing up front (torn out during the stunt show...?).
We also noticed that the all of the cowl plastics were not even installed when we first looked at it in the junk lot, which we thought was a positive because anyone else looking at it would think it's all broken (which it wasn't, but made things look really bad). So we're starting to think that someone started to work on this and just cut their losses, which seems plausible. So, used undertray and parking sensor from eBay, and have extra bolts from the E46, so will keep mending all of these things as we find them.
Author: E30 Emperor,
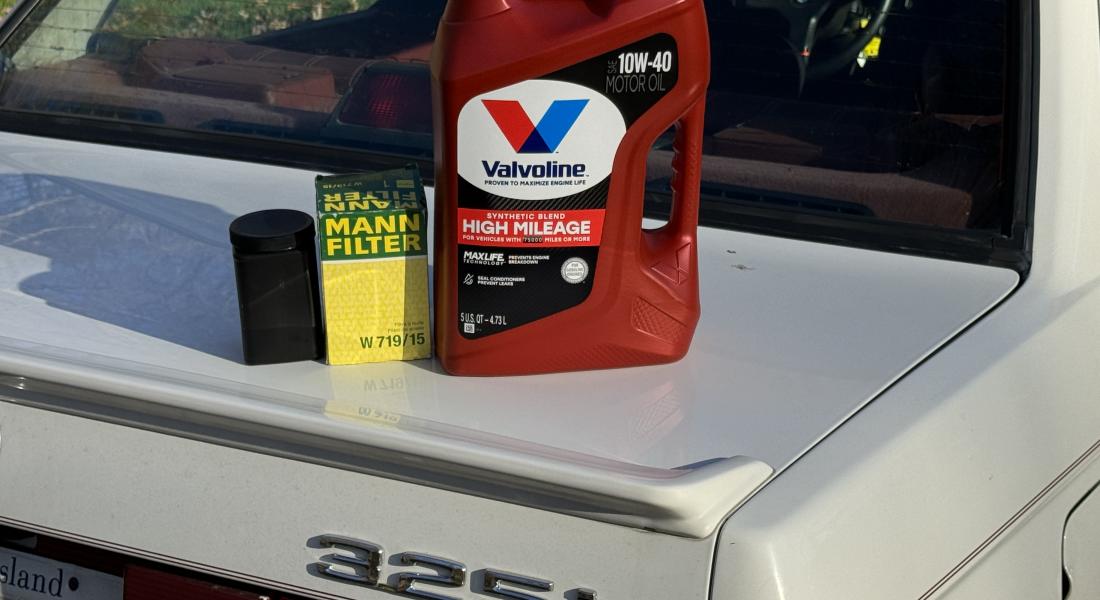
Nothing crazy to note here. Putting the car away for the winter in a week or so here - Whenever we get our first snow fall is usually the appropriate time. I also took an oil sample to send off to Black Stone Labs. Its a pretty cheap service, and I think it would be really cool to see what they say about my 272,000 mile engine. This was a great time to do it, because this oil was in the car all summer, and definitely saw some hard drives. Replaced the OEM Mann filter and added 4.5Qts of Valvoline 10W-40 Full Synthetic.
Really not that important, but I realized I did something backwards with my seasonal oil changes. Next time, I will keep the 10W-40 for my Spring time oil change, and then use the 5W-40 for my fall/winter oil change...Just helps a little with cold start oil flow. Cheers!
272,606 Miles at time of change
Project - More Details
Author: john,
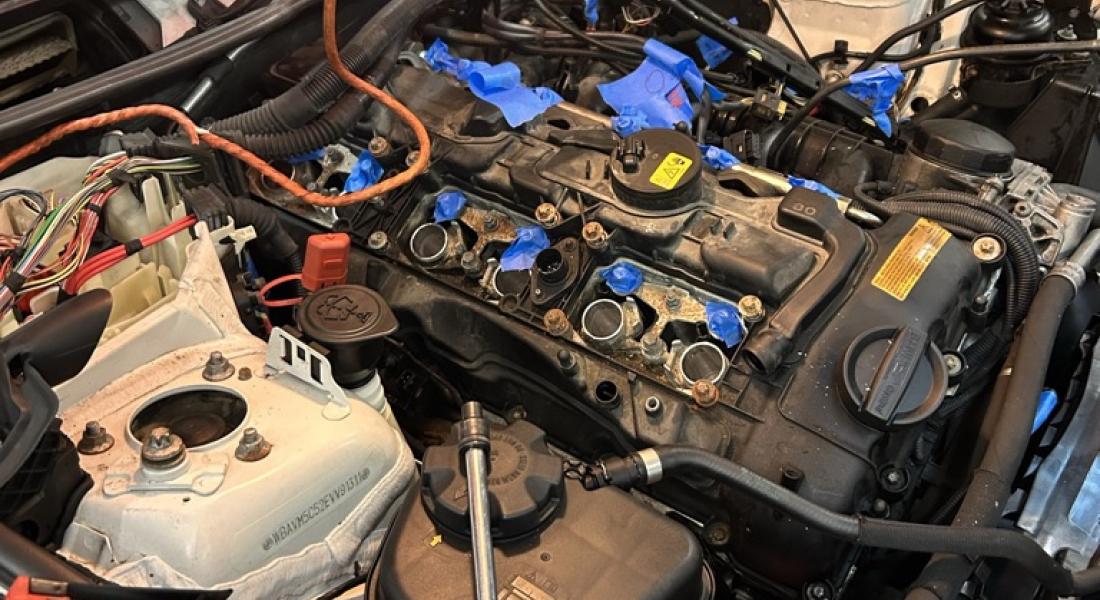
Initial upper engine disassembly and seeing what we have to deal with is starting. First observations - Leaks oil heavily. BMWs are notorious for valve cover gasket leaks, and this thing looks like it's a candidate for the leaking gold medal. This was a known, but man, this thing has to have been leaking for years. Next challenge-- One of the plugs was like "I'm not coming out, no way..." This was the scariest moment, because something dumb like a spark plug either pulling out the threads of the head, or breaking off in the head, would pretty much wreck this project before it even gets going. Patience and good learning for Boy Genius as well as myself-- Whatever you do don't break something off in the head.
Next observations - No doubt thing thing had an off-road excursion that didn't go all that well. Off comes the front end, and initial review shows that the radiator is no longer on mounts, and parts of the core support are broken. The intercooler is holding in the radiator, and the intercooler is held in by coat hangers that were twisted together to form supports. Yep. The fan shroud is totally broken at the bottom but somehow the fan still runs and somehow the radiator is not damaged. However, the radiator is off kilter, and my OCD is flaring up almost in an uncontrollable fashion. This would explain the upper radiator hose weeping, and now I can tell it's because the radiator isn't where it should be.
The plan will be to get the oil leaks stopped, get new plugs in it, change the oil, fix up the broken radiator mounts, fan shroud, and whatever else we find in there, and run it just a bit to get some sort of baseline as to how bad the rest of it is while we get more parts ordered.
Author: john,
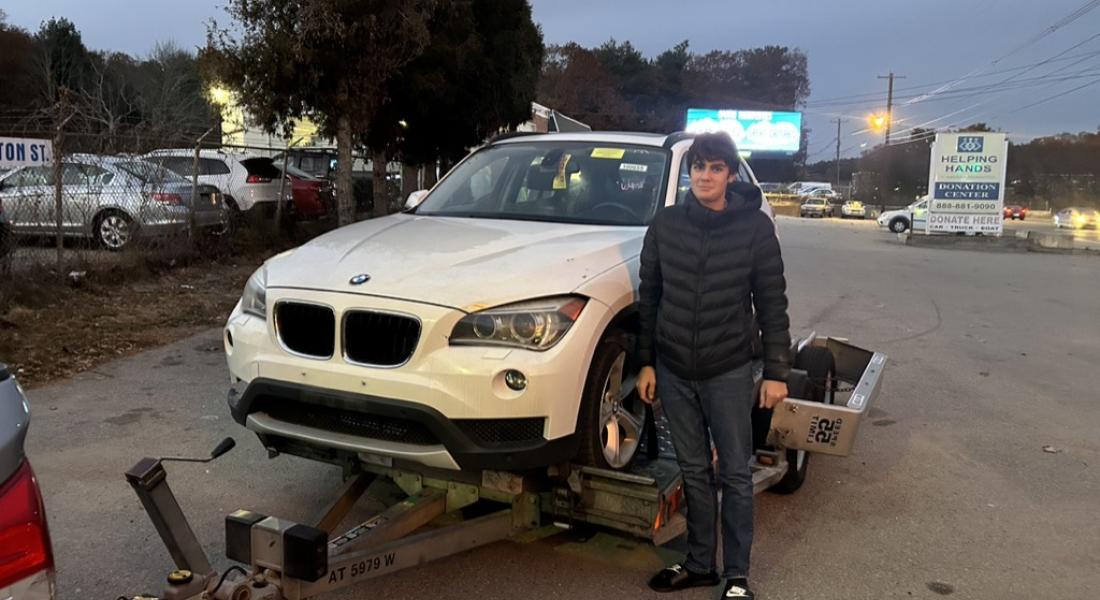
OK so kicking off this project; hoping it's going to be a fun one, and also hoping it doesn't cause too much pain. The ingredients are as follows - BMW with a clean CarFax but zero maintenance history; appears that it fell into the ownership of someone who decided not to maintain it at all; appears to have had some sort of off-road adventure that negatively modified some front end plastics and broke the radiator support. Who knows what else we'll find, but one positive is the small wagon layout is allowing us to fill it up with an initial load of parts we know we'll need. Commence project...
Author: Jeff,
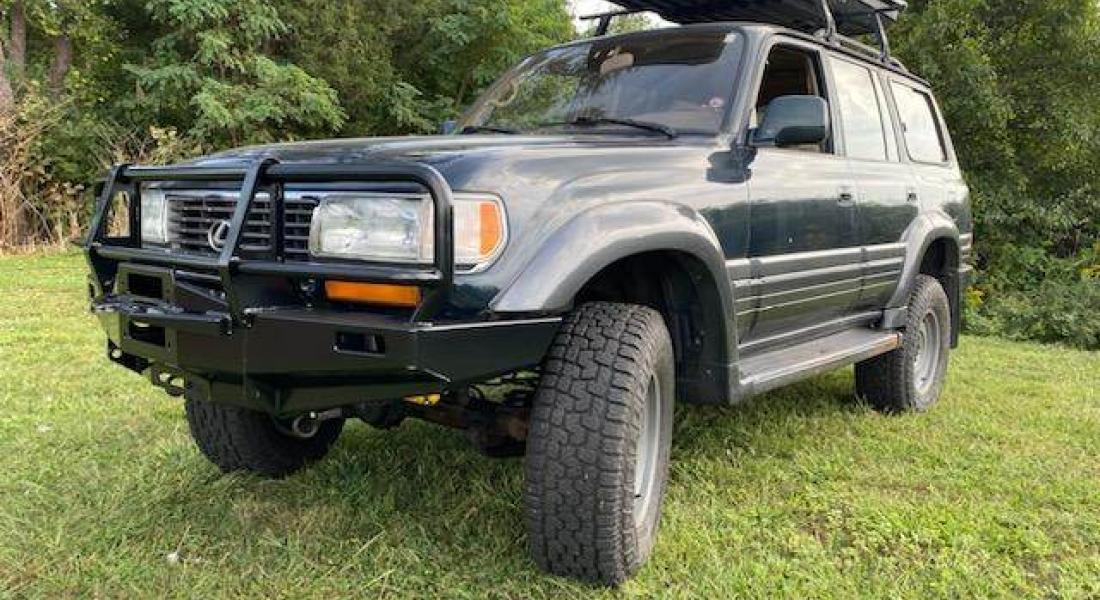
My mechanic Jay called with the good news recently that the long-standing (and unintentionally long) Lexus LX450 / Toyota Land Cruiser project has finally hit its point of substantial completion - from the mechanical side, anyway.
The rebuilt engine has been turned up and run, with no apparent issues. Jay claims it runs well with no obvious issues arising from being torn down and rebuilt piece-by-piece after the long-festering headgasket issue revealed that the internal coolant intrusion has led to corrosion materializing between the head and the block.
Jay has not only mated the decked and refreshed head with the cleaned-up block but also installed an Old Man Emu lift 3-inch lift kit, which looks fantastic in the photos he sent me. There's also a new ARB brush guard as well. A Gobi-X rear bumper is en route, and some IPF driving lamps will also be installed. Then, we kick it over to my body guy Nelson to fix the rust in the rear inner fenders; I may have him stick a slab of metal in the back to replace the rusty rear cross-member, but not sure if it really matters with the monster rear bumper on there.
More to come, but big time milestone days, for sure.
Author: Jeff,
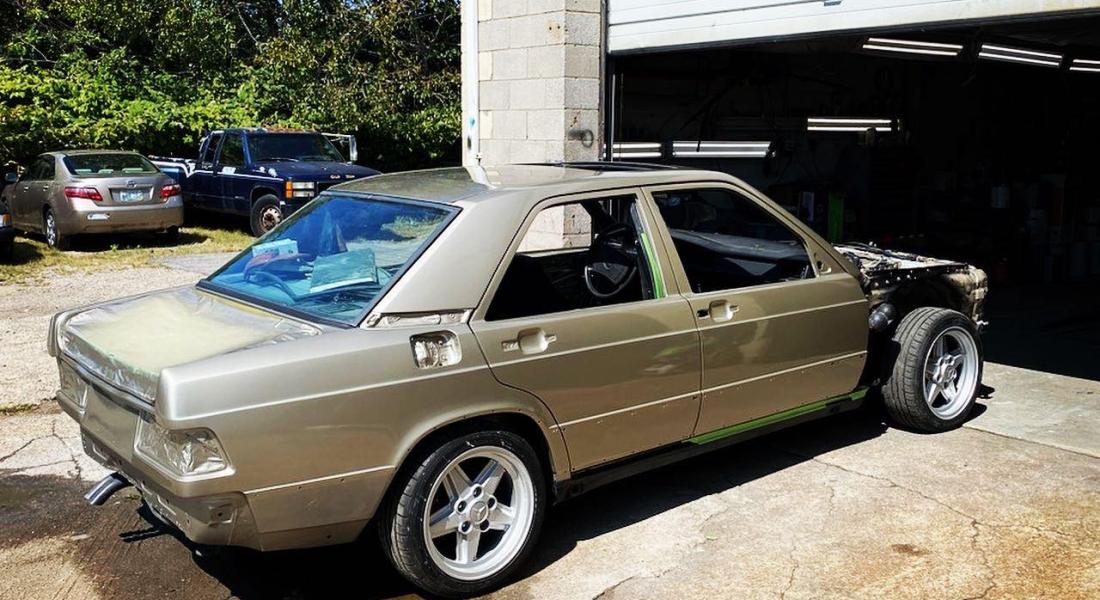
When you see a car finally wearing a consistent shade of paint after years of being naked or otherwise clad in shoddy paintwork, it's a big moment. It's as close to being reborn as a car can be. For the 190E 2.3-16 Cosworth project, this represents a major milestone that hits just shy of its fifth birthday in my possession.
Smoke Silver has never been a particularly sexy color, but it is a staple of 1980s-era Mercedes-Benz products. The Cosworth came in either this champagne-tinged silver or black, and while the latter is harder to find, I have fond memories of my Dad's 300E that wore the same color. Right now, the car is supposedly looking good but I'm no longer in RI so I can't even view it. But the guy painting is said he'd just like to buff it out a little before turning it over.
Then we begin interior re-assembly, which is far cheaper to have my body guy do than to have the actual mechanic's shop take on. So, we're still a few days away from it leaving the body shop for good, but it's safe to say the hard work is finally done.
Author: Jeff,
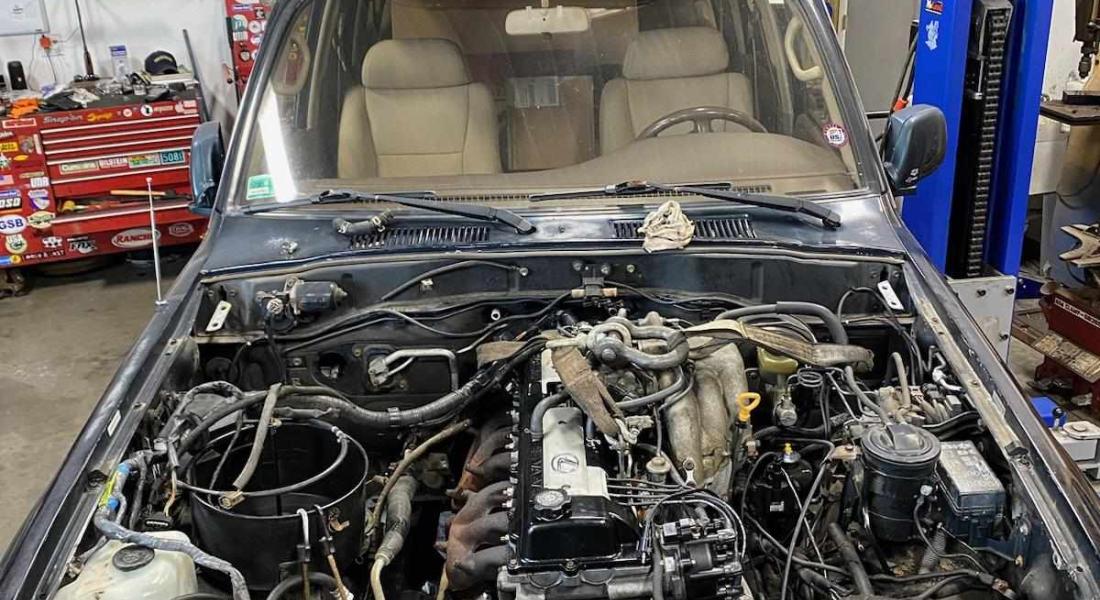
One of the better updates I've gotten lately from Jay is that the engine is back in the LX450. Which means we're:
- a few days closer to it being fully tethered to the car and getting its first start (right now, the bellhousing is loosely attached, but that's it);
- a few weeks closer to it going to the bodyshop for rust repairs in the rear door inner fenders;
- and then off for a quick stereo install, and hopefully, headed down to Maryland to resume daily driving duties.
I haven't driven it since January, so yes, I'm excited to see it comes this far - but we're not home yet.
Progress is progress these days, no matter if it's an inch or a mile.
Author: Jeff,
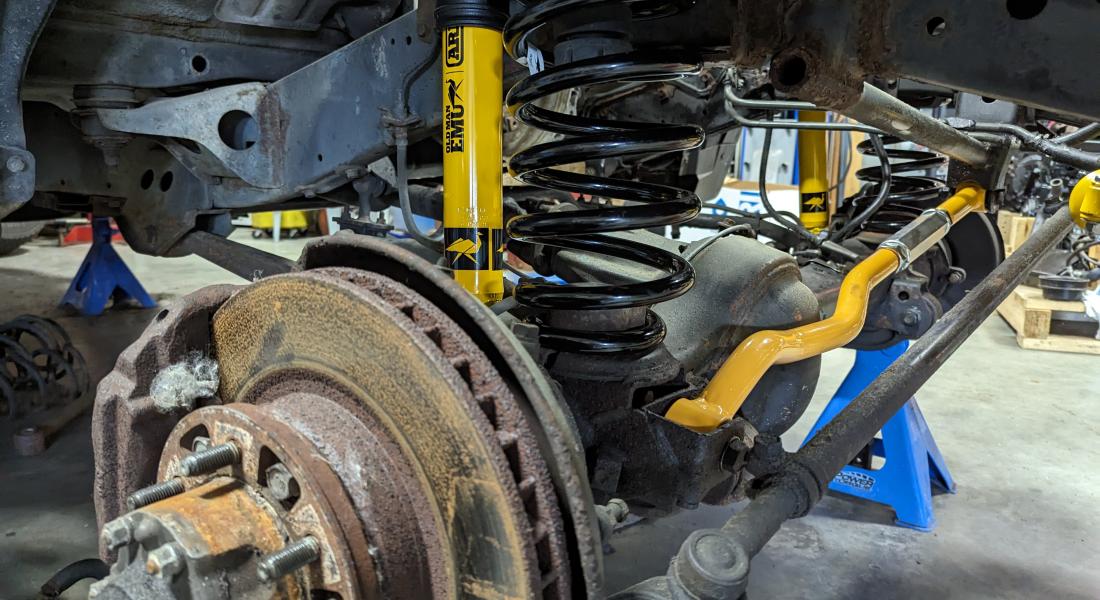
I swung by Jay's 4WD today to leave my beloved Trooper RS with him while we move on down to Maryland. Jay will fix the leaking headgasket and button up a few other details while it's there, which hopefully won't be for an extended stay.
In addition to dropping off the Trooper, I also checked out the LX450 which is getting closer to completion. The engine is reassembled and awaiting installation. Jay also installed the three-inch lift kit I bought from Old Man Emu, so plenty of other work is getting down while he prepares for the labor-intensive aspect of dropping the engine back in. Jay recommends getting a different caster kit than what came with the kit, along with longer rear sway bar brackets.
Jay removed the full wiring harness to make egress easier, and also cleaned up some old heater hoses that serviced the now-inop rear seat heater. The truck still needs a good deal of sorting before it's running and driving, but at least we can see some major work has been done and that we're on the home stretch.
Author: Jeff,
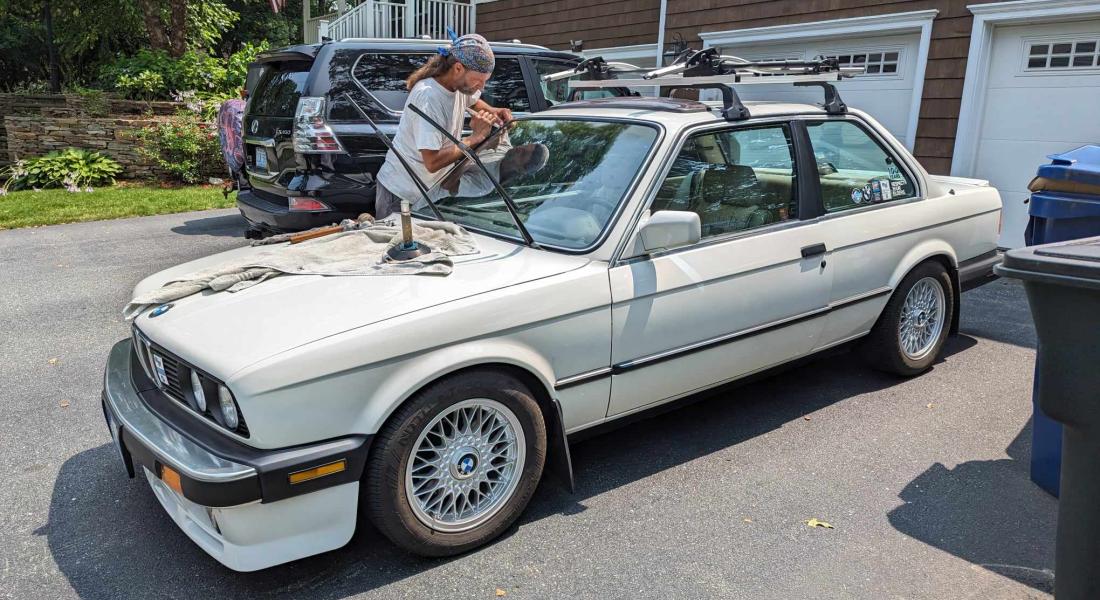
One of the lingering details about the E30 - the 1987 BMW 325is - that has always bothered me is the lack of an OEM windshield. Or, for that matter, even a windshield from a respected aftermarket manufacturer. About five years ago, when the bulk of the bodywork was done, I had a new windshield put in before I knew how bad the domestic glass market had gotten.
What I'm speaking of is the prevalence of Chinese-made glass from a company called Fuyao. In the blink of an eye, Fuyao has essentially taken over almost every domestic glass manufacturer's operations, leaving virtually no other options when you call the local installer to replace your busted glass. I've made a point of visiting junkyards and grabbing OEM used glass whenever I see it, and had a very nice piece of BMW-stamped Carlite windshield in storage after spotting it at a New Hampshire wrecking yard.
I finally found a guy willing to install it, despite his protestations that it made no sense to remove a good piece of glass with virtually no imperfections - aside from being made by a Chinese company. The replacement OEM glass also has the very elusive bronze tint strip at the top, which is virtually unheard of with almost every windshield having a teal visor. The final bonus? It still has the factory sticker with break-in instructions.
Overall, this is yet another one of those projects that got expedited with our upcoming move, and while it wasn't anything I wanted to get done on any sort of timeline, I really dig seeing OEM glass at every corner and the bronze tint is surprisingly distinctive - and handsome.
Author: Jeff,
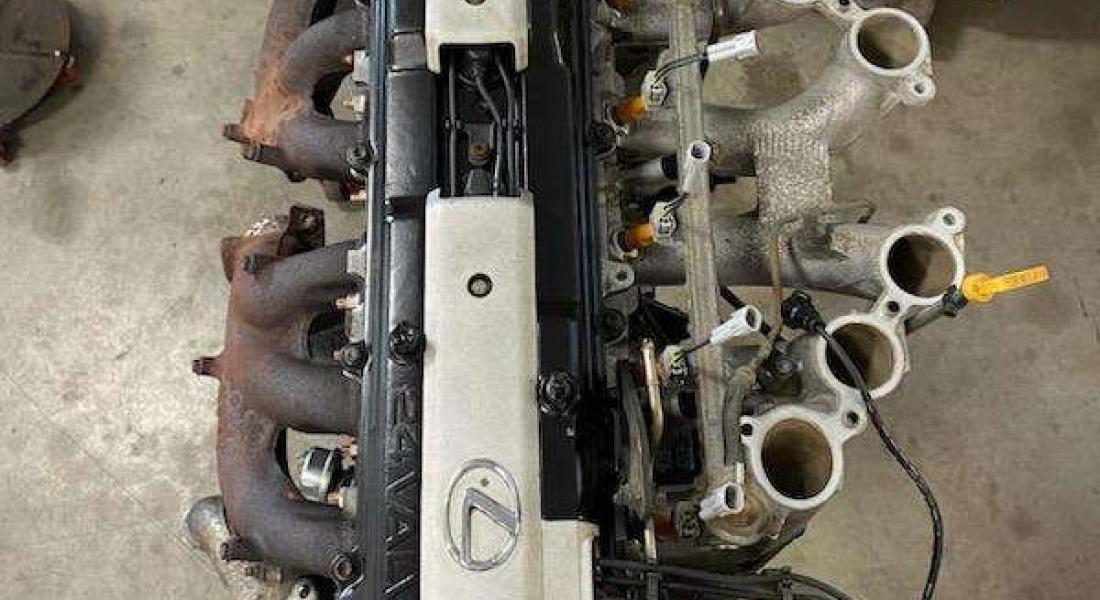
The Lexus LX450 project is one of those unfortunate scenarios where things have definitely gotten out of hand. As mentioned previously, a long-festering headgasket leak left unabated by the previous owner resulted in the inline-six going from a basic gasket job to a full-on rebuild.
This was obviously an unplanned level of expense, as this truck was supposed to be the most reliable vehicle in the fleet and been pressed into daily duty after I sold my 2010 BMW 328xi wagon. We're well past that plan coming together, but the good news is Jay has at least crossed the Rubicon as it relates to progress on re-assembly.
While the truck has been a relative kick in the gut as it relates to the disappointment of discovering an issue like this, it is at least rewarding to see the engine cleaned up and looking quite tidy. I try to remind myself that as it relates to this level of investment in a vehicle, an 80-Series Land Cruiser is one of the more rewarding options out there in terms of ROI.
Hopefully, we're on target for the truck to be ready by Labor Day, at which point I'm going to have to manage rust repair and a stereo refresh from across the miles.
Author: Jeff,
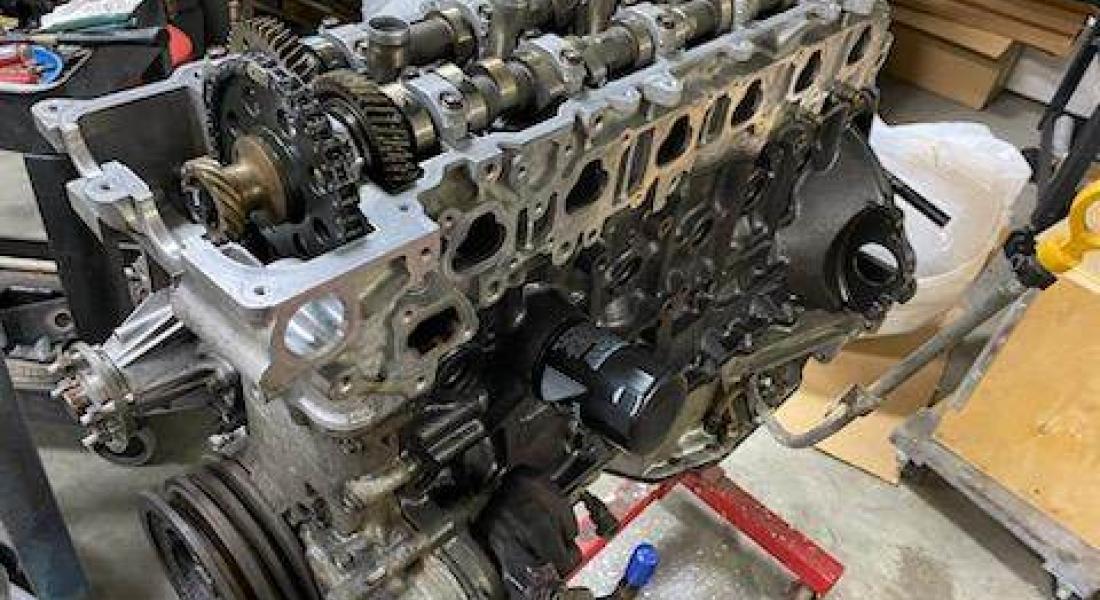
The list of projects I'm attempting to get done before we move to Maryland in a little over a month has me feeling overwhelmed, to say the least. Nothing is done to the level that I'd like it to be, and given I will be starting over with establishing new shop relationships, I'm feverishly trying to get as much done in the time I have left in Rhode Island as possible.
Sadly, the LX450 will likely not be making the trip down with us, as backlogs in the machine shop delayed the project by several weeks. At this point, Jay Gaston is putting the engine back together when his schedule allows, which is not easy considering his full-time work is in full swing as boaters race to get their vessels back in the water.
He's been cleaning all of the removed components and painting the engine before putting it back together. While this adds time, it also makes sense to do before re-assembly, especially since we hope to not be taking this engine back apart again any time soon.
Author: Jeff,
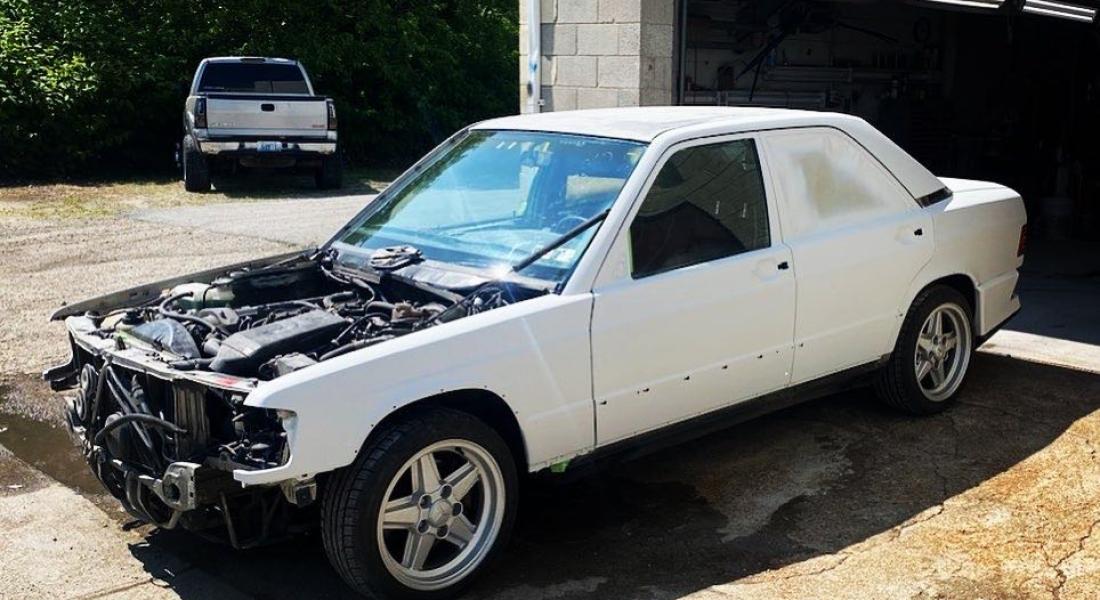
To say I am tired of seeing my Cosworth in primer is an understatement, but it is (sadly) par for the course with a complete respray of a car that has been painted poorly many times before.
Right now, the hood is off for some detail work. The remnants of the hood pad have to be scraped off, and then the hood gets primered and painted before the replacement goes on. The side skirts and fender flares all need to be coated in primer and prepped for paint. And once that's done, we will likely be tossed out of the rotation again before the actual paint work begins.
There's a very big part of me that is done with the bodywork stage on this car. Frankly, I just to backburner it for a while, but that can't happen. This project will be more or less done in 2023, come hell or high water.
Author: Jeff,
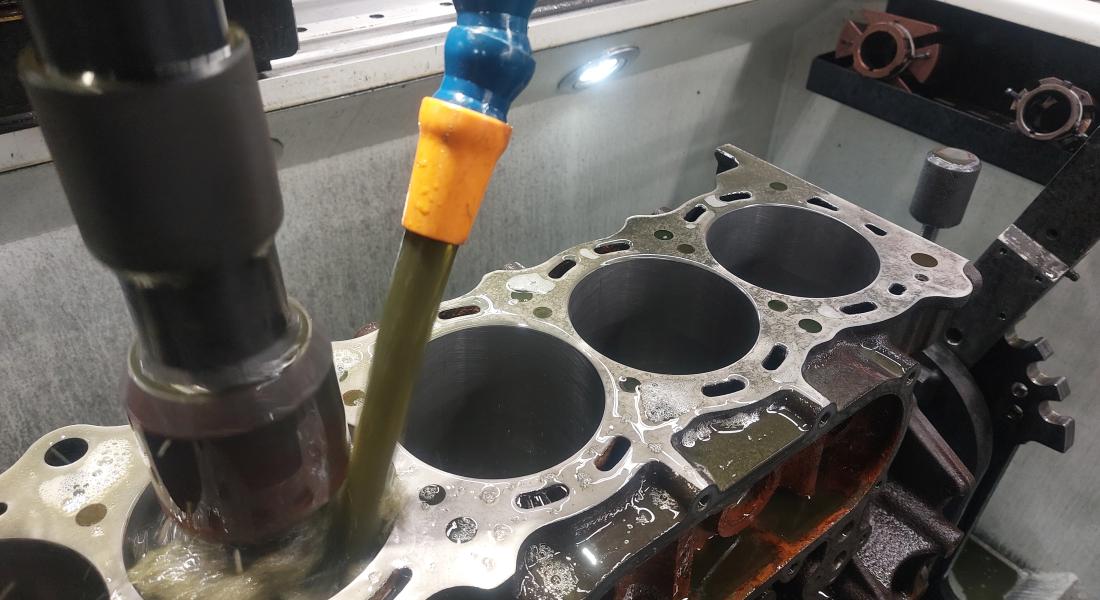
Great day in the morning: the block for the long-sidelined 1997 Lexus LX450 (fancy Land Cruiser) is done, and Jay Gaston of Jay's 4WD has already snagged it from R. Johnson & Sons Engine Repair in Warwick, RI. The head was previously cleaned up and refreshed by Johnson's and Jay had retrieved it; the block then had to go over to the machine shop due to corrosion found on the deck. Jay had viable concerns about the head mating with the block and the visible corrosion leading to future issues.
The team at Johnson's asked me to track down some oversized pistons, rings, a full gasket set, main bearings, and rod bearings. We went with .020 oversized components, mostly from DNJ. Remember, this is not a power build but rather just a reliable, stock setup that will allow this engine to go another 250K (or more.)
From here, Jay will reassemble the engine and also replace the timing chain and pan gasket while the engine is out of the truck. We also plan to install a three-inch lift kit and refresh any other wear items, including hoses and belts. I may also replace the new-ish but cheap aftermarket radiator with a genuine Koyo unit, so there may be more opportunities to make improvements while we're in the re-assembly phase.
Author: Jeff,
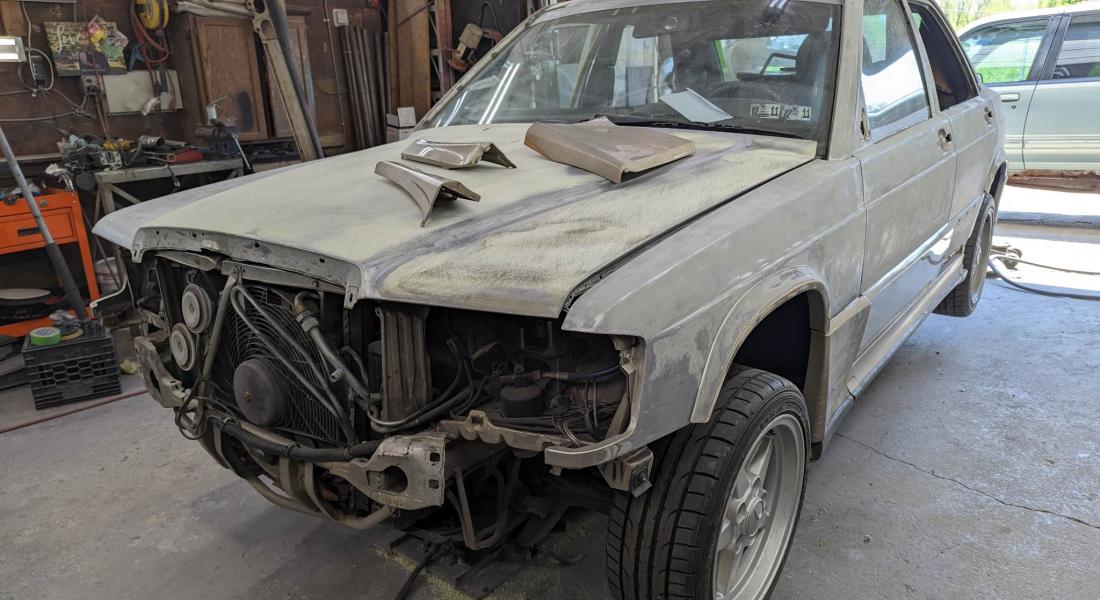
There's a point in every project where you begin to feel actual excitement that the end is approaching. For the 190E 2.3-16, I haven't felt anything approaching this in the last four years. From seeing it sitting outside my mechanic's shop for months at a time to waiting for my one-man-band body shop to get me into the garage rotation, it's been difficult to make significant progress at any one time. "Keeping the faith" has undoubtedly been critical to not ever giving up on this long-term project.
Fortunately, we are in the home stretch for bodywork. The original body kit was actually bolted up to the car on the driver's side for checking fit and how flat the pieces laid on the body, but all I could think about was how good the car looks with its lower cladding installed (The kit was previously torn off by the junkyard employees when the Cossie was waiting for its day with the crusher.)
The side skirts and door trim pieces are so integral to what the car "is" that even in temporary form, seeing them suspended against the body reminded me of how good this Cosworth will look when it's finally done. We'll prime the whole car next, block sand all of the panels, and then prime it once more before getting a proper paint job.
Speaking of paint, my body guy grabbed the Smoke Silver paint and set about prepping it for application. That tells you just how close we're getting to finishing this major phase of work.
Author: Jeff,
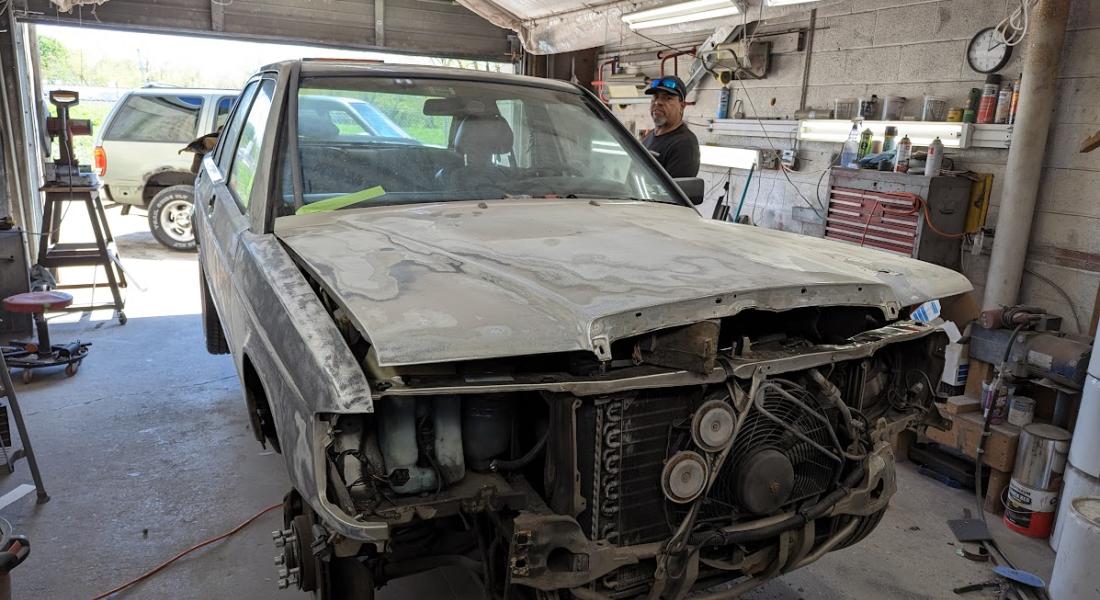
The next phase of bodywork has begun on the 190E 2.3-16 Cosworth, and now we are truly counting down until we paint this long-term project. The bodywork phase has been arduous, with the rear quarters basically being rebuilt; the rockers being repaired at all four corners; and the front quarters inside the fenders have been patched up with new metal.
When you sand a car down, it reveals the battle scars and bruises it has encountered along the way. It's clear this 190E was completely repainted, poorly, at one point, and that it has been needlessly repaired with body filler to correct small dings and dents. Quite honestly, this poor car - despite having a history of only two owners and being well-maintained by the first caretaker - fell into cheap car territory wherein it was "freshened up" as cheaply as possible.
This is not at all surprising for an older vehicle such as this, but it does highlight just how much work a bodyshop does to get a car prepped for paint. I'm going to take a day next week to sand down the primer that will soon be sprayed across the body, as you need to wet-sand the entire car afterwards in order to smooth it out and prep it for paint. It will be a learning experience, and hopefully shave a few bucks off the final bill as well.
Author: E30 Emperor,
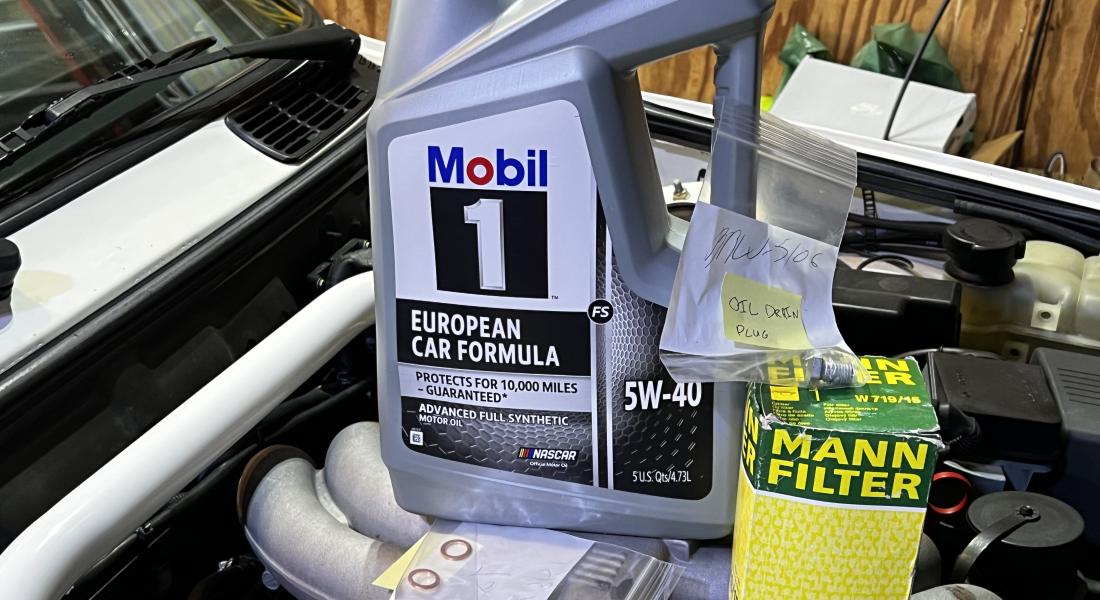
Well, unfortunately my first maintenance log for the 2023 season comes on a negative note. Usually, changing your oil is a fun and therapeutic activity to engage in with your vehicle, and gives you a nice sense of pride when done. Sadly, when I went to change the oil after getting it out of storage, my drain bolt spun freely, and after fooling around with it a bit and not having any luck, I realized the reality of this situation would be replacing the oil pan unit all together.
This is not a huge deal usually, but in my case, It was a little bit of a process. I was able to locally source a used but good condition oil pan for $100, and my local shop Revenant Motorsports (big shoutout to Jarrett!) was more than up to the task. Unfortunately he had to drop the lower cross member, and labor hours add up...Its definitely a bummer, especially considering up until this point (besides modifications) the car has not needed any unexpected maintenance items.
All in all, here are the entries for this maintenance log:
- 5W-40 Mobil 1 Full Synthetic (European Car Formula) (5QRTS)
- W719/15 Mann Oil Filter (1x)
-OEM Replacement M20B25 Oil Pan (1x)
-Fresh Drain Bolt + Washer(1x)
Author: Jeff,
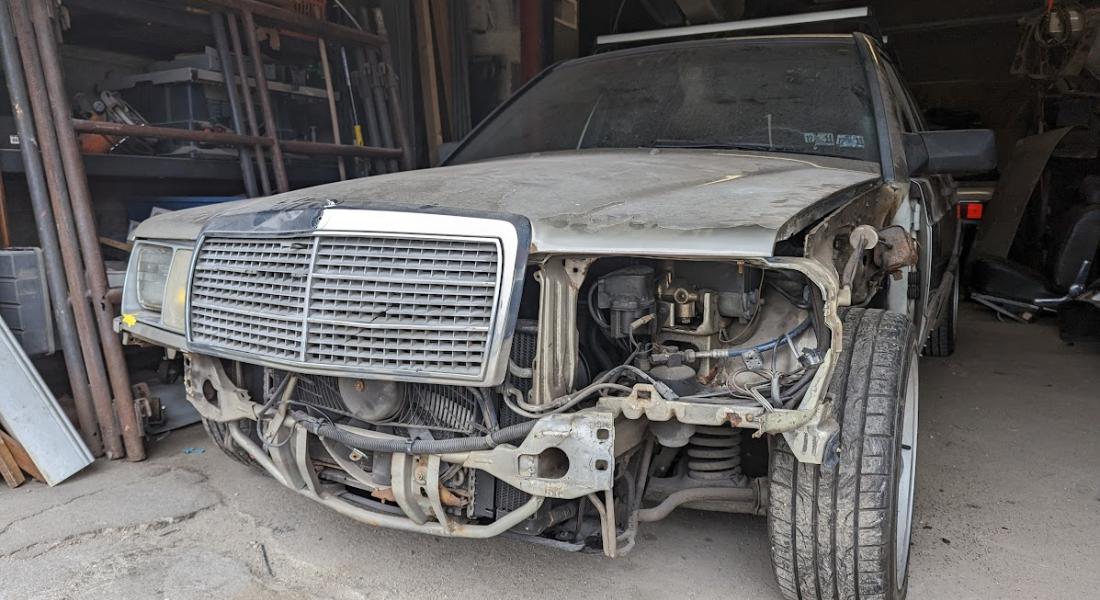
This is a milestone day for the 1986 Mercedes-Benz 190E 2.3-16 Cosworth I harvested out of a junkyard in 2018: we have eliminated all rust from the body, save for some meaningless surface spots that will be eliminated during the sanding process.
The rockers are repaired and the rust spots that were revealed when the fenders removed in the lower footwells have also been fixed. There were also small spots in the rear floors underneath the rear bench on either side; those, too, were repaired. The only remaining concerns before we get to paint is straightening out the right front bumper bracket (pushed in from a previous collision) and replacing the charcoal cannister inside the driver's fender which has rotted away.
I will be putting in some sweat equity on the next phase, working alongside Nelson, the master body man, to sand the rest of the body down and prep it for primer and paint. This will also have the added benefit of saving me some money (hopefully). To know this car will soon be ready for the final phase of bodywork - by far the most painful part of this whole exercise - is a relief.
There's still another heavy lift of mechanical work to do, but by God, we are nearing the end of this journey to rescue an 80s four-door performance car from the jaws of junkyard death.
Author: Jeff,
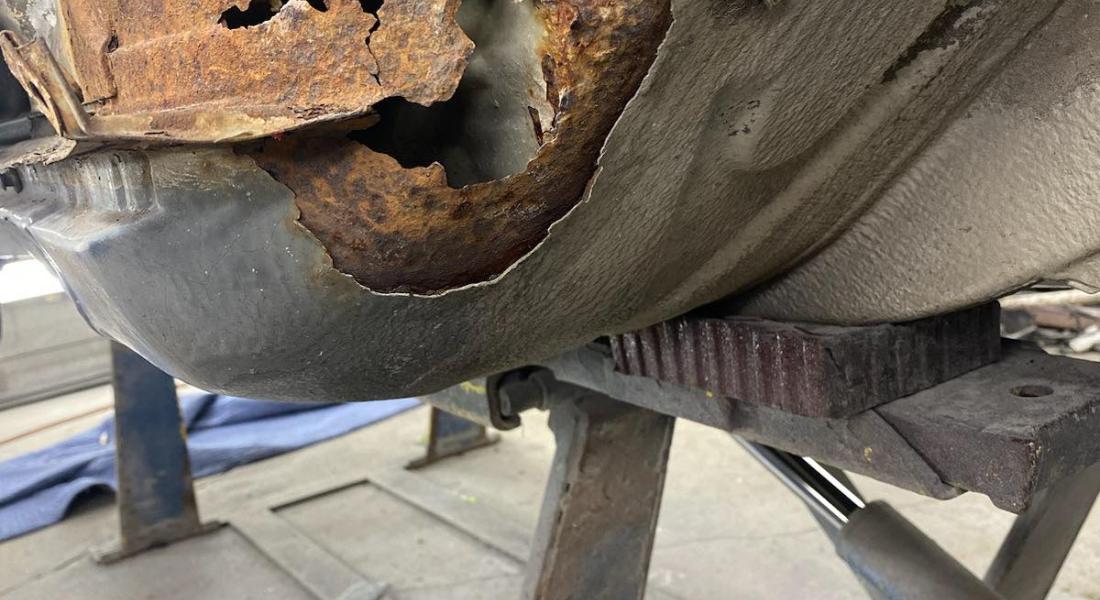
We are nearing the finish line on the bodywork phase of the Mercedes-Benz 190E 2.3-16 Cosworth. The rear bodywork was the most labor intensive; the next section are the rockers.
The rocker issues are twofold: one, there's typical rust that all neglected Mercedes of this era tend to have from the northeast. And two, the rockers were damaged when the forklift from the junkyard moved the Cosworth around the yard. The good news is the rust really isn't all that bad and, because it's hidden by the side skirts and body cladding, the repair work doesn't have to be pristine. It can be effective but not beautiful.
Before we started this project, I manage to track down brand new rocker panel replacements. They have come in handy already, both for offering section cuts for the specific areas of rust and for using the excess / unused material to fix other small holes. The dented rocker on the passenger side was pulled out using heat and a hammer, and the one on the driver side is much milder which will hopefully mean less work.
After this "affordable" phase comes with big one: sanding, priming, and painting the car.
Author: Jeff,
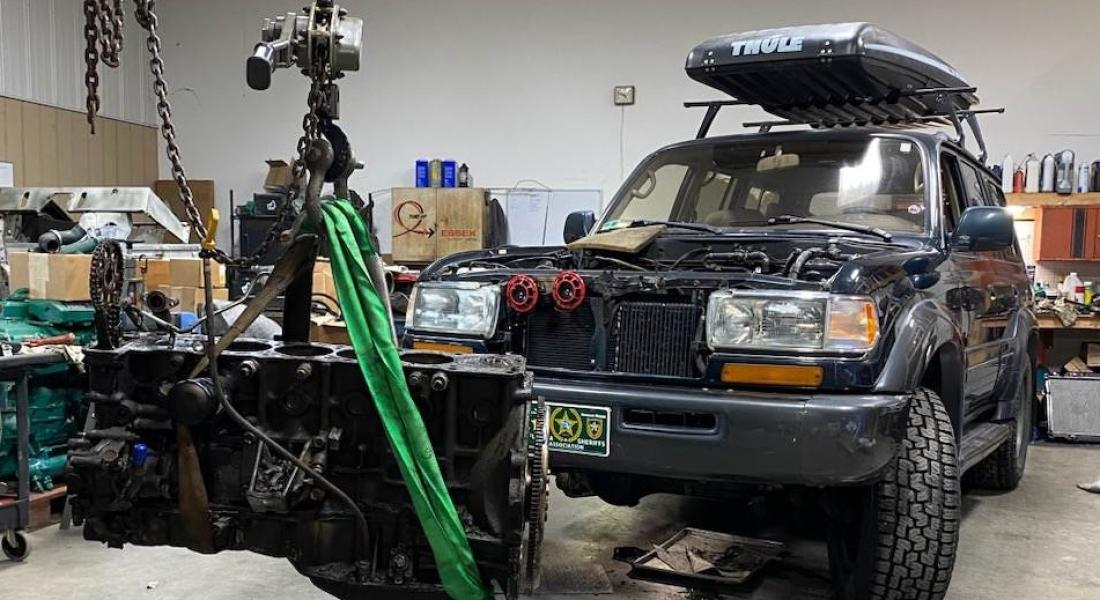
A few days ago, Jay of Jay's 4WD called me with a query. He said after removing the head, he was surprised to see just how far the chain reached down into the oil pan. Jay recommended replacing the chain as a sensible "while you're in there" project, but after seeing how it snaked through the very lowest point of the engine, he suggested we remove the whole assembly. This would free up space in his shop while waiting for the head to come back from the machine shop, and also make it possible to replace the oil pan gasket and rear main seal as further "while you're in there" projects.
Unfortunately, in an unrelated call today, Jay mentioned we're going to be spending more time at the machine shop. Upon closer inspection of the block, Jay noticed signs of rust on the surface where it mates with the head. He said he could just throw it all back together, but that he wouldn't feel comfortable offering anything close to a guarantee that I wouldn't have future headgasket issues. Further, he said most shops wouldn't even do the work knowing there was rust around the cylinder bores.
This creates two problems: one, of course, is that this truck continues to be more of a project than I ever anticipated. The second problem - and more of a concern - is the timeline. I was hoping to have it back at the end of March but the machine shop is already working out several weeks, if not months. At the end of the day, there's really not much of a choice here, especially since Jay has a relationship with this shop. We'll do piston rings and guides at the same time, and while all of this is spiraling way out of control, it continues to further guarantee the LX450 will be damn near bulletproof when it's done.
Are we having fun yet?
Author: E30 Emperor,
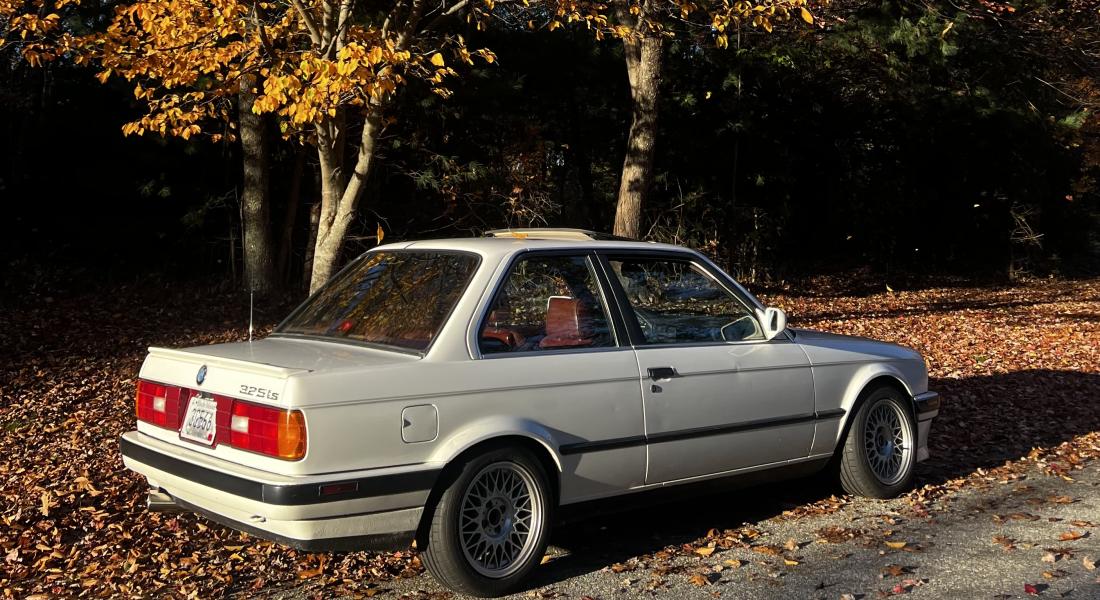
Trying to keep the status on my 88iS mostly OEM+....I really like the factory 14" basketweave that came on the U.S. iS E30s, but sadly another thing the US market didn't get from BMW, the 15" 'Euroweave'. The European spec sport wheel/basketweave was superior to ours, and though its subtle only being 1" bigger...It also has a deeper lip, and its extra size allows a lot more tire options.
Knowing this, I started the hunt and eventually found a very friendly fellow E30 Enthusiast from the UK. From him I purchased a freshly refinished/painted set of 15" Euroweaves. These really help fill in the wheel arches and give it a more aggressive look.
For tires, I decided to go with the Continental Extreme Contact Sports in all four corners. Up from 195/55/R14 to 205/50/R15, the new tires really dialed the car in and reduced a lot of roll. The grip from the summer tire vs. All season compound truly makes it a completely different experience!
Now this last part may make me sound crazy, but I swear I have noticed the steering has gotten a little heavier due to the extra weight of bigger wheels...Trade off is worth it though!
P.S.
Anyone have a lead on Euro caps? They are harder to find than the wheels!
Author: E30 Emperor,
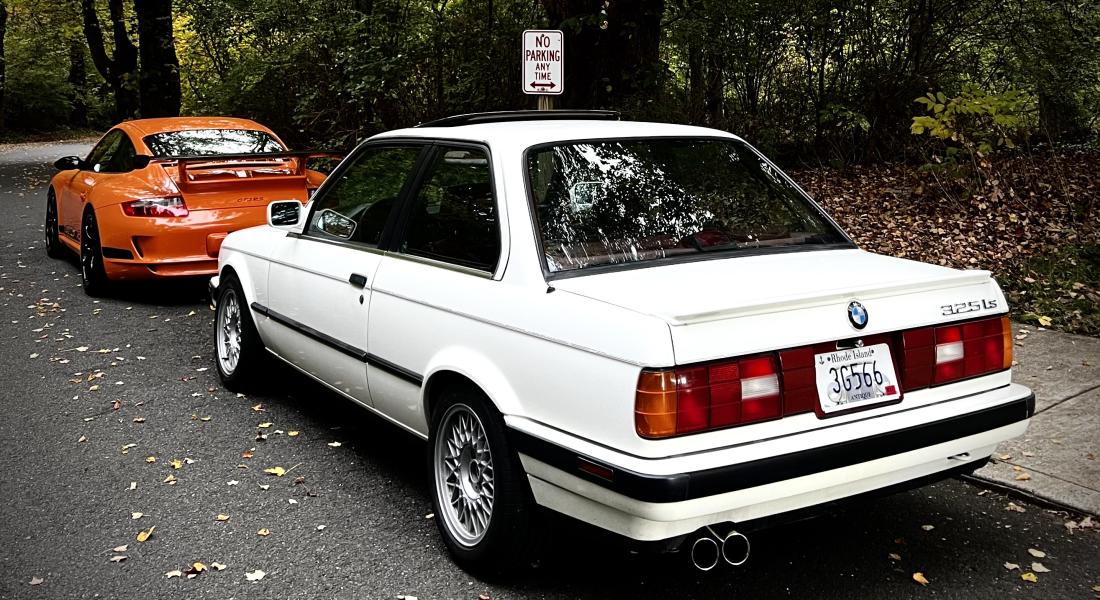
For me and most of us enthusiasts, hearing the car is an extremely obvious and exciting way to enhance the driving experience. But, like I said in my previous post, I want the car to remain relatively OEM+ without doing anything too crazy and obnoxious. After a lot of research and hours on YouTube finding sound clips, I decided to go with the Strömung E30 325i specific catback exhaust. I read some good things on the R3V forums, but quickly realized the posts were years old. I reached out to the company and the owner, Scott, was extremely receptive and personally interacted with me. Though they didn't currently produce them at the time I bought mine, he got the BPs and made one for me anyways. The quality is second to none, finished in a super nicely crafted polished stainless steel construction, resonated exhaust tips, and some of the better welds I have seen on an exhaust system.
Quite honestly, its not as loud as I wish it was, and sometimes I feel dumb spending the $ to make it just a little louder...But, it looks much better, and is probably the equivalent of a modern day factory optioned 'M Sport Exhaust'. Again, OEM+ was my goal!
Author: Jeff,
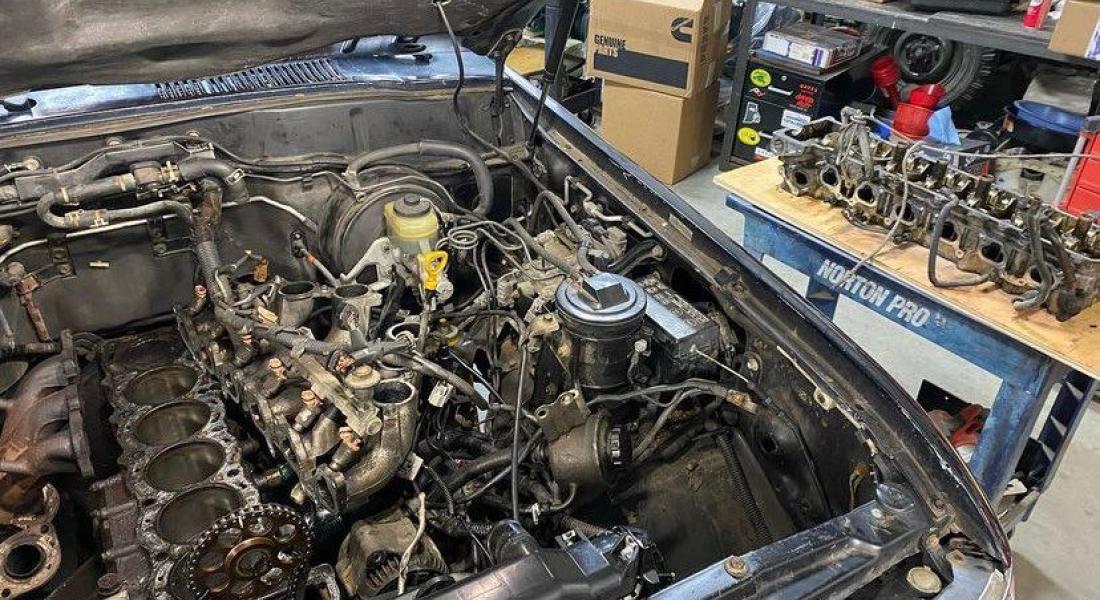
One of the few bright spots of the surprisingly endless Lexus LX450 project is the mechanic I have working on this truck. Jay, of Jay's 4WD, first came into the picture when I searched for someone to revive the long-dormant Isuzu Trooper RS project. Jay is a talented wrench, and he's since taken on the revival of my '98 Dakota R/T project.
I've used the local Lexus dealer for repairs on the LX for two reasons: one, a mechanic I knew from a previous project had since taken a job there, and two, it's entirely convenient because the dealer is close to my house. But when the headgasket issues materialized, I decided to move it down to Jay because I was growing weary of the dealer mentality that they would fix anything I'd like but didn't necessarily have the intuition to deduct months ago that headgasket issues were looming.
Jay has already dived in, and within two hours on a Saturday morning, he had the head removed from the LX450's inline-six and was in my neighborhood shortly after that to drop off the head. I'm going to run it over to a local machine shop that Jay has used for his boat engine repair business, and hopefully, we'll find the head is free of any cracks and can be decked and cleaned, ready to drop back in.
While I have been bummed out by the amount of work the seemingly most-reliable vehicle in my fleet has needed, I'm excited at the prospect of having a truck with almost every major mechanical component replaced - some much-needed peace of mind for a truck I intend to make my daily driver in the spring.
Author: Jeff,
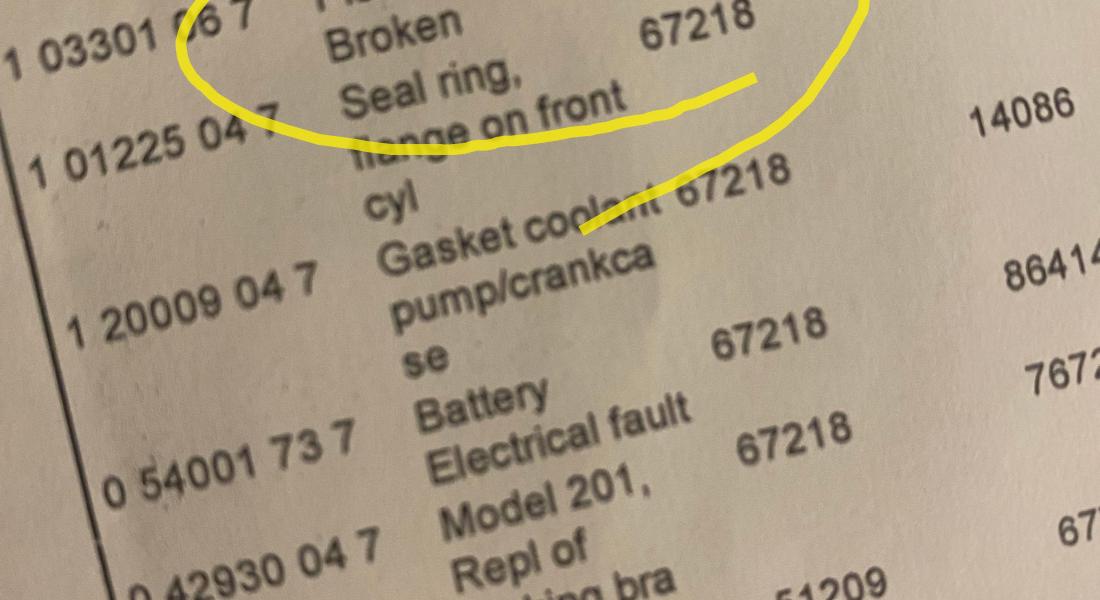
When I first got the Mercedes-Benz 190E 2.3-16 Cosworth home, I reached out to the dealership in Pennsylvania that was listed on the service reminder sticker in the windshield. I asked if there were any records of repair available, to which the service manager confirmed that yes, they did.
Amazingly, the service manager said he'd send me copies of the records they had on file, which were surprisingly complete. Now, most dealers will never release the service records, so I'm forever grateful this advisor agreed to do it. I look at the report every now and again, which confirms the 190E was well maintained before it ended up in the hands of the last owner before it went to the salvage yard.
The most interesting detail is that it dropped a piston at just over 66,000 miles. In terms of the Cosworth engine, there's not much evidence that the DOHC mill has a tendency to burn through pistons. Although the details are sparse on the service reports, I've always been curious how extensive the repair was, and if the dealership made other fixes "while they were in there."
We'll never know for sure what else was fixed at this time, but it's a fascinating anecdote in this car's colorful history.
Author: Jeff,
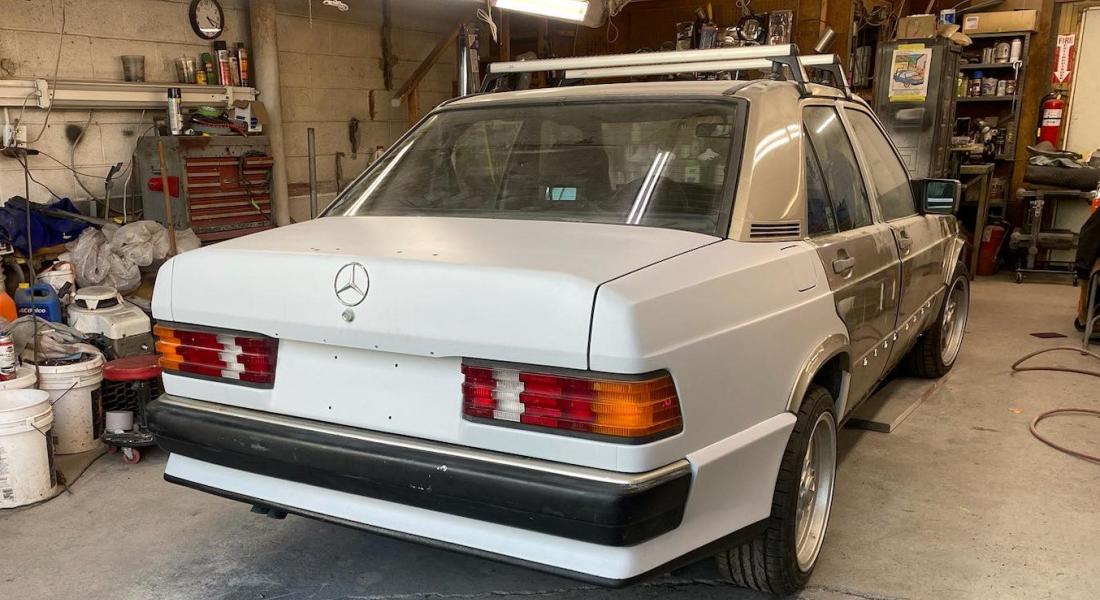
For years, I have proclaimed my undying love for the 1986 Mercedes-Benz 190E 2.3-16 Cosworth I rescued out of a junkyard in Pennsylvania. Let me explain why.
It's the car I wanted since I was 16; it somehow corrects the emotional debt I carried for years following a junior prom date not becoming the girl I would marry (despite hoping with every fiber of my being that it would be so.) I looked at a Cosworth at a local car lot with my Dad shortly thereafter and he was ready to buy it as a consolation prize (my father did not spoil us, but he followed a code that prompted him to act impulsively and out of love when his kids were truly hurting.) Suffice it to say, his colleague that owned the lot specializing in desirable European stock told him I'd put it into a tree within about a week, and that was that.
I know, there's a lot to unpack there, but this is why I buy needy cars - it absolves me from seeing a therapist. Anyhow, a Cosworth has remained on my car-buying radar for years. I've had opportunities to buy driver-quality examples but never felt inclined to do so. For some reason, buying this rusty, half-pillaged junkyard find was the trigger for finally bringing one home, which I find aligns curiously with the state my sixteen-year-old self was in when Liz and I didn't pan out way back in the year 2000 (God, that is a long time ago now - why am I still talking about this?)
So, to see the Cosworth entering its most prolonged, expensive, and agonizingly tedious phase - that is to say, bodywork and correcting years of neglected rust concerns and shitty repairs (I swear, they repainted this car with three times the necessary material - the finish is so ungodly thick) is giving me heartburn. Look, it's expensive, and I'm using the most sketch-ass version of a body shop there is, the equivalent of a backdoor card game in a bad neighborhood with prostitutes doubling as bouncers. It's the only way someone like me can afford to take on a dumb-fuck project like this.
I hate it. I love it. I hate seeing updates from the guy working long hours in a dingy garage with no ventilation because I know I owe him another $300 for something I didn't know was broken; I love it because I see that shape come back to life and all the emotions come roiling back, like I'm going to drive past Liz's house in this car and flick her off, just like I planned to do when my Dad was ready to pay Chuck Mitchell the measly $9,000 that would've bought a nice one of these 20 years ago.
All of that is in the past. It's just in the past. But the Cosworth is here now, and while I continue to chase every side hustle I can find and chuck shit onto craigslist in hopes of a quick buck or two - all driven by getting this project done this year - I find myself in that uncomfortable middle ground of wondering why we do this to ourselves as car enthusiasts, while simultaneously already knowing the answer.
Author: Jeff,
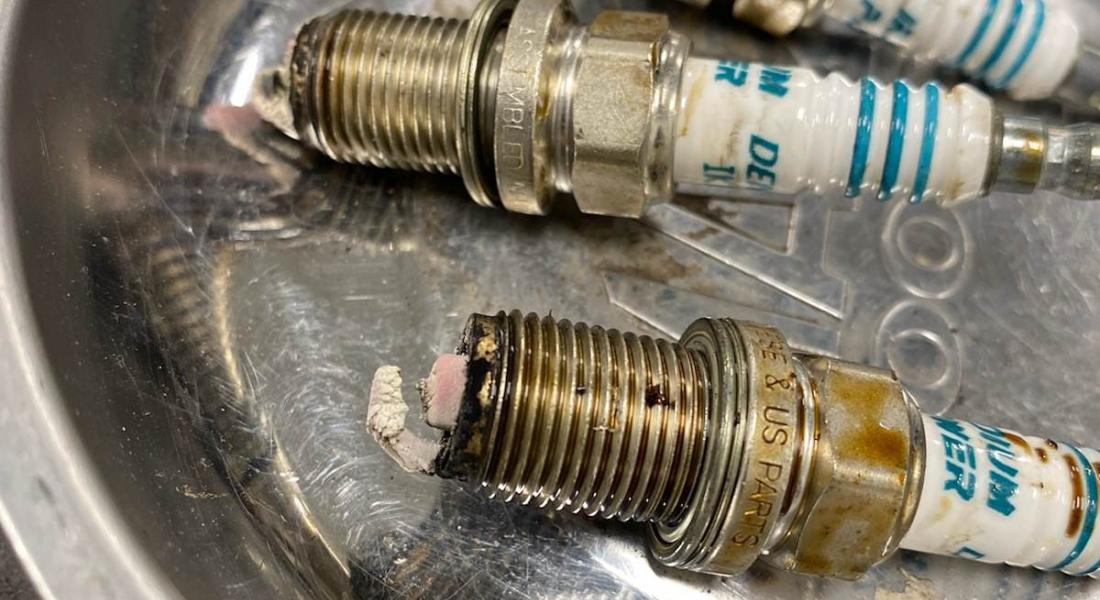
I regret to inform you I did not escape the dreaded headgasket failure on my '97 LX450.
Truthfully, I saw it coming. I had ignored some of the tell-tale signs and written them off as irrelevant. The entry in the history file indicated around 230,000 miles, an overheating event occurred, with subsequent entries showing a new thermostat, water pump, and radiator did not resolve the issue. Then it goes quiet, and another 20,000 miles are logged before I buy it.
I noticed a good amount of dense steam at startup - warm weather or cold - that looked like condensation but also had that awful smell that only burnt coolant smells like. But it would go away once the truck was warm, and I wouldn't see it again until the next cold start.
Then, an overheating event on the way back from vacation seemed to be tied to a dead fan clutch. Two more months of even-temperature gauge bliss. But in December, on a frigid night, I ran out of heat and the truck began to run warm. It was parked at the local Lexus dealer for a month wherein my friend Joe, the lead tech, observed the radiator was empty. He thought it was not the headgasket as a pressure test revealed no sign of exhaust gases in the system. But with no other explanation as to where the coolant was going, and the radiator otherwise intact, he pulled the spark plugs and saw the dreaded sign of internal coolant leaks.
To be perfectly honest, this was not an expense I anticipated. And I had just decided my plan going forward was to sell my E91 in the spring to shore up the maintenance budget; buy a 996; and use the LX450 and Dakota R/T for occasional daily driving duties.
The new plan is to get the Lexus down to my friend Jay, who revived the Trooper, and works almost exclusively on old Toyotas. This pushes everything off a bit but I need to get the Lexus buttoned up once and for all. And truthfully, once the HG and chain are done, there's very little else that can go wrong on this thing. God willing.
Author: Jeff,
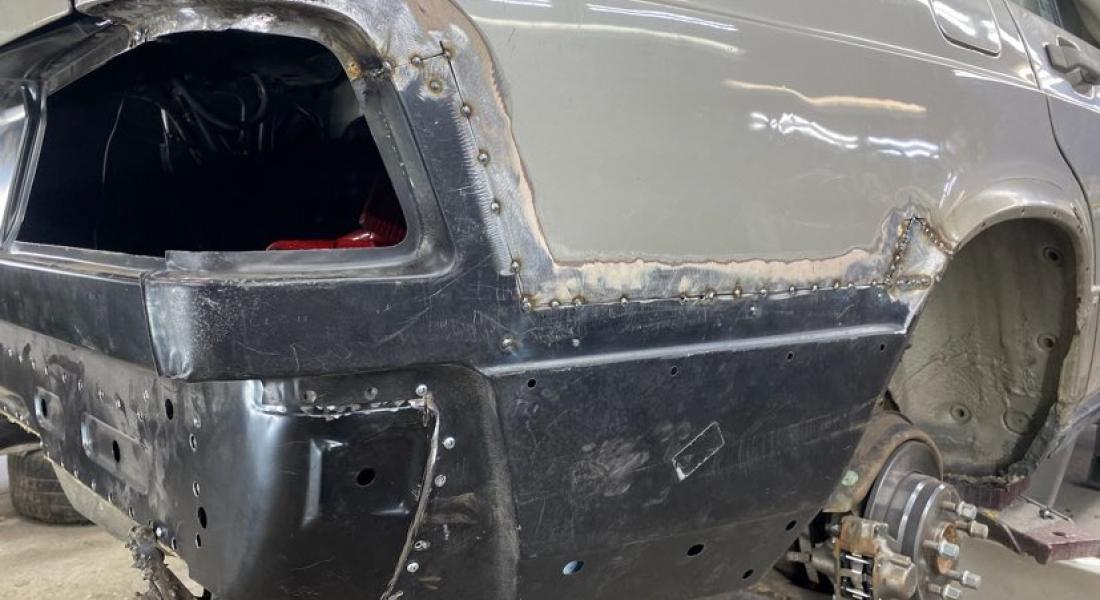
Just a quick update here: the Mercedes-Benz 190E 2.3-16 is coming along. We're chopping up the bodywork into phases so I don't go broke. First is the rear of the car, which is the worst and most complex.
Fortunately, $160 worth of replacement rear quarter panels and a $180 taillight panel are saving my butt and budget. These pieces have been chopped up to repair various sections of the rear quarters (with the exception of the taillight panel, which was just cut out entirely) and have yielded significant time and material savings. I have no idea why a Japanese company sells replacement quarter panels for a W201 chassis car, but I am glad they do.
The trunk lid has to be repaired next. I bought a junkyard lid which we will use to swap the Cosworth spoiler over to, as the original trunk was too heavily damaged by the bozos at the salvage yard that ripped it open when they couldn't find a key.
Once this is done, it will be sprayed with primer and parked until I can scare up the cash for the rockers.
Author: Jeff,

As you may recall, the Lexus LX450 - what should be the most reliable project in my fleet - has been sitting at Lexus of Warwick after an intermittent loss of heat and temperature gauge spike occurred one early winter night. The heat would cut in and out and then just stopped, and the only way to get the temperature gauge down was to open the vents up to full-blast mode.
This was maddening, as the cooling system has been completely gone through. My mind jumped to a heater core job (miserable and expensive on this era of Land Cruiser) or worse, a failed head gasket.
I left it alone for several weeks, getting through Christmas without so much as texting Joe Manzi, my mechanic. I finally broke down and asked him to give me the news, which turned out to be better than expected. Joe couldn't find any leaks and even tested the cooling system to make sure it was free of any exhaust gases. The only culprit he found was a radiator that had lost a gallon-and-a-half of coolant. Now, this is good news because more than likely we are dealing with a faulty radiator as Joe noticed dried coolant around the base of the radiator and the previous owner swapped in a Chinese-made replacement not long before I bought the truck.
It could be a case of it being too good to be true and to be honest, I haven't heard from Joe since last week (guessing he's moved on to other things after babysitting my truck for a month and potentially finding a root cause.) I would be ecstatic if this mysterious heating/cooling issue turned out to be a case of a faulty radiator.
Author: Jeff,
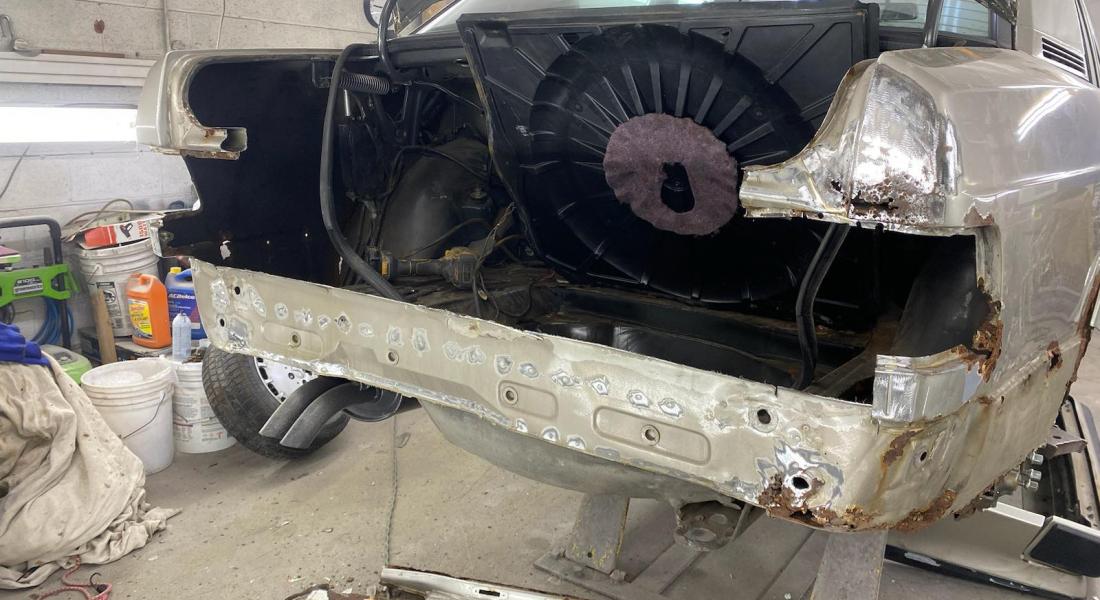
I feel like I'm at the meeting in the church basement, admitting that this was not a good week for me. I gambled, I drank, and I ate too much. Some avoidable missteps where I failed my friends and family after a few solid months of avoiding what leads me to sin.
My body guy pulled the rear bumper and lower skirt. As expected, this was pretty distressing. I knew this was going to be the worst part of the car, but I didn't know how bad. The rear taillight panel is actually pretty straightforward, as I have an OEM panel to weld in. Frankly, it's the easiest part.
The lower rockers are pretty bad. That's the disappointing part. I was foolishly hoping I'd see clean sheet metal underneath the rear skirt but I knew this was unlikely given how we could already see daylight in the lower pockets of the trunk on either side.
The shop is still trying to knock this out in a week to keep costs contained; fingers crossed we're done with the rear panel by Friday so my budget isn't blown out before we even get started.
Author: john,
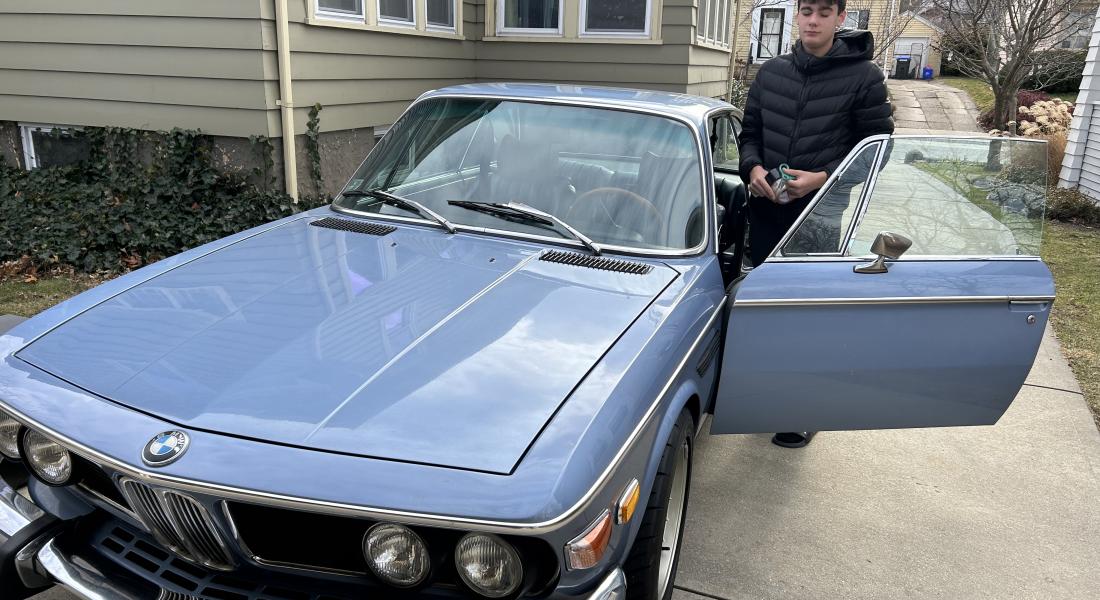
Not much to say— she’s headed to a space filled with other interesting cars for some winter R&R. You have to drive them; she’s been sitting for too long. So, going to go through everything and give her a clean bill of health, and be ready to hit the road.
Author: Jeff,
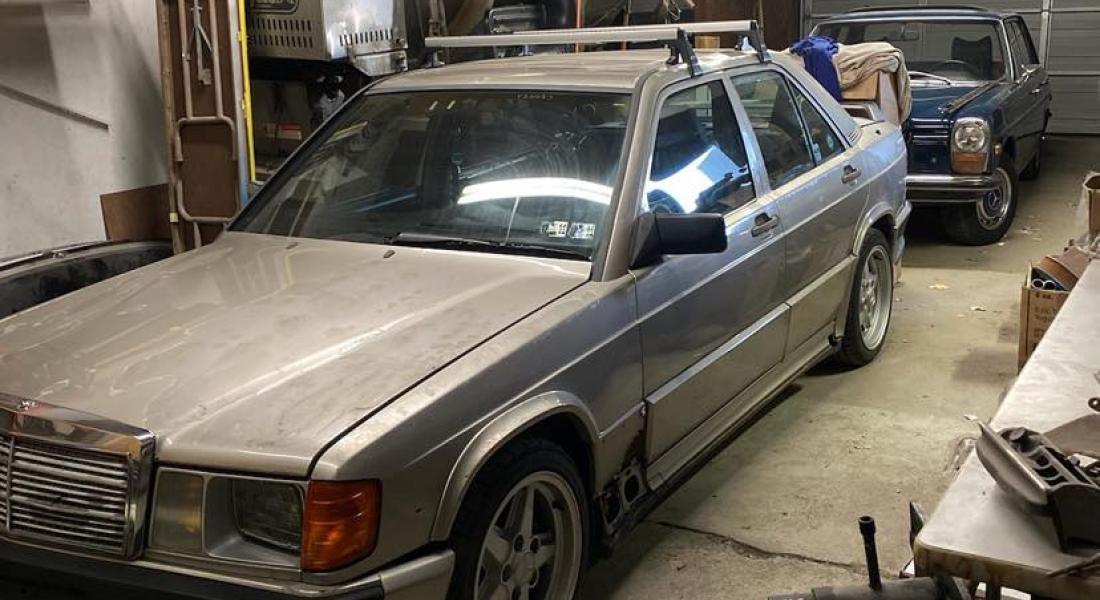
Most people would be excited to hear from their local service department that an update is ready on their vehicle. Not me.
So, I've had this Mercedes 190E 2.3-16 since 2018. Since that time, it has been made into a runner. But really, just a runner. Nothing more, nothing less. Considering it arrived from the Pennsylvania junkyard I found it in with no fuel system, radiator, or rear windows, being a runner is a pretty big deal.
Now, my body shop that made the Trooper RS into a whole vehicle is taking on the Cosworth. This is sort of my siren song in the project car world. I can't do more big projects. Other responsibilities need to take over. Family, retirement, and all that. Those things have still been humming along just fine but I'm tired of spending money on cars. It's time to take the kids to Disney World, or something.
Still, the Mercedes has to get done. And my body guy called and said, "It's time." Time to tear out the back taillight section and weld in a new panel. Time to patch the holes the floor with fresh metal. Time to do something with the rear quarters involving a bit of filler, fiberglass, and metal. Time to replace the trunk lid with one that wasn't torn apart by the salvage yard when they couldn't find a key. I've gotten too close to this project being complete to stop now, and while the next few months will be brutal, I'm optimistic it will be worth it. I do love driving this car and have wanted one longer than any other.
More updates to follow.
Author: Jeff,
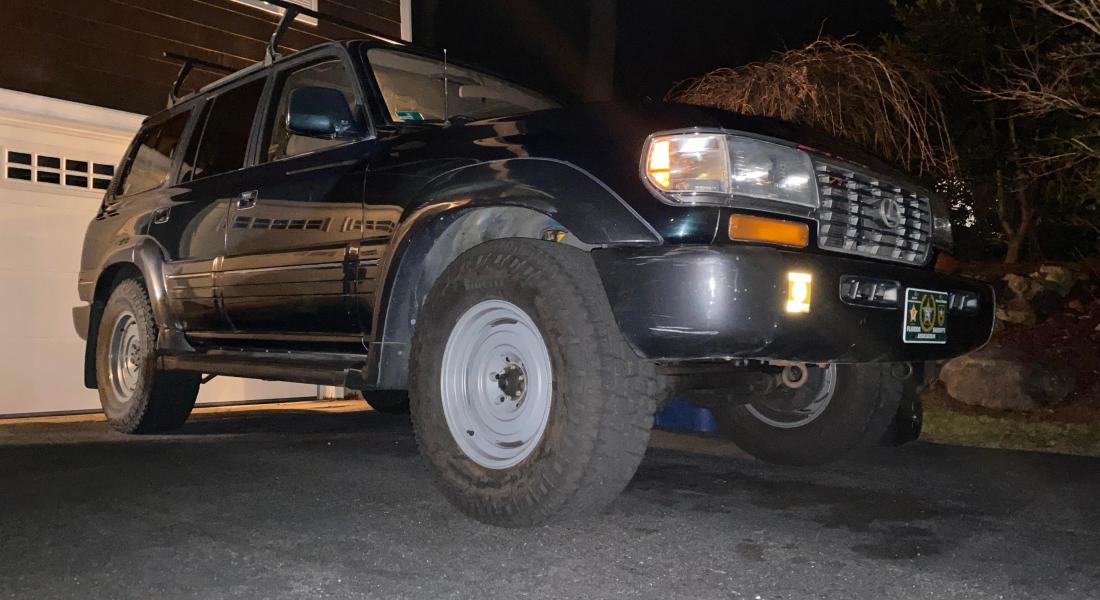
The LX450 was supposed to be my gateway into Porsche ownership. Why? Because if the LX450 proved reliable enough, I would sell my E91 - which, as I've noted, is growing long in the tooth - and use that money to buy a decent but cheap 996-chassis 911.
The problem is the LX450 has not exactly been, how do you say - daily-ready. I bought it knowing there would be a fair amount of deferred maintenance to deal with. It had been used as a daily by the previous owner, but like most older vehicles, the list of non-essential repairs left for someone else to deal with began to grow.
We've sealed every leak; changed every fluid; replaced every cooling component; and fixed a variety of issues, from a seized A/C system to blown rear shocks to a spare tire mount so rusty it was deemed a road hazard.
I got to drive it for several weeks without issue, sort of a litmus test for becoming my eventual daily. I was going to have some rust repaired and move it over to a conventional insurance policy. But then last week, the heat became intermittent and my temp gauge began rising and falling, rising and falling.
The truck was already slated to go back to Lexus for a quick oil change to a heavier-weight oil to see if it helped with some to-be-expected oil consumption, transitioning from synthetic to Shell Rotella 15W-40 diesel oil. Except now, we also get to diagnose whether the heater core needs to come out.
As you can see, the seemingly most reliable vehicle in my fleet is becoming a bit of a nuisance.
Author: Jeff,
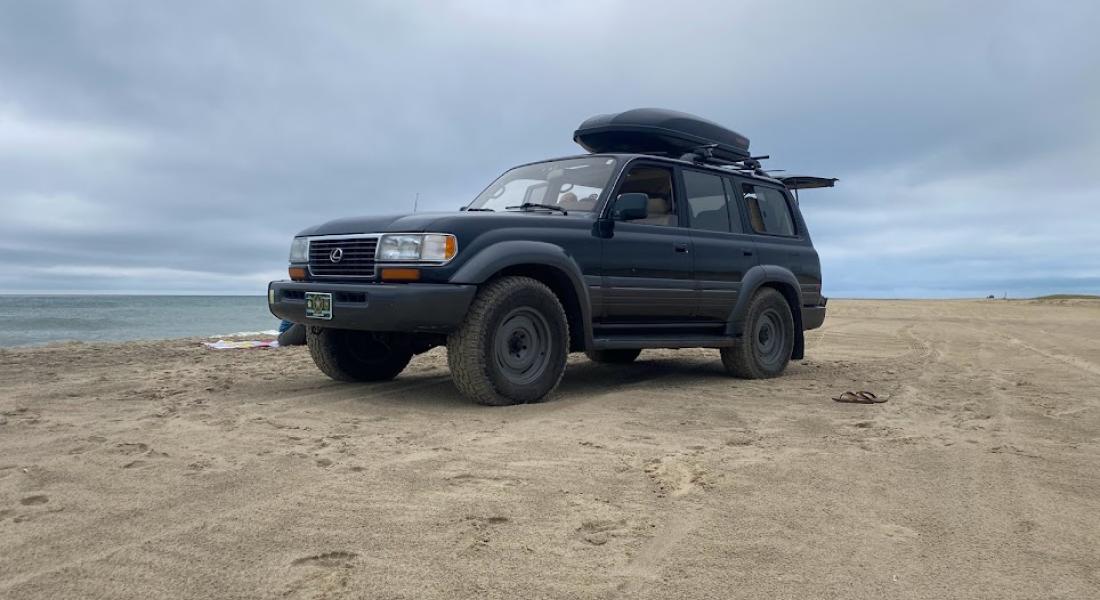
We took the LX450 to Martha's Vineyard this past week, where my entire goal of getting it over-serviced was driven by the goal of driving it on the beach. So, we did this and it was awesome. Combine the experience of driving overland with the shoulder season dynamics of there being far fewer people on vacation than at the height of the summer and we had the whole place to ourselves. We cannot wait to do it again.
Prior to leaving, I grabbed my Scan Gauge tool out of the Eurovan so I could turn off a pesky check engine light with the dreaded P4101 code, which is usually an impossible-to-find vacuum leak. In keeping it hooked up, I was also able to monitor the temperature.
Now, a few things were happening in the background that gave me pause: one, I didn't hear a fan roar when the aux unit should kick in, and I didn't notice a dip in the RPMs when said fan kicked on. I also saw on the first drive out onto the beach with low range selected that the temperature gauge moved ever-so-slightly (which, in this truck, it never has.)
I have driven the LX pretty regularly since I got it, and never noticed the temp gauge so much as wiggle. I chalked it up to my being overly-cautious in my first time on the sand and also having low range engaged. However, this was the definitive "canary in the coal mine" moment.
When driving home, I kept an eye on the Scan Gauge and noted it was sitting right at 194, which is exactly where it should be. Once or twice, it kissed 210 on the island, but with operating temp range being 180-210, this was not out of line. However, a diversion into congested Providence to pick up a cake saw the gauge move in dramatic fashion towards the red, and temps spike to 220. We had to keep shutting the truck down and waiting for gaps in traffic to make it home without overheating, but given the water pump, thermostat, and radiator are all new - and combined with the silence of the fan blade assembly - I am very confident we have a dead or dying fan clutch that may have given up the ghost when the truck was working hard over the sand.
Needless to say, I ordered what is known as a LandTank modified Aisin fan clutch that is customized to trigger the fan at 95 degrees and also uses a higher-threshold fluid to ensure steadfast, high-performance operation. Hopefully, there's no long-term damage caused by the brush with the danger zone and this modification otherwise makes what was an excellent first outing with the truck repeatable without the panic of a rising temp needle.
Author: Jeff,
I have been on a bender with the Lexus Land Cruiser. Here's why: we leave for Martha's Vineyard in a few days and I want to drive it on the beach. This means my wife and two young children will be in tow.
So, that's why the A/C had to work; why the leaks had to be stopped; why the bodywork couldn't be dented; and so on. It was a mixture of having it be comfortable and also not look like a heap (my wife is more concerned about that last part than I am.)
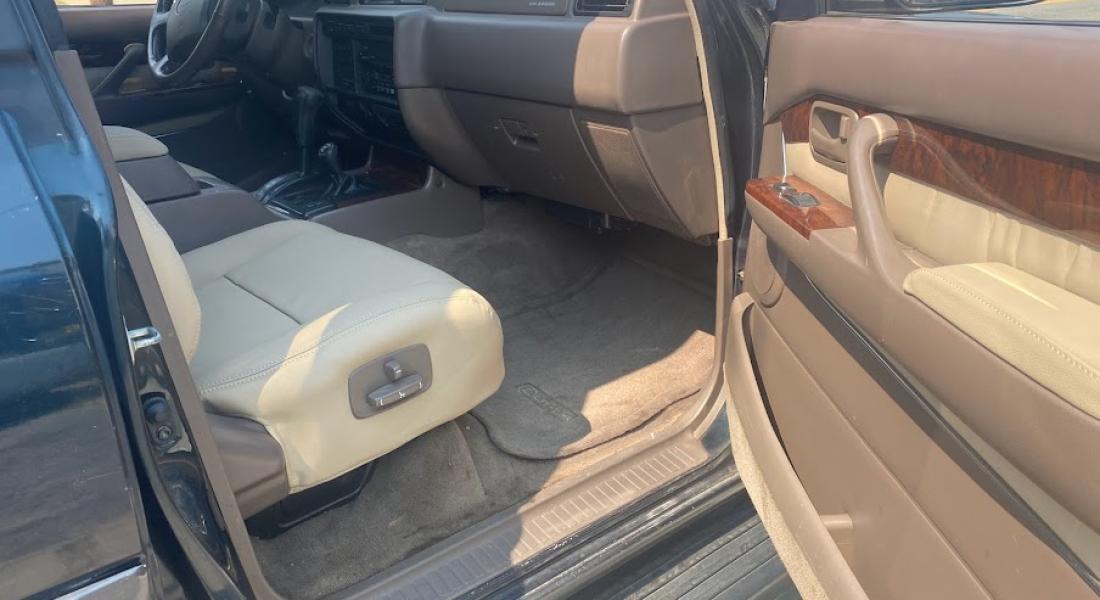
The A/C was a big deal; the truck is very comfortable inside. But grinding my gears on a personal level was the trashed driver's seat and the not-much-better passenger bucket. The good news is a company called L-Seat out of Houston sells very reasonable genuine leather kits, and in a color called "Oak" which is a very good match for the Lexus leather.
I took the truck up to my new go-to for upholstery work, Charles St. Auto and Boat Top. Dave, the owner, works very quickly and does great work. The kit also included new material for the center armrest and armrests above the door handles. I also spent a ton of time steam cleaning the entire cabin, removing what stains I could, and refreshing the rest of the leather.
Overall, it feels clean; smells good; and the front buckets will make both me and my wife very happy to spend a week in this truck. It goes back to Lexus tomorrow for a very quick check-over before we leave the mainland.
Author: john,
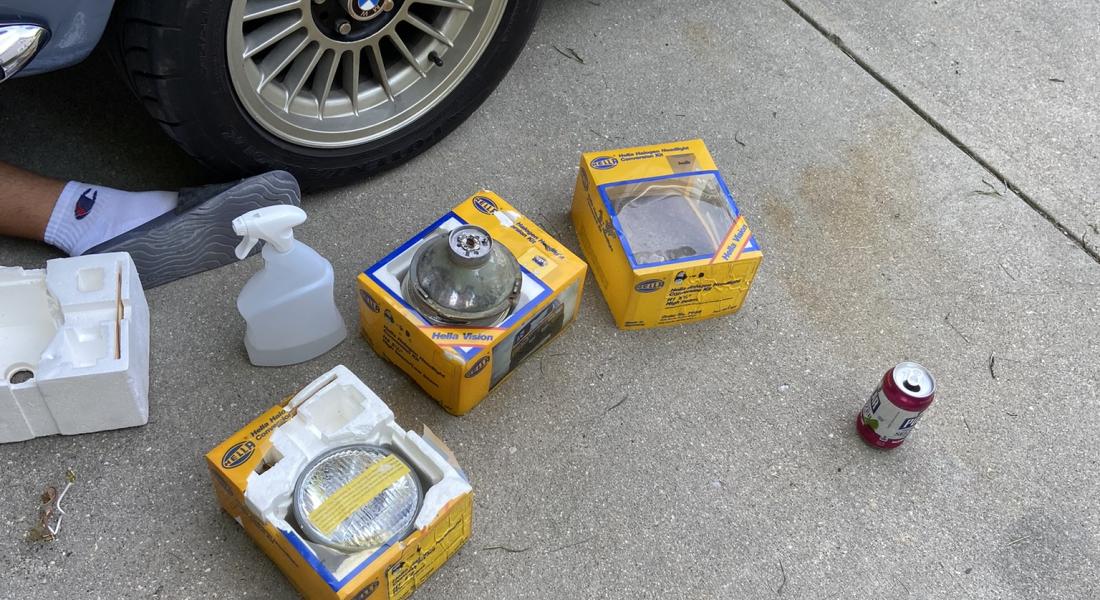
Like Rock Park is the best. The Vintage Festival is great. This year it was even greater as I was able to pick up a set of NOS Hella H1 headlights for a song. Now, I really didn’t need these, but along the way one of the lights was replaced, leaving one much newer than the other three, which always set off my OCD. The best part about this is the old ones go back in the boxes and on the shelf, so reference material is retainer. OCD corrected!
Author: E30 Emperor,
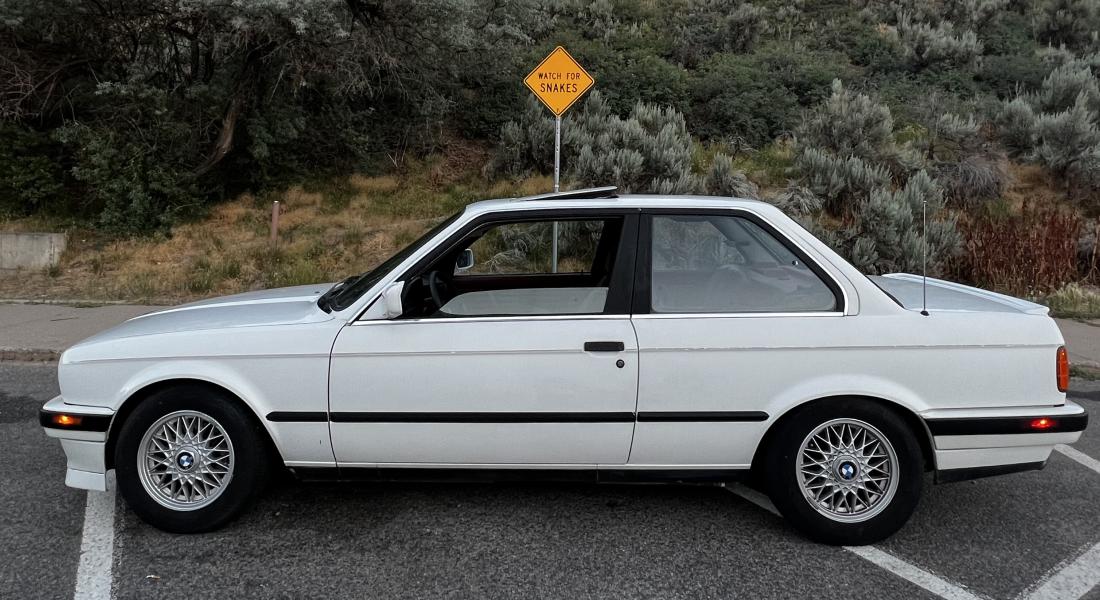
This is my new pick-up, and first drivers car in four years. Feels so good to be back in a manual car with real driving characteristics. I will do another write up post to explain my story on how I picked this car up, and found it, but for now, let me just give you some basic information on her.
Its a 1988 BMW 325iS. If you are an E30 expert, you may be wondering why this 1988 has plastic bumpers. Technically, this is an early model, as the metal diving boards were swapped out in favor of 89-93 MY plastic bumpers by the previous owner. Okay, theres definitely a trade off we should talk about. I think plastics look better objectively, but the metal diving boards definitely add some character, and make the car look much, much older, and a little more vintage. Diving board bumpers SCREAM I am A Classic 80s Sports Car.
This car is a 3-owner, I am the fourth, and spent its entire life in the dry, moisture free climate of Idaho. Luckily it has no accidents reported, and PO claims it was never resprayed. I dont see any run off, or paint inconsistency, so I do think its original paint. HOWEVER, (again, this is trivia for our expert BMW guys) it does have the front air dam painted in the wrong color. Early Model E30s (84-88) had a different shade of Alpine-Weiss compared to the 89-93 cars. The front air dam was resprayed Alpein-Weiss2, which doesnt look bad, but definitely a brighter shade of white. Not too big of a concern though.
Everything works - AC, Gauges, ODO, OBC, Power windows/sunroof, even the antenna motor still works, though she sounds very, very tired, and I cringe everytime I hear it struggle to come out of its shell. Oh well.
Alpine White Paint shows nicely, has its flaws, but still cleans up very well.
Cardinal Red Sport Interior, with matching door cards, carpets, seats, rear seats, etc. Drivers side does have a tear in the left bolster. I want to get it re-upholstered, but the entire interior color has faded so well over the last 34 years, its almost cranberry colored now. I dont want it to look out of place. I am 6'4" 210lbs, and when I get out of the car that left hand side bolster definitely takes a beating. Should I feel guilty about that? No, its my car. Do I feel guilty about that? Yes. Terribly guilty.
The highlight of this E30 is its driving characteristics. Fresh set of OEM Bilsteins, and SLIGHTLY lowered on H&R Sport Springs. Sits perfectly. It also has a Z3 steering rack - So the entire range of steering angle is cut down by 30%. 4.0 Turns Lock To Lock Standard, Z3 Rack brings it down to 2.7 LTL. I recently drove a Shelby GT350 with Pilot Sport Cup Tires, and Magnetic Ride Suspension. This E30 has better turn in. Yes, better. Granted its 900lbs lighter. The car is so dialed, and it really is on absolute rails. Body roll shows its face, but not negatively, you just need to work with it. Once the steering is loaded up, this car is one very, very sticky piggy. Limiting factor is the tire.
This car, though it has 260k on a working ODO, the transmission was swapped out with a low mileage refreshed unit, and the head was subsequently rebuilt under the previous owners care. I will say however, the trans can pop out of first gear when its cold. Could be a shift linkage that will cost a couple hundred bucks and an afternoon. Could be the engagement teeth that will cost a trip to the shop for a new tranny. Hoping its the former.
This car was driven a couple times a month before my purchase. I hopped in it, and drove it home 2700 miles sitting at 80-85MPH at 3-3.5K RPMS. The car runs like a top. Fresh valve adjustment too, engine does not tick at all...I thought all M20s ticked. Guess my last one needed a tune up.
Overall, excited for the future with this thing - It is sublime to be behind the wheel on a twisty backroad
Author: Jeff,
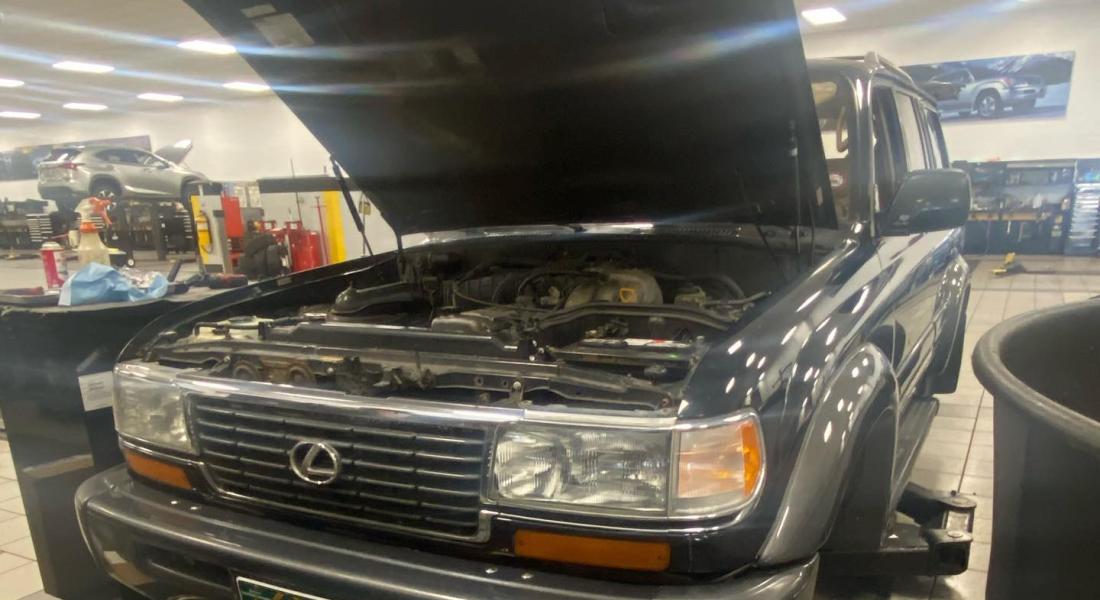
As I mentioned, a friend of mine (Joe) works for the local Lexus dealer and he's worked on my vintage projects in the past. He agreed to take on the LX450 and has been dissecting the truck in a fairly comprehensive fashion. Here are the updates on what we knew and what we didn't:
-The A/C system is completely seized up. Basically doing a complete tear down here, in addition to replacing the condenser and compressor.
-The power steering leak actually wasn't the cooler but just every damn hose. Effectively, every hose is being replaced.
-The suspension is pretty tired. Shock bushings = gone, same for sway bar bushings. I'm going to save a major suspension refresh for when we lift it but replacing all bushings and rear shocks in the meantime.
-Rear hatch didn't work because the inner latch was gone. Pretty simple fix.
-Going to replace water pump, thermostat, and flush transmission fluid proactively.
-Crank seal leaking oil. Joe is going to try and sneak this into the A/C job.
-Spare tire mount is completely rotten. Replacing chain mechanism with assembly from a Texas truck.
More I'm forgetting! It's a long list but nothing too scary, and will make me way more confident putting the family inside and heading out to beach at some point this summer.
Author: Jeff,
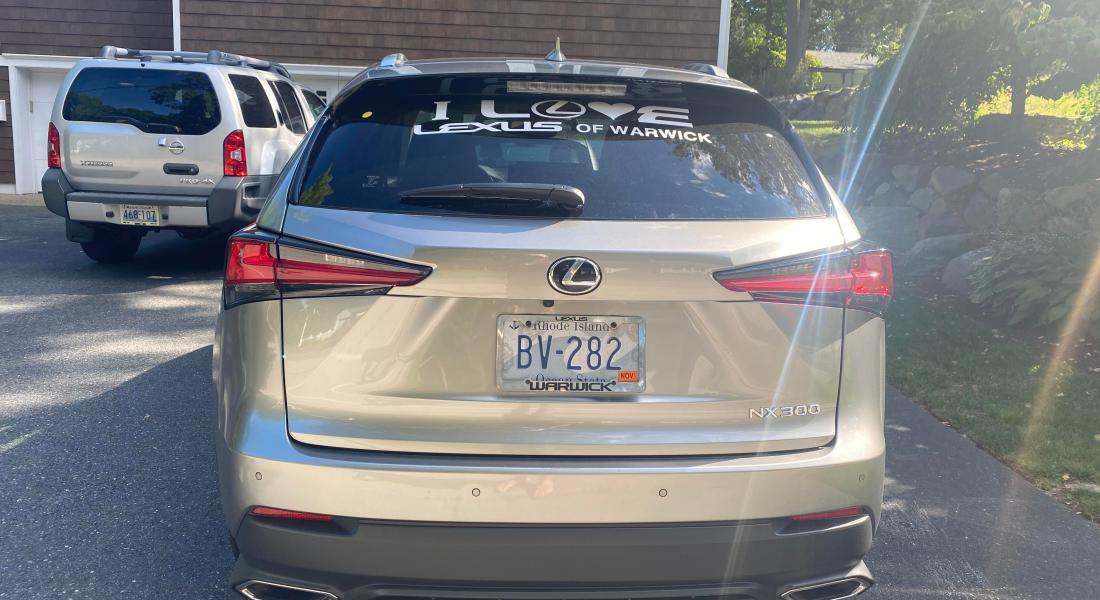
I have a connection with the local Lexus dealer that has proven helpful over the years. Joe Manzi, a former technician with the now-defunct Oxford Motorcars, joined the Lexus dealer technician team in Warwick, Rhode Island, a few years back. Joe worked on my E21-chassis BMW 320 and my extremely obscure 1981 Toyota HiAce wagon. He was a life-saver time and again on that HiAce and I'm sure he was grateful to see it go onto a new owner.
The Lexus LX450 I picked up recently had some needs. The power steering leak, non-working rear hatch, warm A/C, and no evidence of recent transfer case or transmission fluid changes. All told, I wanted to get Joe's capable eyes on it to address some standard, deferred maintenance along with flagging anything I should be mindful of over the long-term.
He has yet to text me with an update, which is good and bad. It either means he's found nothing out of the ordinary or the list of needs has quadrupled he's afraid to call me. To that end, you have to take advantage of the few perks going to a dealer affords you, so I didn't hesitate to take the complimentary loaner car they offered me while they work on a 248K mile LX450 that is profusely leaking power steering fluid.
And hey, for a brief minute, the neighbors may even think I've come to my senses and purchased a reliable, late-model vehicle. Joke's on them!
Author: Jeff,
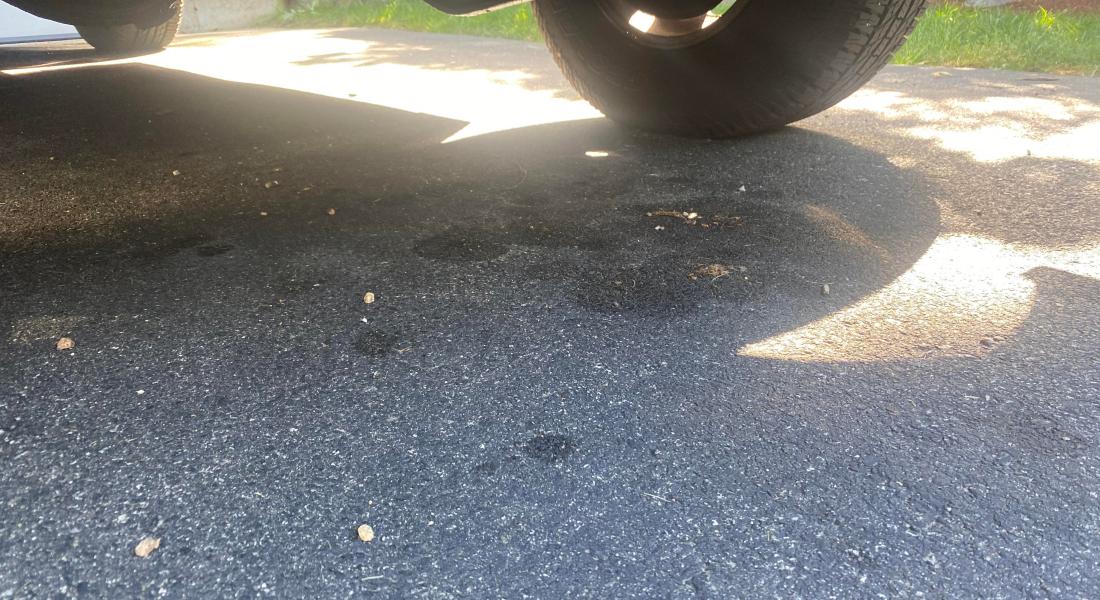
The Lexus LX450 arrived with a pretty powerful stream of fluid terminating from below, and the best guess so far is the power steering oil cooler. Of course, the cooler consists of hard lines and therefore can't be replaced.
There's the possibility that the leak is coming from the power steering reservoir itself, as there's a few accounts online of a misdiagnosed leak being traced back to the very cheap fix of replacing some O-rings inside the tank itself.
My friend Jeff, a professional mechanic who arranged the sale of the LX450, said it's the hard lines going into the cooler. I have no reason not to believe him, so I tracked down a used cooler assembly from a place in New Hampshire that deals exclusively in Land Cruiser parts. I've also got an appointment on the books for the truck to go to the local Lexus dealer for this repair along with proactively swapping the water pump, thermostat, and drive belts while it's there. My good mechanic friend Joe Manzi, from the now-defunct Oxford Motorcars, will be handling this job, which I'm pretty psyched about. Joe's a great guy and an excellent mechanic.
The tags from Vermont should arrive shortly, and then we can get this thing some beach passes and take it on the sand!
Author: Marek,
I've often referred to 944s as a German Pickup. Open the hatch, lay down the rear seat, and you have the open space to rival any comparable car. They will swallow bicycles whole or all the camping gear for two. Here we see my 944S serving as a communications platform for the 2011 Mt. Washington Climb to the Clouds. Tucked away under the upper hatch lip on both sides of the car are threaded hard points for mounting a rack. I fabricated a good looking bracket to use the right hard point and provide a mounting surface for a 60" Amateur Radio antenna and we provided radio communications support for the marshal station 3 down from the top of the mountain.
This was just three months after acquiring the car and in the last picture you can see a pair of cosmetic details I later resolved. The stone guard on 944s is a 6-piece set around the wheels. The original material ages and eventually turn black. Look at 944 ads and you will see most are discolored. The fix is simple and relatively cheap; but so many owners miss this detail.
Author: Jeff,
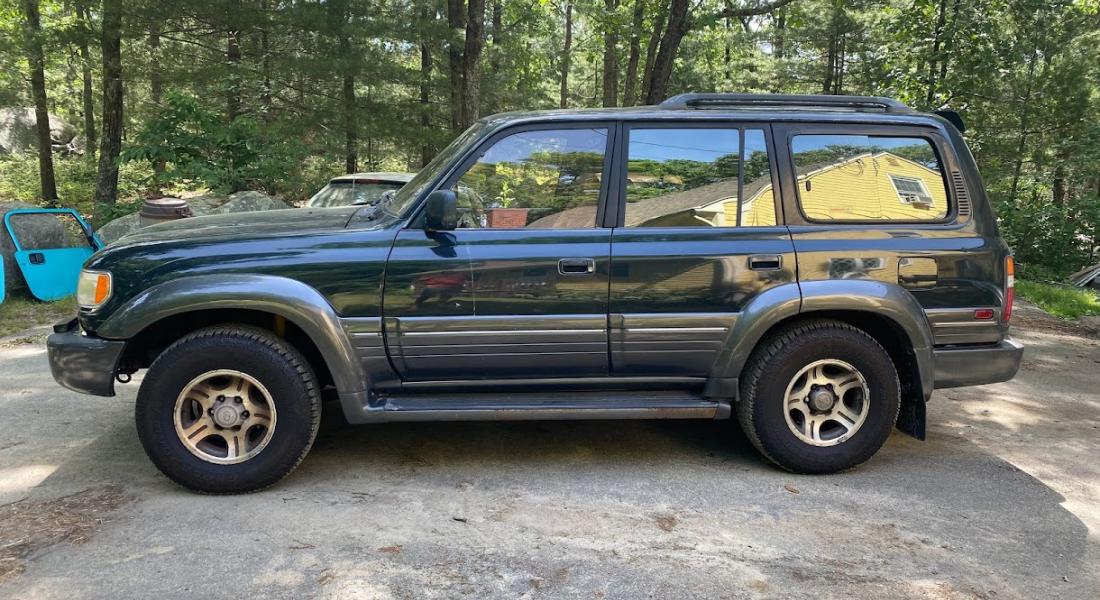
Well, although it seemed like a pretty done deal, I confirmed today I will finally be a Land Cruiser owner as of tomorrow. I've been searching for a very specific truck - the FJ80-series Land Cruiser with the Lexus trim, otherwise known as an LX450 - and my friend Jeff, a local mechanic, snagged this one from a customer.
The cherry on top was to find one wearing the pretty shade of blue/green paint that was unique to the Lexus variant. This truck, which I inadvertently took a picture of in the background of a photo of my departed Trooper, belongs to a family from Newport, RI. I visited it in person today and while it needs a serious detailing and has some rot issues to resolve, it's surprisingly solid for a New England truck.
It drives nicely; runs cool; and any negative surprises (so far) have been pleasingly mild. I keep forgetting this is a Lexus from the golden-era of Toyota's luxury arm over-engineering everything they built. The Lexus does have some leaks, primarily an oil leak from the pan gasket area and a power steering leak. The rear hatch took a direct hit near the lock mechanism, and as such, it doesn't open. The driver's window falls off the track if it goes down all the way, and the radio just blows static.
Overall, minor faults, and while the rust will need to be addressed, it's contained and I have a good local resource now for rust repair (even though he hasn't called me back about when the Cosworth can come by....) More to the point, we can use it as I've always intended, which is a vehicle we all fit into that can drive down to the beach and back when called upon.
And, when funds allow, we'll find some must-have off-road pieces, like a set of wheels from 1552, larger tires, and an ARB brush guard with some period-correct off-road lights. Exciting!
Author: Jeff,
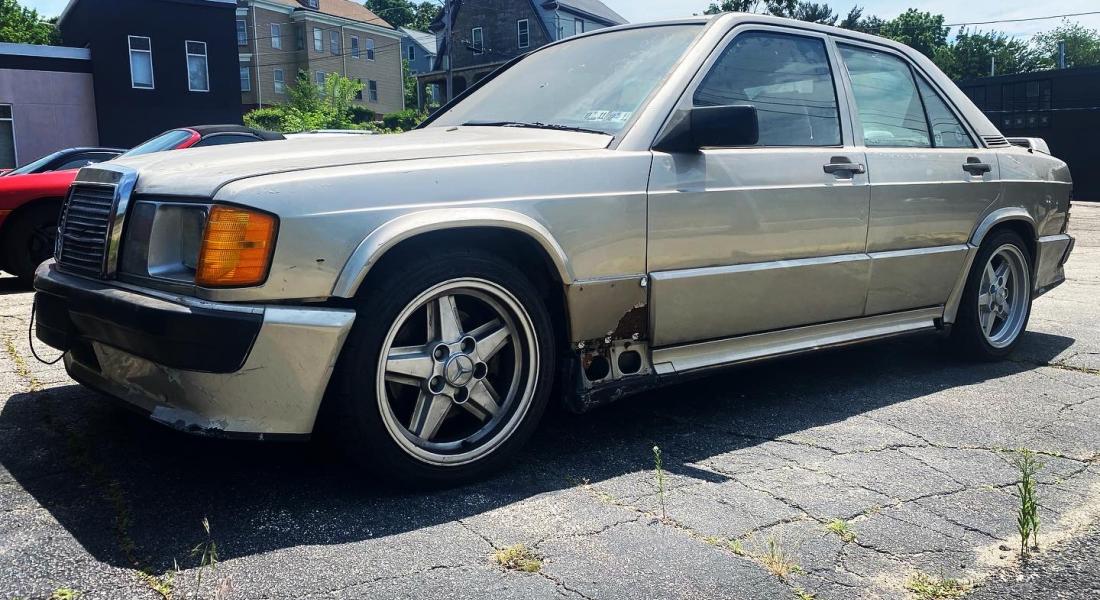
This was a big day. I really wasn't expecting to do much when I stopped by German Motors other than to get a code read on my 2011 328xi, which finally let me know that the passenger front axle and speed sensor are crying uncle. But Gerry tossed me the keys to the 190E so I could see how confident I was driving it out of there next week. Let me just say this: what the hell.
May I remind you I bought this car sitting on its belly. No wheels, no radiator, no indication it would ever run again. As of this week, it happily runs up and down North Main Street in Providence, rowing through the gears, maintaining temperature and a steady idle. It's as fun to drive as I had hoped. It makes absolutely no sense that I bought this car, but I now feel increasingly vindicated that I did the right thing by saving it four years ago.
This is also a reminder of just how incredible Mercedes products of this era are. These are overbuilt machines, a quality I certainly recognized after owning a standard 190E 2.3 and my father running through a lineup featuring two W126s and two W124s. He was not kind to his cars, and those machines held up incredibly well.
There is still an incredible amount of work to be done on the Cosworth. But knowing I can hop in and drive this car at a moment's notice is a pretty rad feeling, even if still looks like a complete deathtrap.
Author: Jeff,
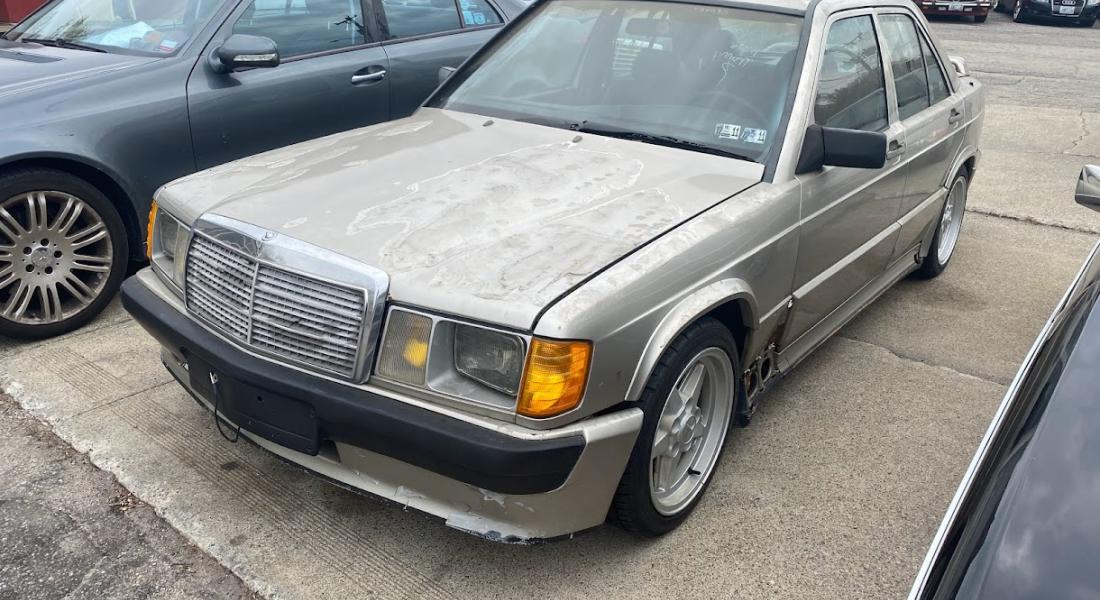
I swung by German Motors today to see the 1986 Mercedes-Benz 190E 2.3-16 Cosworth that now runs, drives, stops, and turns without issue. It's hard to put into words how good it feels to be at this point, especially with the bodywork stage ready to begin.
I discovered the Cosworth in a junkyard in September of 2018. It has been sitting in storage and slowly picked away at ever since. Today, I watched it go on a spirited drive down North Main St. in Providence, and the engine is healthy; the transmission shifts as intended; it holds a steady idle; it does everything you could reasonably ask of a car with such a colorful history.
To me, seeing a car at this point after it was discarded so carelessly is incredibly rewarding. Like the Trooper RS, it's total vindication for taking a potentially risky path to saving worthwhile vehicles. Now, the list of things the Mercedes needs is still incredibly long. For instance, the windows don't work. The rear windows are just hanging in place with no regulators. The dash is cracked. The three-pod gauge cluster that sits below the radio hasn't been installed. The rear suspension accumulators are shot. The alarm was proving to be quite annoying and has been disconnected. And so on.
But at the end of the day, I will be driving my high school dream car this summer. And while I can't go back and take the prom queen to the homecoming dance, I can rip along backroads in the car from my 16-year-old fantasies, and that's pretty great too - especially doing so in a car that was thrown away and rescued after a chance phone call in 2018.
Author: Jeff,
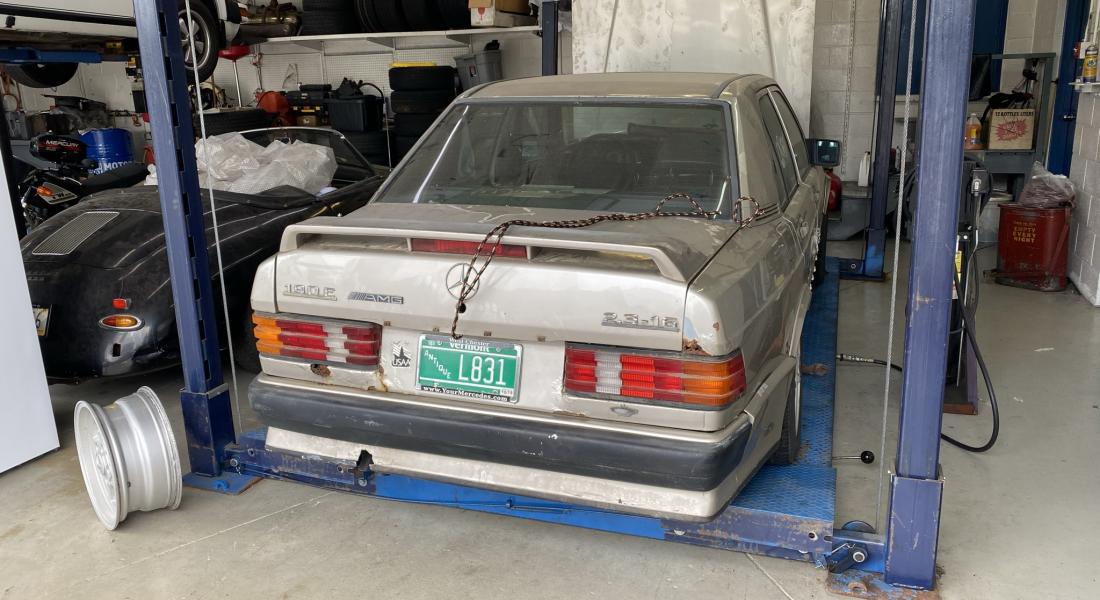
Incredibly, my 1986 Mercedes-Benz 190E 2.3-16 Cosworth has seen the open road for the first time in 10 years or more. It only went about 20 feet, but progress is progress.
I told German Motors that the "secret" bodyshop that is willing to work on the numerous rust spots can get the car in the first week of May. The one thing holding the project up was installing that power seat module I reported on tracking down a few weeks ago. In order to install the seat, the seat frame had to be re-assembled because the replacement Recaros I found came without bases. I understood this was a pain in the ass project, so I didn't push too hard - but I was happy to see it was finally done and Gerry, the shop owner, took the Mercedes on a maiden voyage.
You can see a quick, low-quality video here: https://www.youtube.com/watch?v=NLJJq4svJj8
I'll swing up to the shop on Monday and hopefully get to drive the car myself for a few seconds before shutting it down and assessing what else it may need in order to drive it to the hidden bodyshop under its own power.
Author: john,
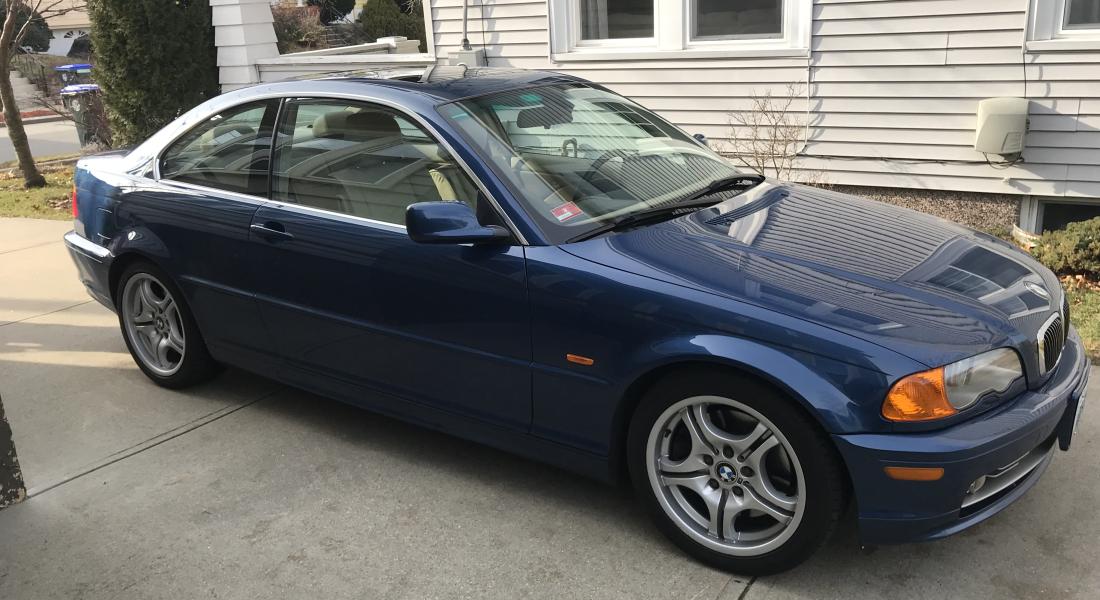
I am planning on Good Friday being especially good for me, as I will be going to the secret storage location and bringing my E46 BMW home. I'm pretty excited, as I have a list of things that I am planning on doing to the car during the month of May, and will hopefully have it ready to go for 2022 track days.
I'll be chronicling the work here, so stay tuned!
Author: Jeff,
The seat module saga for the Mercedes was more daunting than expected. There were rumors that a module from a W126 or W124 would work, which would have been helpful given those are much easier to find. Not true, as comparing photos of those modules with mine absolutely showed numerous pins in different locations.
There was a module for a 190E on eBay, but it specified it was for a 1991-1993 model. This didn't make sense, until it did: the later cars had the position of the telescoping steering wheel tied into the memory function of the front seat, which again led to pin locations not lining up with my car, which was a very early model with memory controls.
So, I turned to Facebook, and found a 190E owners group that was predominantly made up of users from Europe. A shop in the UK that parts out and restores Mercedes came to the rescue, even going so far as sending video showing the seat moving normally with the module hooked up. Hopefully, this brings this chapter to a close and we can bolt a seat in securely and take the 190E Cosworth for a drive.
Author: Jeff,
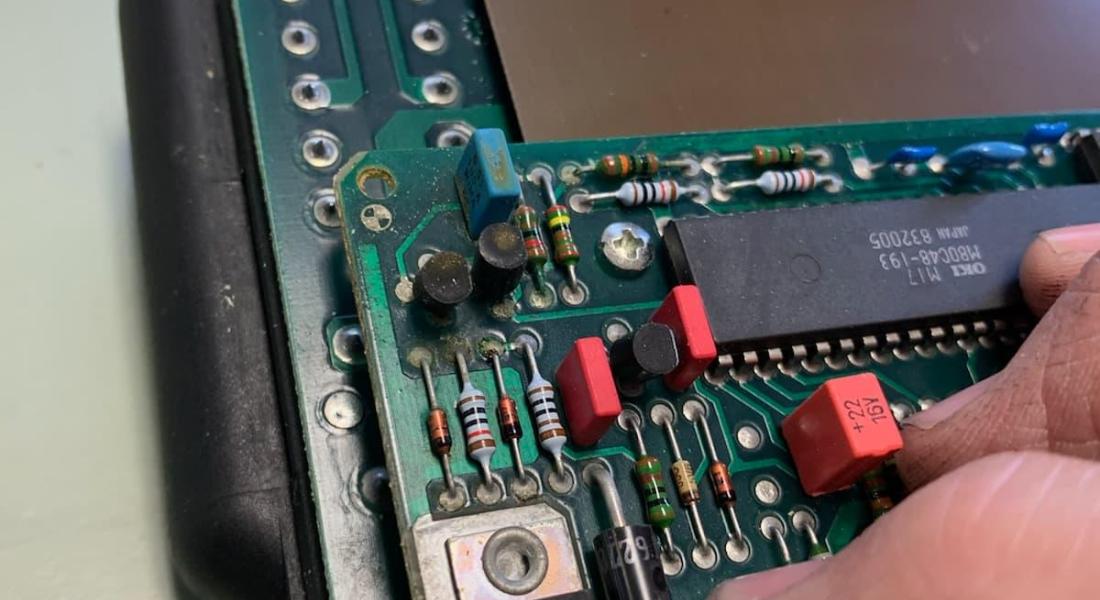
One of the dumber stumbling blocks with the junkyard-find 190E 2.3-16 Cosworth had to do with the interior. The original Recaro seats were in bad shape, so I bought a replacement interior not too long after acquiring the car. The one downside is the Recaros came without bases, so they had to be swapped off of the original, battered seats.
Since installing the replacement seat, it would do one of two things: it would shoot all the way forward or all the way backward. The 190E regardless of seat options were all powered, so the easy fix was to replace the power seat switch, which also controls the memory. We replaced it twice with no change in behavior. Now, the reason I say this is a dumb obstacle is that the car actually starts up and idles quite nicely, but you can't very much drive it without a seat. Incredibly, the lack of easy resolution with the seat is one of the bigger reasons why this project hasn't moved much lately.
My shop finally had some downtime today and found the source of the issues: the control box that sits under the seat definitely got soaked, with all sorts of corrosion inside the box. This most likely happened while it was sitting in the junkyard with no rear windows, courtesy of the yard "help" that smashed them out to get the window regulators (those and the radiator were the only parts they sold off of the car while it was inventoried.)
The bad news is, not many used parts still exist; the good news is, you can buy one new from Mercedes. So, we'll order one up in hopes this lets us install the front seat and actually take it out onto the road.
Author: Henderson,
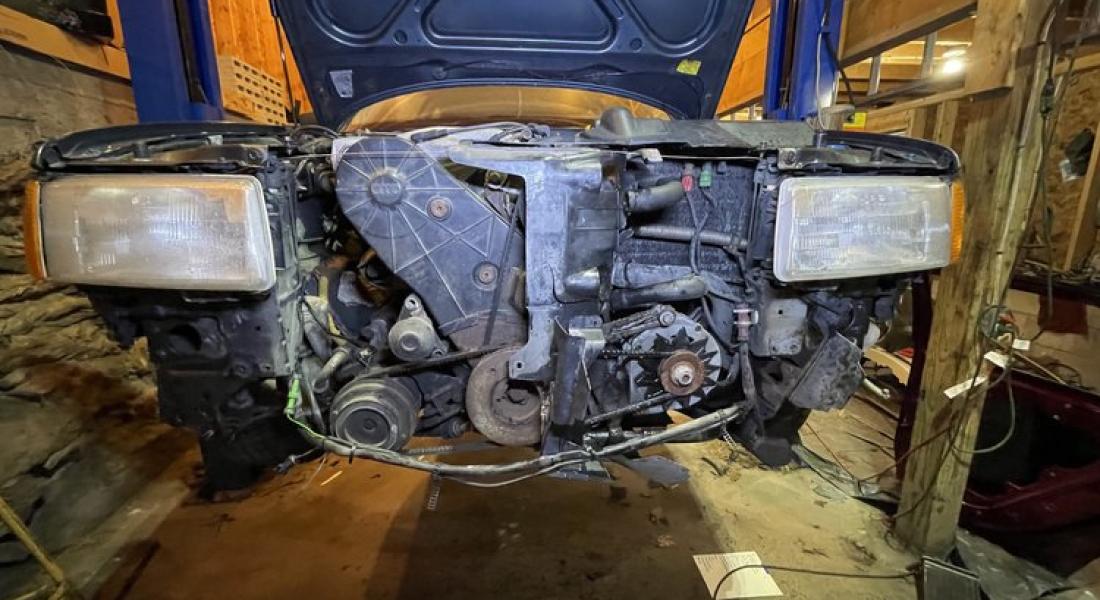
The Audi's first real service.
Project - More Details
Author: john,
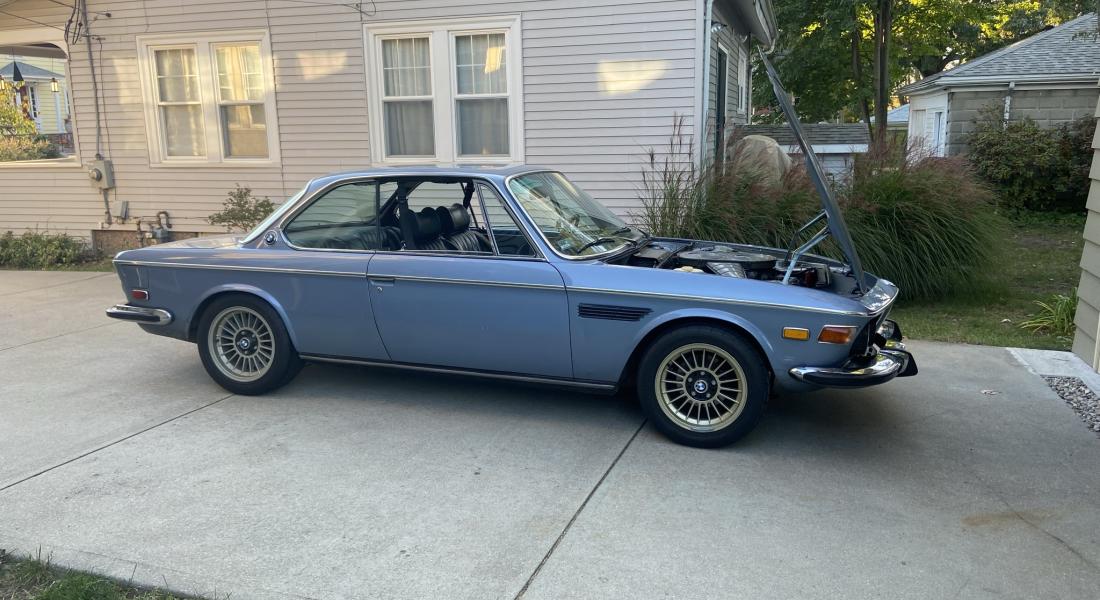
Because of covid, work, life, basically everything, my '73 BMW has been sitting for almost a year on a battery tender, unmoved in a storage building off-site of my garage. Any vehicle, old or new, left neglected will deteriorate exponentially, so it's been bothering me that she's been sitting like this. It was a great day on Sunday to finally go un-mothball the old girl, and arrangements were made to do so. I'm always apprehensive because I think about everything that could possibly go wrong, but I think I need to re-calibrate, and remember all the things that are so right. All the old smells, and of course the visual, which doesn't require explanation.
Tires aren't flat, and visually everything looks good. Coolant and oil - Check. All lights work, check. I stuck the key into the ignition, and she starts right up, and settles into a choke-level idle. She runs for a minute or so, I hit the throttle, and she comes off of the chokes, and settles down at a nice, lumpy 800-ish rpms. Beautiful.
The 25 mile ride home is uneventful, with a mix of back roads and the highway, and the soundtrack of an M30. Man this car-- Still tight, no race car but fast enough, and so much fun to drive. I'll be doing regular maintenance before the winter, so I have about a month or two of autumn driving that I can fit in. All maintenance will be logged here of course...
Author: john,
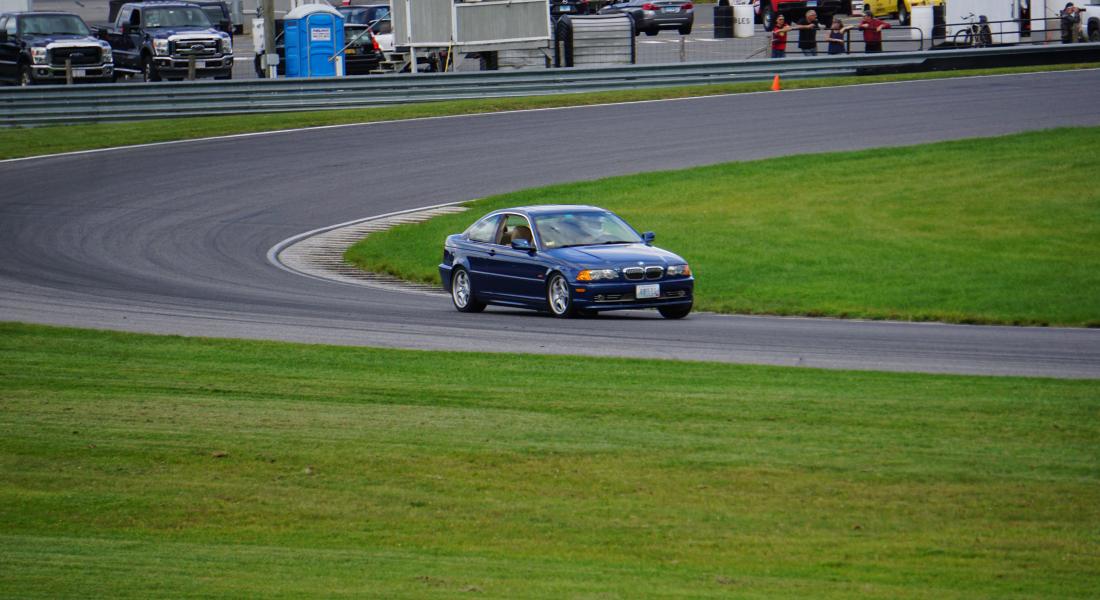
Yesterday was awesome, as I was three sessions of Track Night In America at Lime Rock Park. If you don't know about Lime Rock and you are at all interested in racing, you should really learn. A couple of reasons Lime Rock is great - You don't have to like racing to enjoy being there. It's actually a park. There aren't any grandstands. Instead, you find a nice grassy spot, preferably under a tree if it's sunny, and just enjoy being outside in a park. Next, the track is only 1.5 miles, so you can walk all the way around it, and not be pooped. Try that at the Nurburgring! After this, and if you are into racing, there are great vantage points for viewing basically everywhere. Last but not least, the food is awesome, and your wife, girlfriend, boyfriend, kid wouldn't be grossed out by the restrooms, so it's a great time for everyone. Hooray Lime Rock.
OK so on to the track day - The old 330Ci didn't miss a beat. I was able to load all my stuff, including tools, chairs, whatever I needed, into the car after folding down the seats, and bombing out there, which is about 150 miles. Racing car for the day, running the A/C, good times. The weather was perfect; dry air, about 75, track not too hot, looking good. The car was totally reliable, fast, tires and brakes felt great, and driving the track was a complete thrill. Lime Rock is challenging in many ways, but one of the most interesting take-aways was the amount of speed you're able to carry there. I guess I didn't realize that there aren't any 2nd gear turns, and at one point I tried just leaving the car in 4th gear, and this wasn't at all an issue, as I was able to carry a lot of momentum.
The braking you do have to do is heavy at the end of the front straight (as to be expected), and medium at the entry to The Esses, and the entry to the short straight. I have really figured out how to trail brake the car as necessary, and also steer a bit more with the throttle - Even with my relatively tame modifications the E46 chassis is really great, and the brakes are even better. Several cars boiled their fluid / had diminished braking, and the 330 never felt odd or missed a beat. The tires held their own as well, providing great feedback and little understeer. I never felt out of balance or control.
The track is amazing. It looks simple to drive but it's not - I'm a broken record here for sure. Getting a line through Big Bend and The Esses is really tricky but by the end of the event I felt pretty good, and am closer to having the racing line figured out. The back uphill is pretty interesting as the car would do a tail way each time going up, as you are still coming out of the right-hander at the bottom of the straight, but I found that to be great fun. The downhill is totally weird and feels unsafe at the outset, and the barrier on the left has some tell-tales for those that didn't work that one out quite right, but I found no issue coming out of that and carrying good speed onto the straight. I looked more at my tach than speedo, and almost 6K RPM at the end of the straight before braking hard and setting up for the right at Big Bend.
I had a great night, and I recommend to anyone interested to check out LRP and Track Night in America if possible.
Author: Henderson,
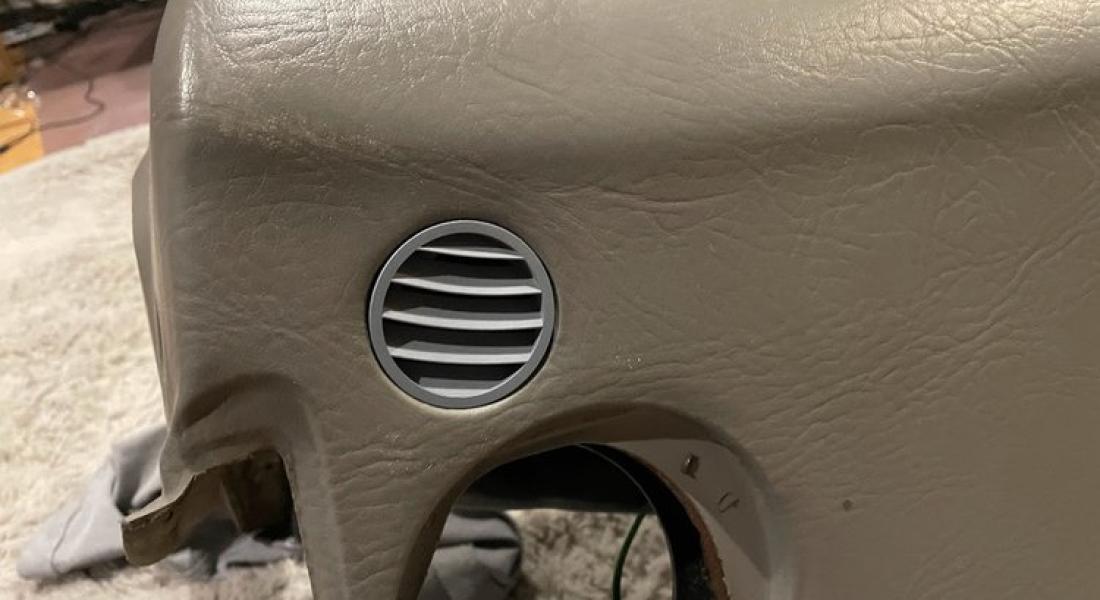
Designing and printing the new dash defroster vents along with more cleaning up.
Project - More Details
Here showcases the dashboard vent that I modeled and printed for my dashboard. These are the defroster vents and I have in total 50% of one of them (shown above). It was a bit annoying to model as I had to assume most of the time, I could have just gotten the circle size and done my own pattern, but I wanted it to look factory. The completed piece in gray can be seen in the dashboard, unfortunately, I forgot to take photos of the painted pieces before I inserted them into the dash. The other images above show the auxiliary gauges that are directly in front of the shifter. They were quite dirty, with dead bulbs, and disintegrating cable insulation. The insulation that was falling apart I removed and cleaned up the old candy wrappers, dirt, and sticky coins. Once that was done I set this stuff to the side as I still had some work to do in the interior before these went in. The next day though these were back in the car which can be seen in the end photos of the gallery above. Climate control also went in that day, which allowed me to start reading some pulse signals from the car ECU which can be read using electronic climate control.
Author: Akira Club,
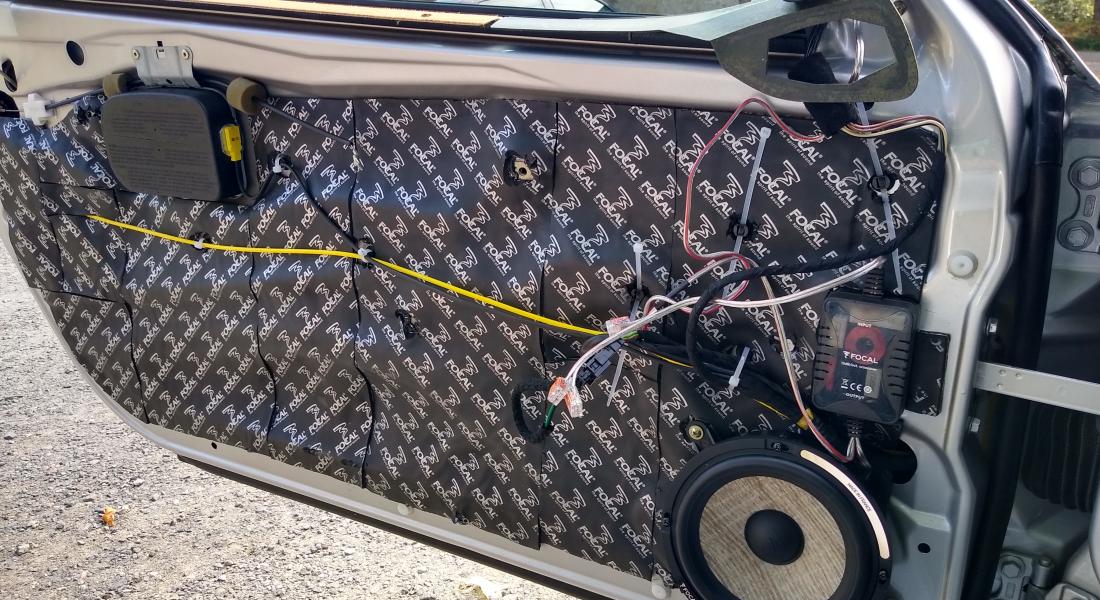
Author: Henderson,
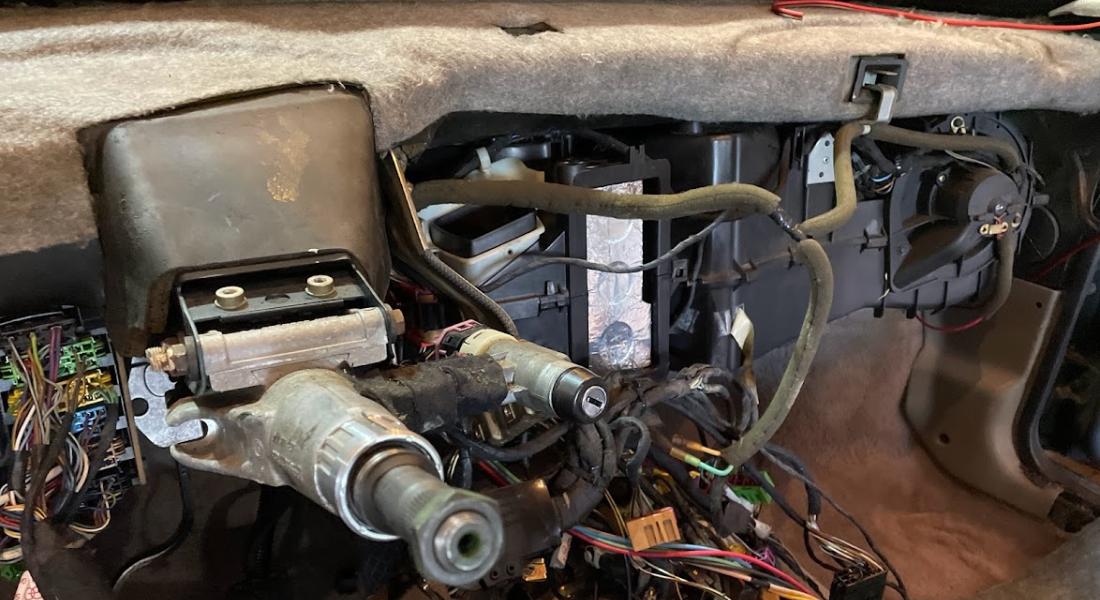
Replacing the heater core in the Audi CQ was a nightmare as it looks like it HAD been attempted before but was stopped short as firewall bolts were stripped.
Project - More Details
This one has a lot of photos because this part was one of the main deterrents when purchasing the car: the infamous heater core. The heater core in these old Audi Coupes is notoriously difficult to get to. The dash, center console, and airbag systems must come out including nearly all of the interior components north of the front seats. What made this one million times worse was the car was sold to me where someone had attempted this before and failed, leaving a trail of stripped bolts on the way. I spent days, literal days, cutting through two bolts in a spot I could not see into with a jigsaw blade… BY HAND. Two millimeters of movement at a time I would saw, elbow deep into the dash. Unless I wanted to pull the engine, which I really did not, this was the only way. Once the heater core box and all of the tubing were out I went ahead and rebuilt them. I took out all of the old foam where I deemed it unnecessary and replaced it with a few layers of thick aluminum ducting tape. Once the box pieces were individually rebuilt, they were assembled into the clean-looking box in the early images above. Then I ran into more problems, torn vacuum actuators (shown above), finding a way to mount with stripped bolts/studs from the previous repair, and the new replacement core not having the same angle of tubing as before. Not knowing when I would be able to ever get a new, and of course no longer available, heater core I just would modify my firewall to work with this one. One thick rubber firewall gasket later, some aluminum-rubber sound deadening, and a great deal of force later it fit.
Author: Henderson,
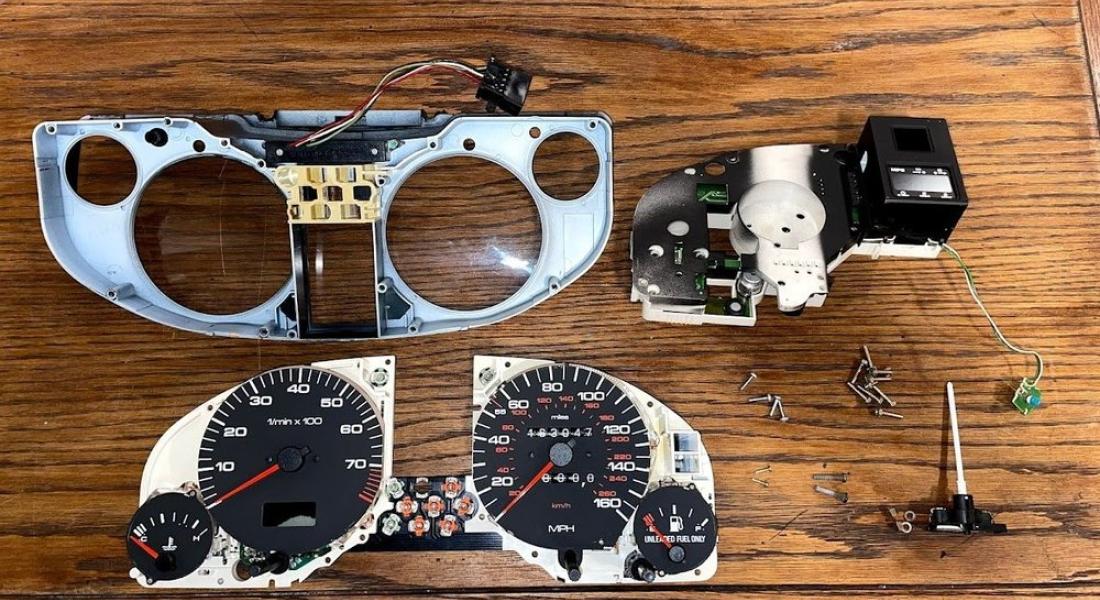
First attempt to correct some of the errors in the Audi gauge cluster.
Project - More Details
This was the first attempt to correct some of the errors in the gauge cluster. As it sat before (and now to my knowledge) is that nothing on the cluster worked besides fuel level. A common fault in these is the odometer gear which drives part of the speedo and therefore that was my first check. Sure enough, it was bad and I replaced the old broken orange gear with a new white gear specifically made for this cluster. Upon plugging the gauge cluster back in the speedometer still reads a solid 34 MPH as the car idles, and nothing else but fuel works. These could be sensors, these could be bad solder joints (notorious on these), or just a bad board. There were some parts of the board on inspection that looked like water had gotten into the board, fried some resistors, and some other pieces. This will need to be inspected again in order to pass a safety check for registration. The main problem with these is that there are only a few people working on them, and therefore there is little supply for salvaged parts as the clusters are tossed when bad. Other notable items: the check engine light and airbag light were not present in the cluster (which means they 100% were on when they did work), and the onboard clock was covered with electrical tape to look solid black as replacements are $120 or more for just the screen that isn’t bleeding as mine was.
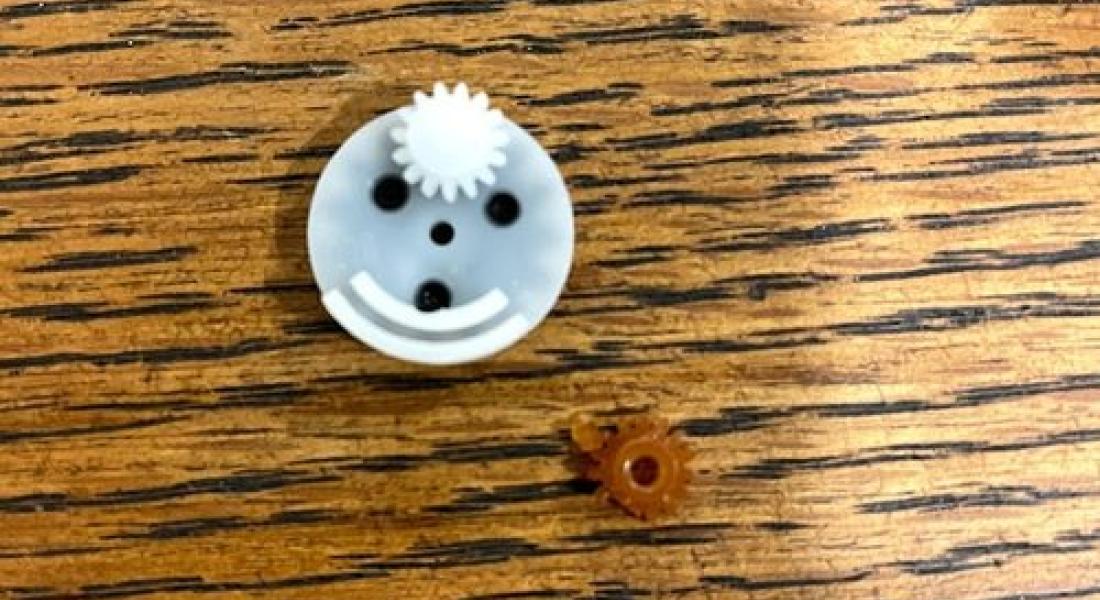
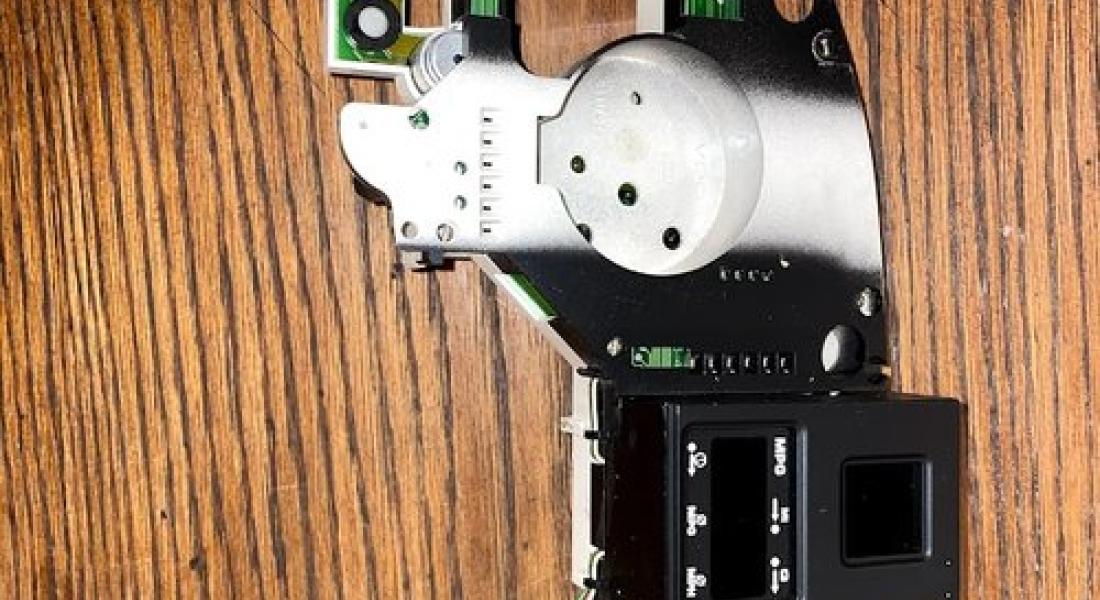
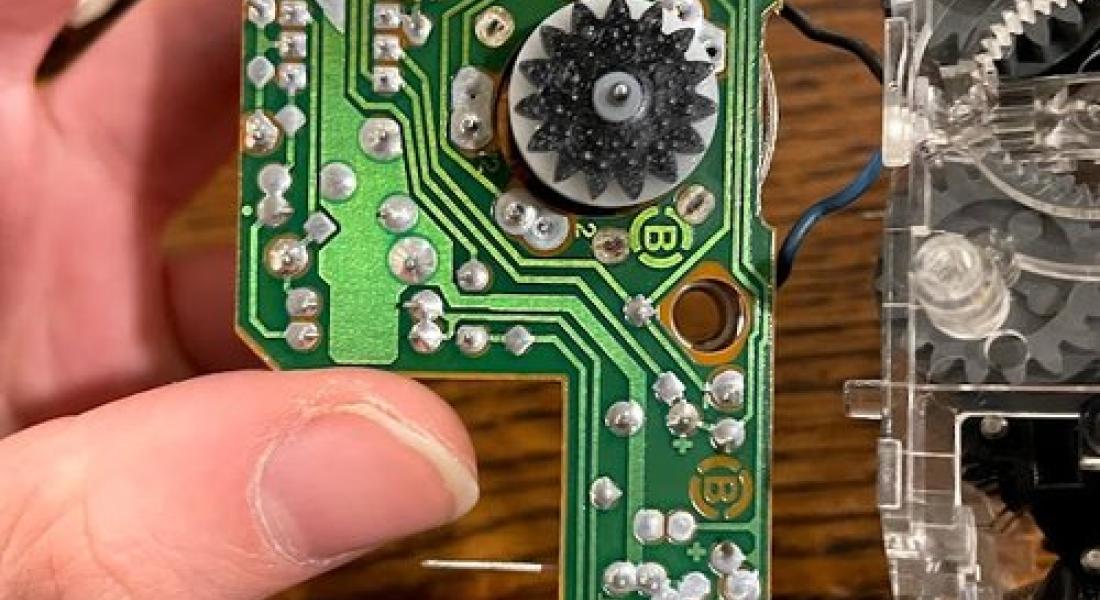
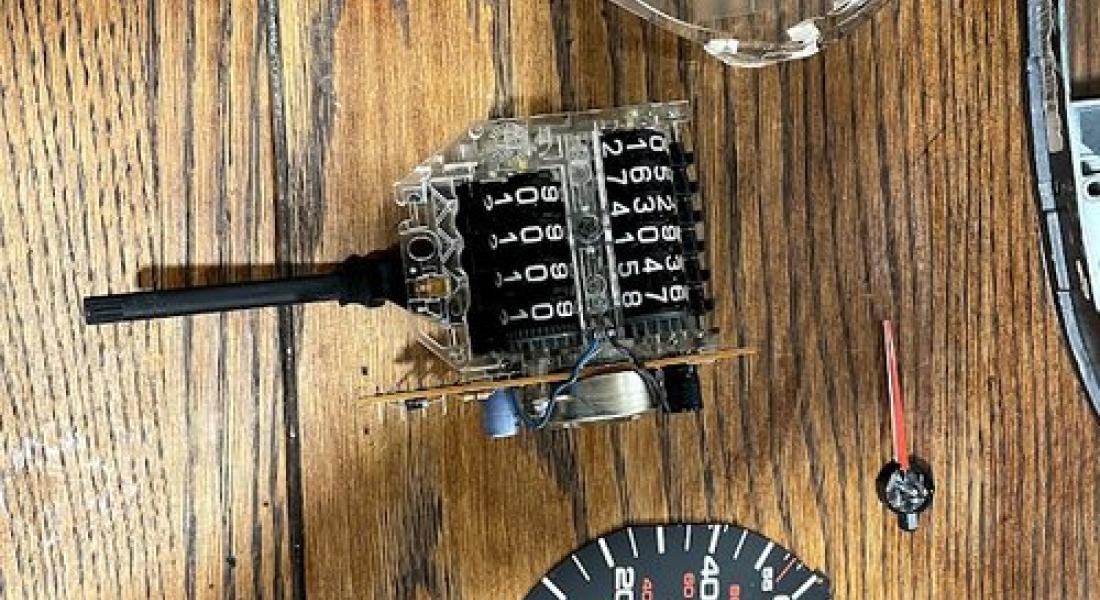
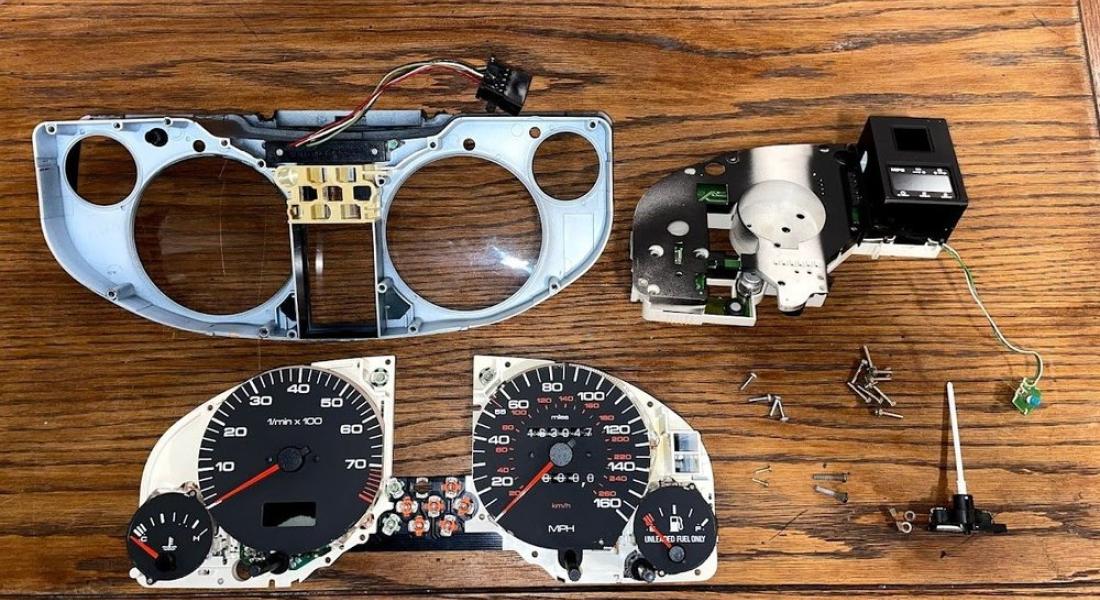
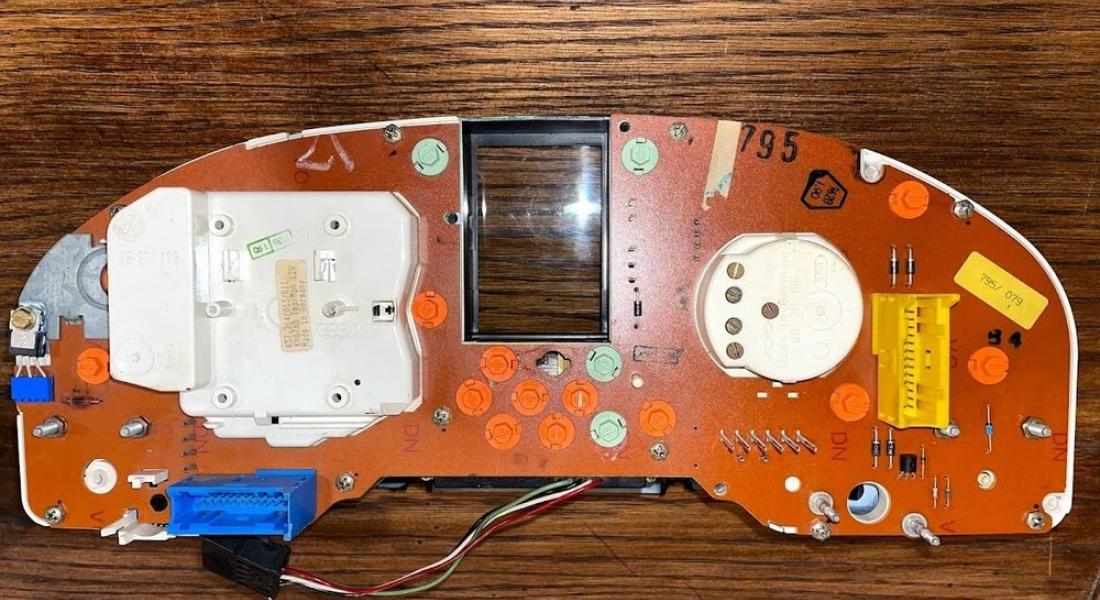
Author: Henderson,
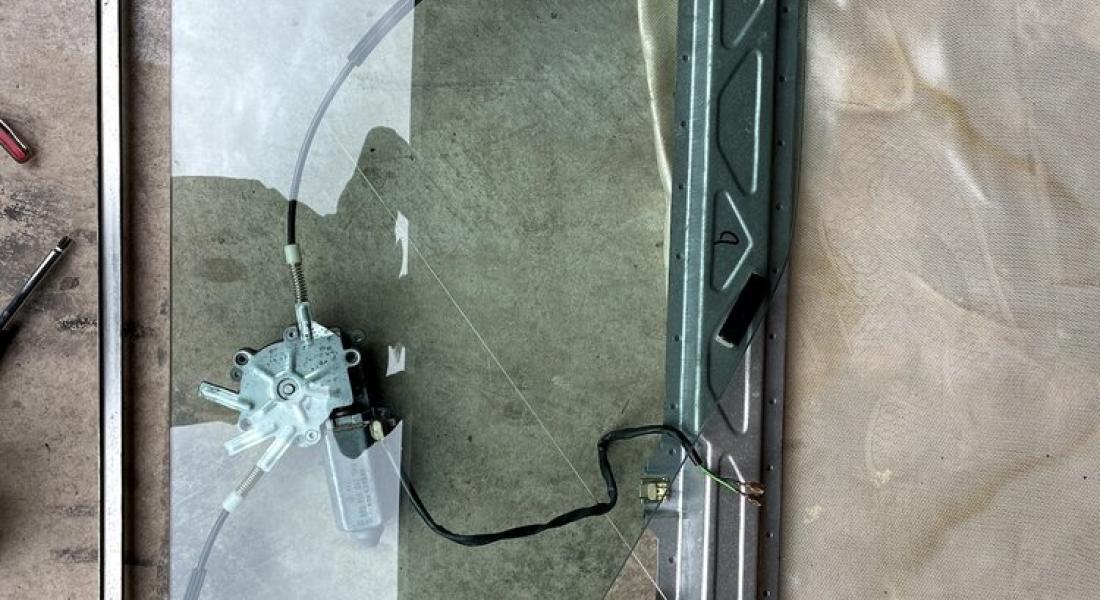
Rebuilding Audi CQ window regulators with new cables, spools, and lots of grease.
Project - More Details
Anyone who has ever owned an older VW or Audi from the 80’s/90’s knows that window regulators are essentially a wear item in these cars. The plastic teeth on the spool center strip out and the steel cables get tangled and only allow the window to roll up a few inches before retracting down again. Once this happens it puts enough pressure on the plastic plugs and starts snapping them and sucking them into the center furthering the problem. I ordered some rebuild kits from eBay Ukraine as it was impossible to find in the US. Once they finally came in I got to work on replacing them. The hardest part was trying to figure out the window path once I took it apart. That and my motor was very crusty so I had to source some spares to create a fully functioning piece. Albeit a little crunchy, my window rolls up and down now. I’m not sure if the crunch is the motor itself, the rails that the window slides on, or even the replaced parts, but that is a project once the car is operational.
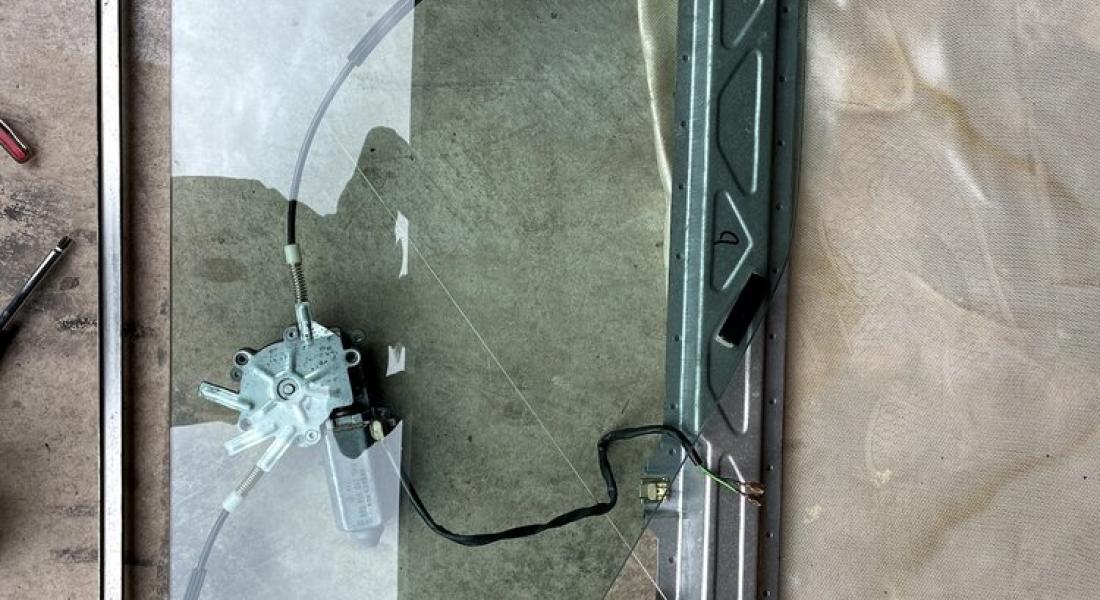
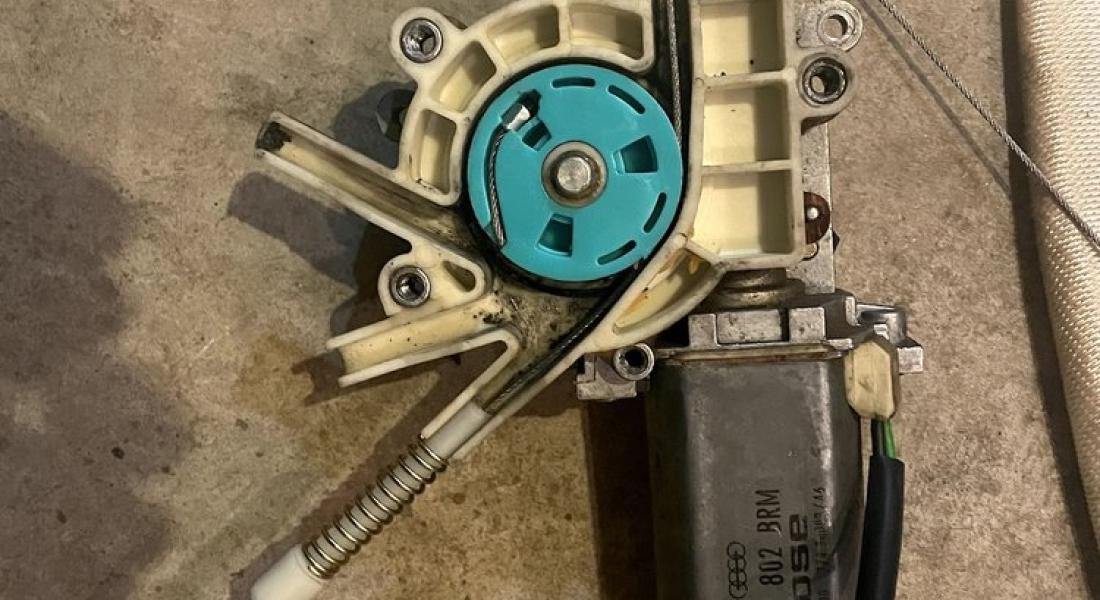
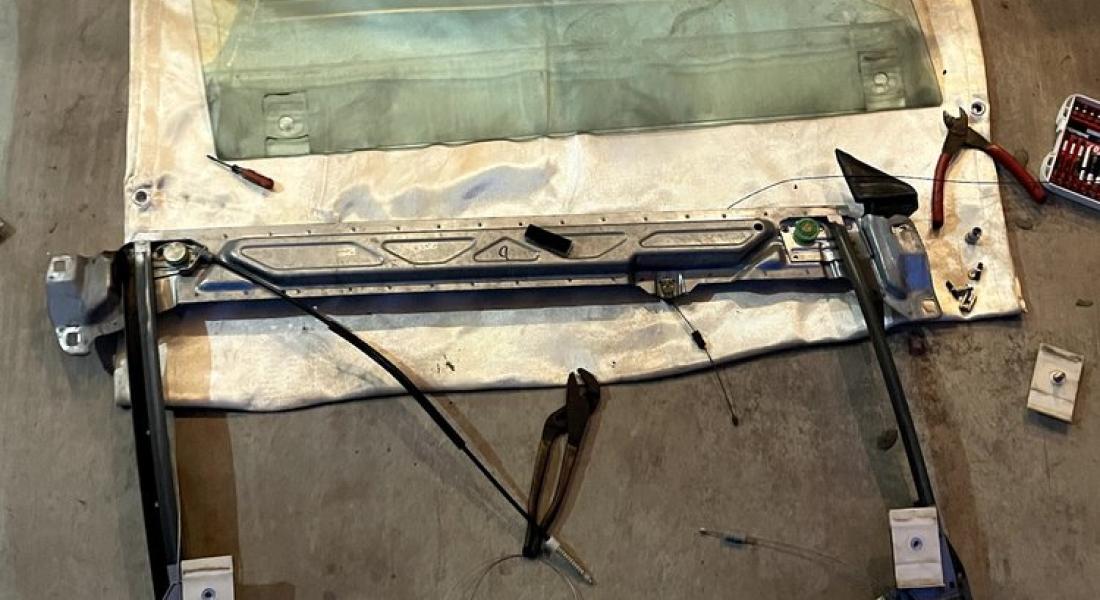
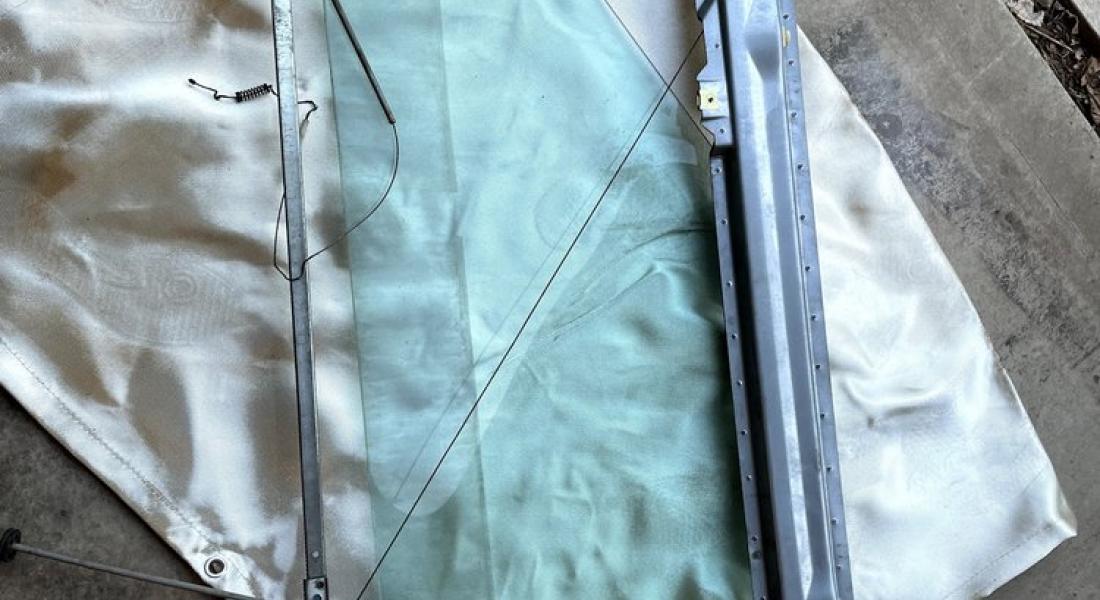
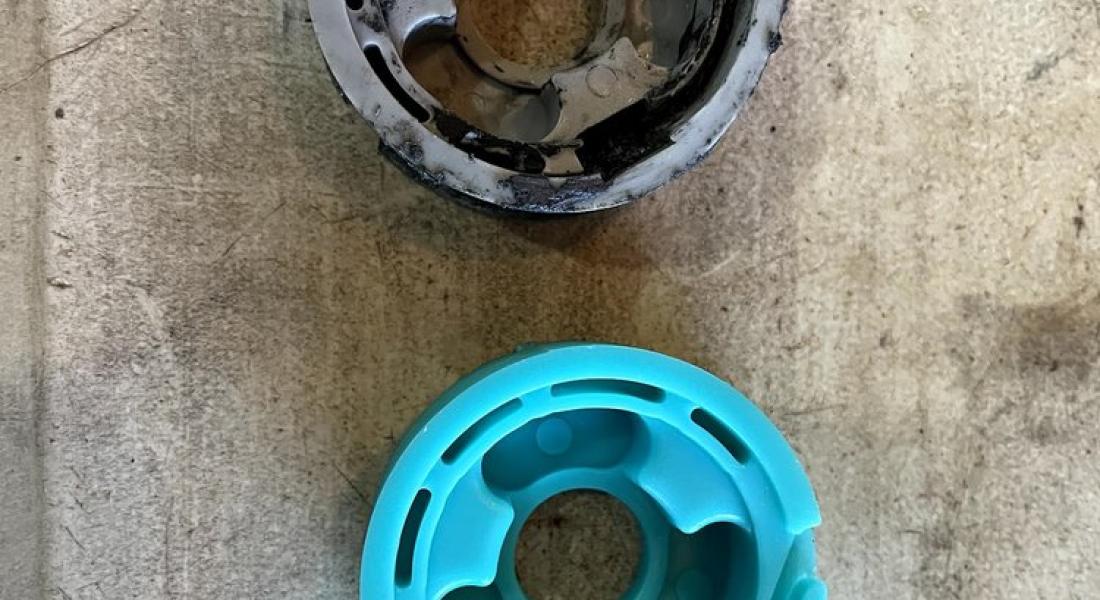
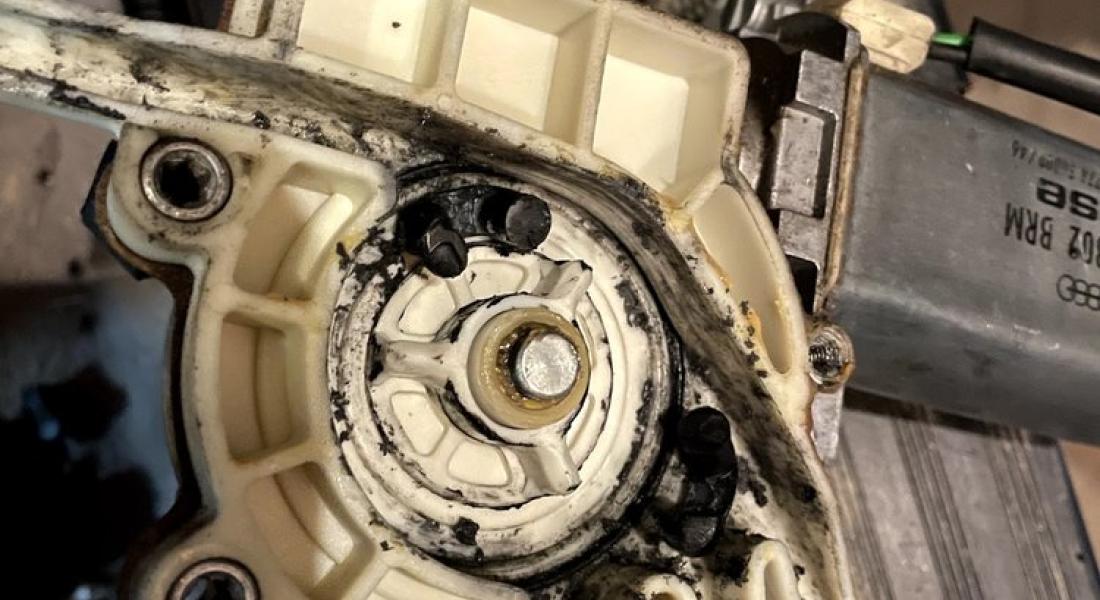
Author: john,
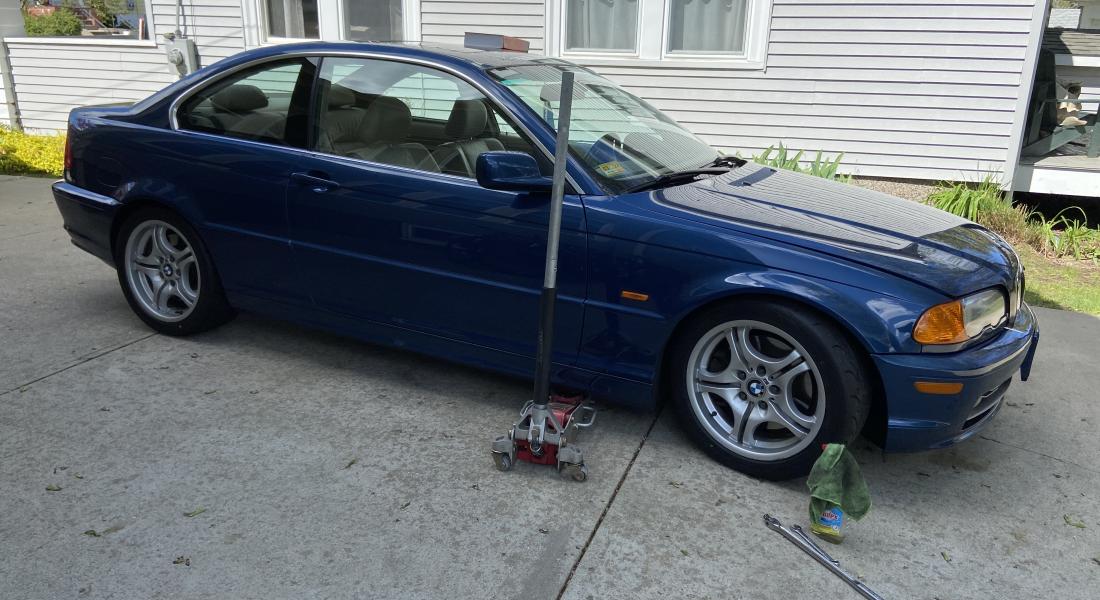
My over-the-winter projects included installing a new fuel pump along with an M3 baffle, H&R Sport springs, new OEM rear trailing arm bushings (RTABs, without limiters), new front sway bar bushings and endlinks, and 200TW tires. For safety I also installed new OEM brake lines, and after all of this, had the car aligned at the BMW dealer (!).
My take-aways: The car feels awesome for what it is. I can't believe the difference actually-- Night and day would be an understatement. With tire pressures set at 34F / 40R there is almost zero understeer, and I can basically toss the car wherever I want on the track with smooth inputs, brakes and throttle. The car feels light and nimble, and didn't feel at all out of sorts or with any bad habits during weight transfer. In three 20 minute sessions I was passed by one (1) car, which was a Spec E46 racing car...! The 2.93 gear, which I thought was a bad thing, is actually great in this car, as I can basically stay in 3rd and 4th gear for most of the track, with 2nd only in the slowest of turns.
The only downside is that this thing desperately needs a limited slip diff. This negative factor is really magnified now; it was bad before, but with the increased cornering loads the traction control is basically coming on all over the track. I held off on the LSD thinking I'd replace with a shorter gear (the LSDs for 3.15 and lower are a different application), but there's really no reason to go away from the 2.93 for what I'm doing.
The LSD aside, the most surprising aspect now is the ability to smoothly carry momentum through turns and exit with more speed. I'm sure the guy with the ZL1 Camaro was like "WTF...?".
I'll add more pictures later, but check out the before / after photos-- Holy brake dust!
Project - More Details
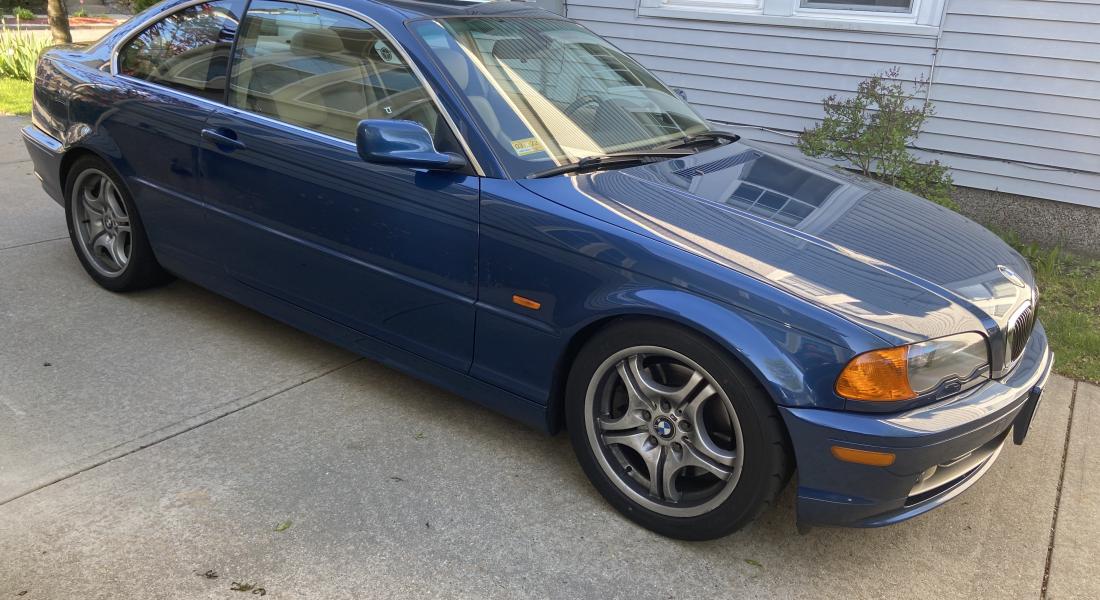
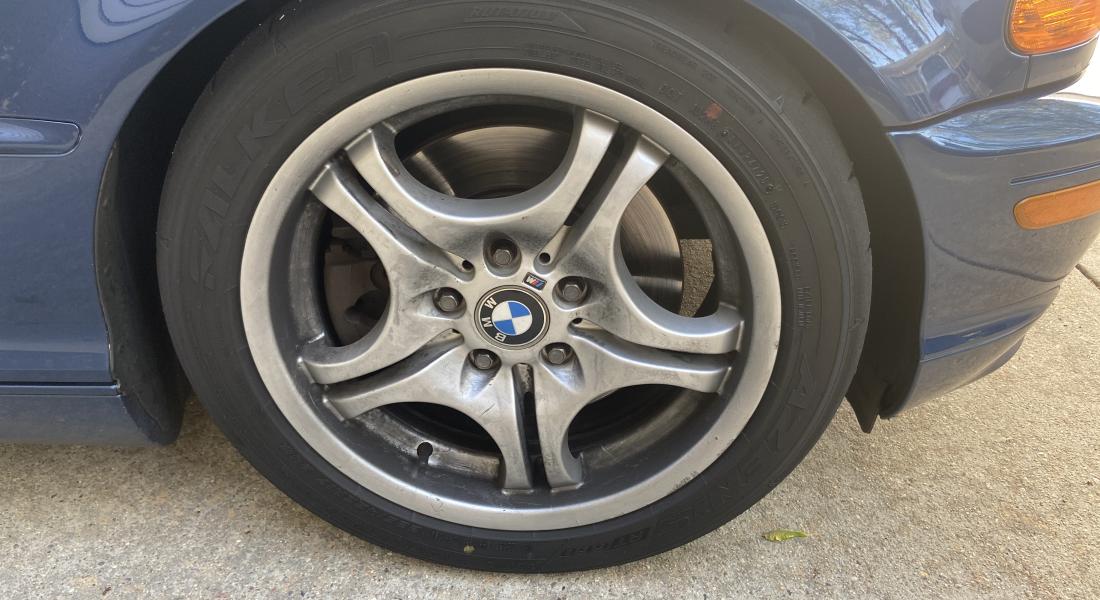
Author: Henderson,
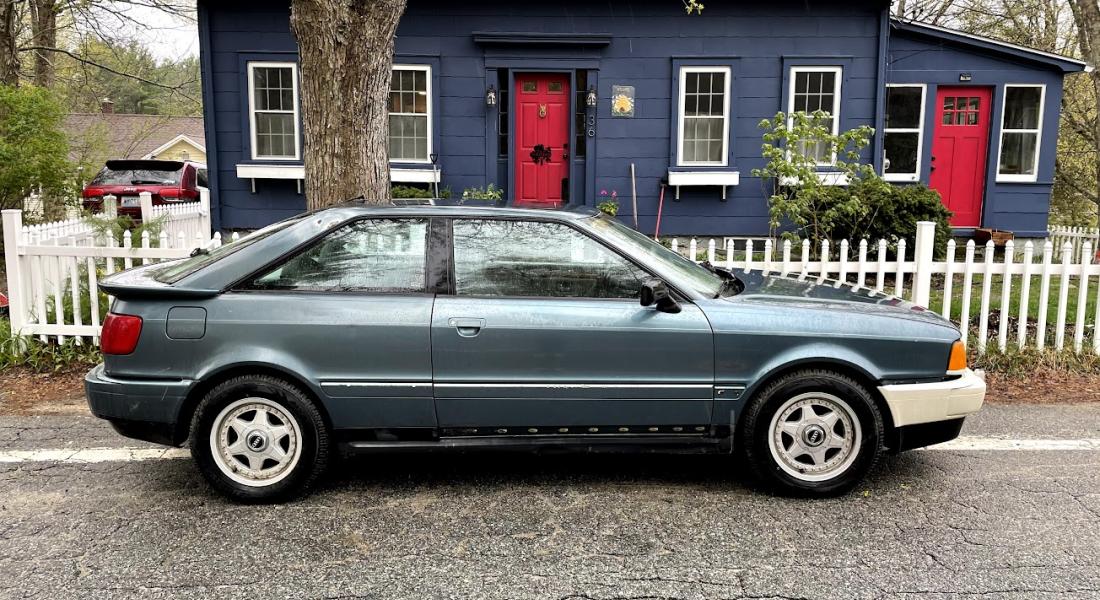
I FINALLY find a cheaper Audi CQ project that I can work on and realize how much work this will be.
Project - More Details
This was delivery day, but the work part of the day. This is where a friend and I tore out some of the bad carpets to find mice nests, mice in those nests, acorns, walnuts, and many pools of mud, and 30 years of who knows what else. Deeming it was dirty as could be I moved on to the tail light replacement that came with the car. Once complete, the radio took our attention as there was a mouse nest (a common theme) of mangled wires. This was where I realized the wiring in the car was going to be a nightmare. We (while not shown here) found vampire clips attached to many cables, factory wires spliced into each other, cut wires, random inline resistors, and a plethora of bad audio wiring. Looking under the hood there were a bunch of cuts and clamped off vacuum lines which look like they had been out of commission a while as the vice grips sealing them were stuck closed via rust. Lots of assessing and cleaning to come, that’s for sure.
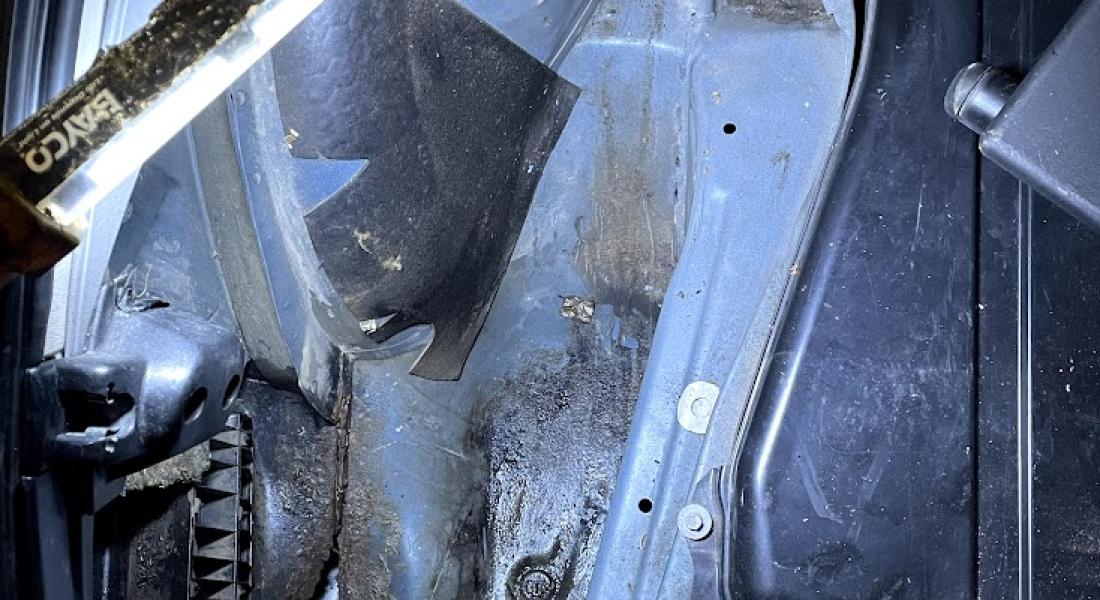
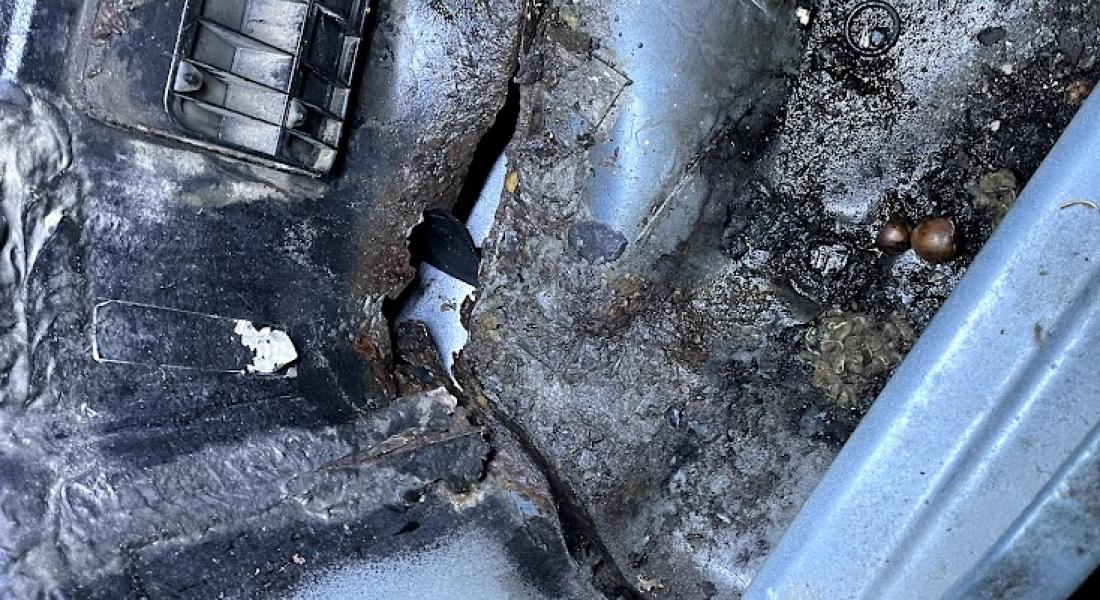
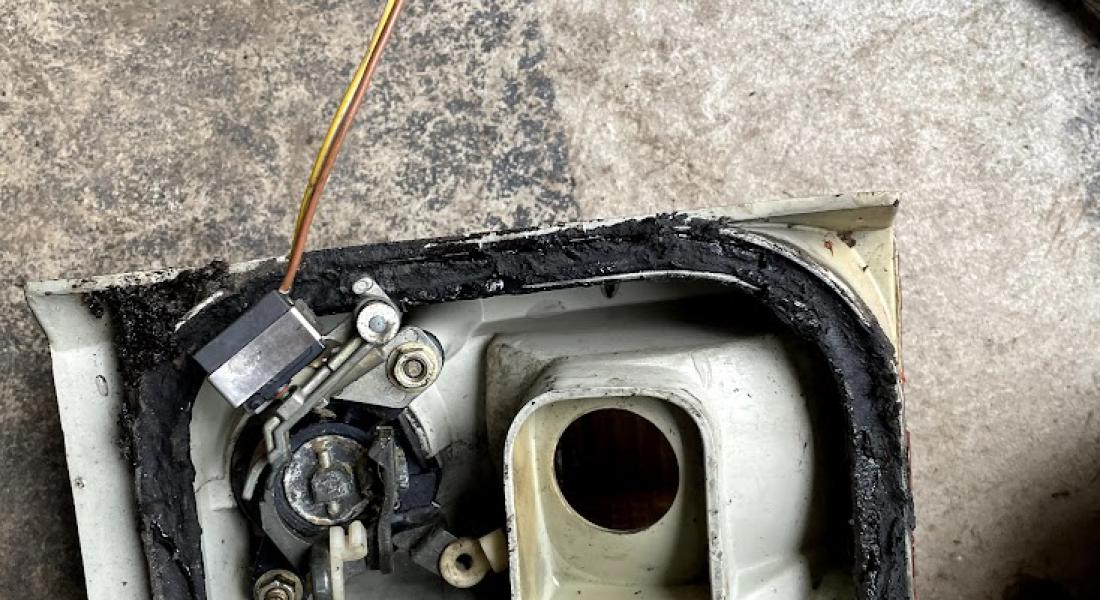
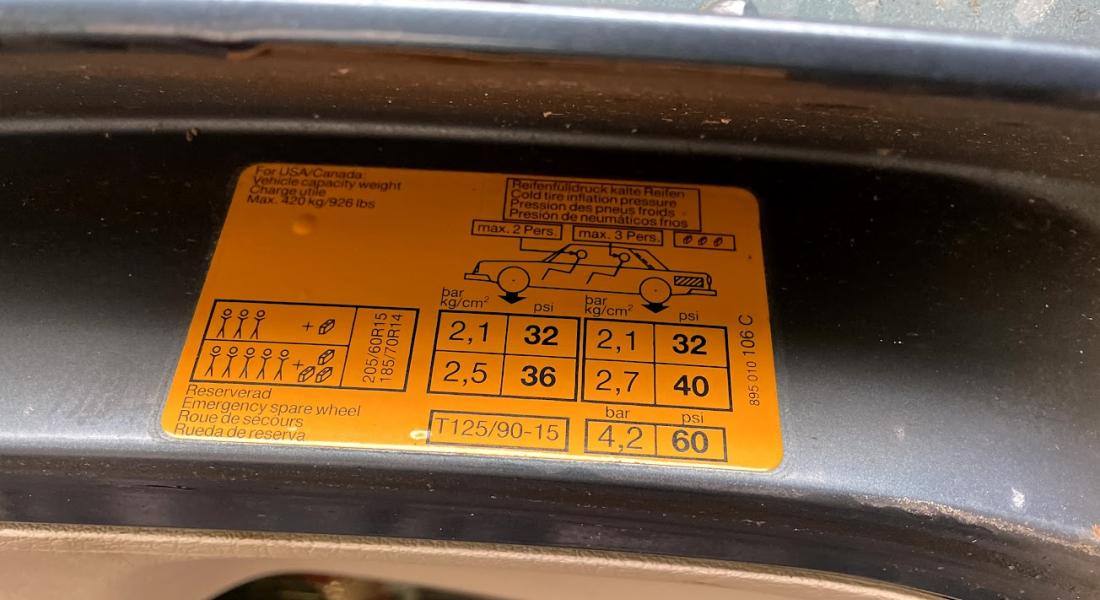
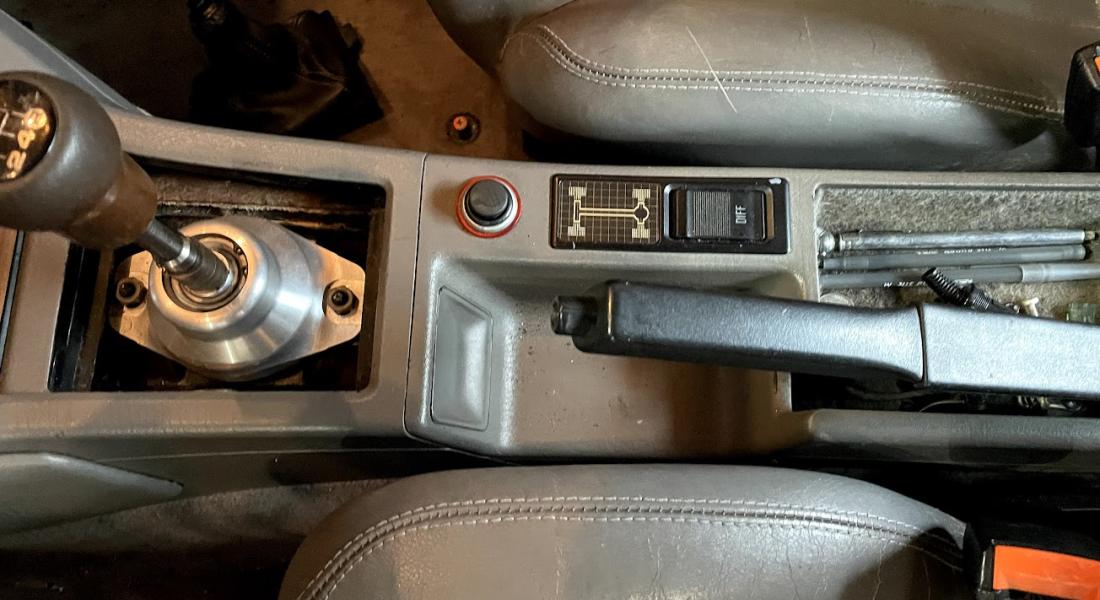
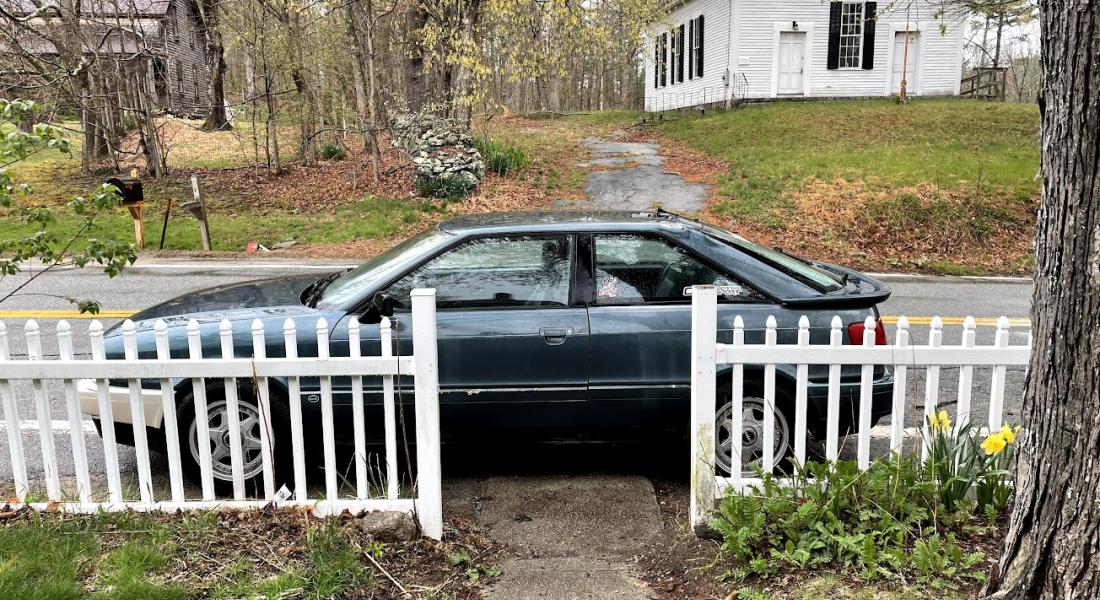
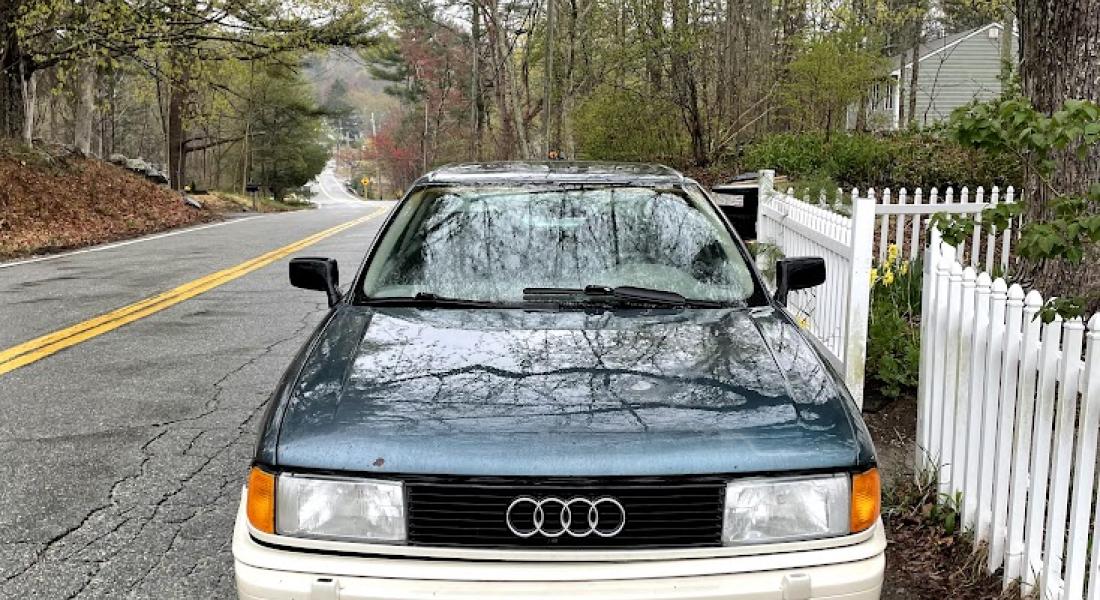
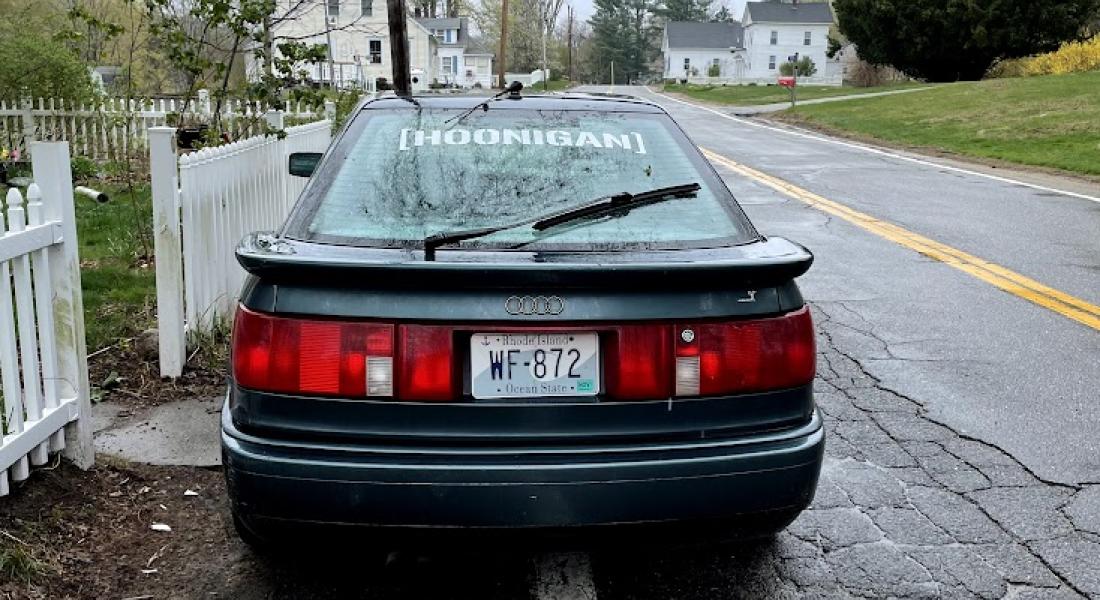
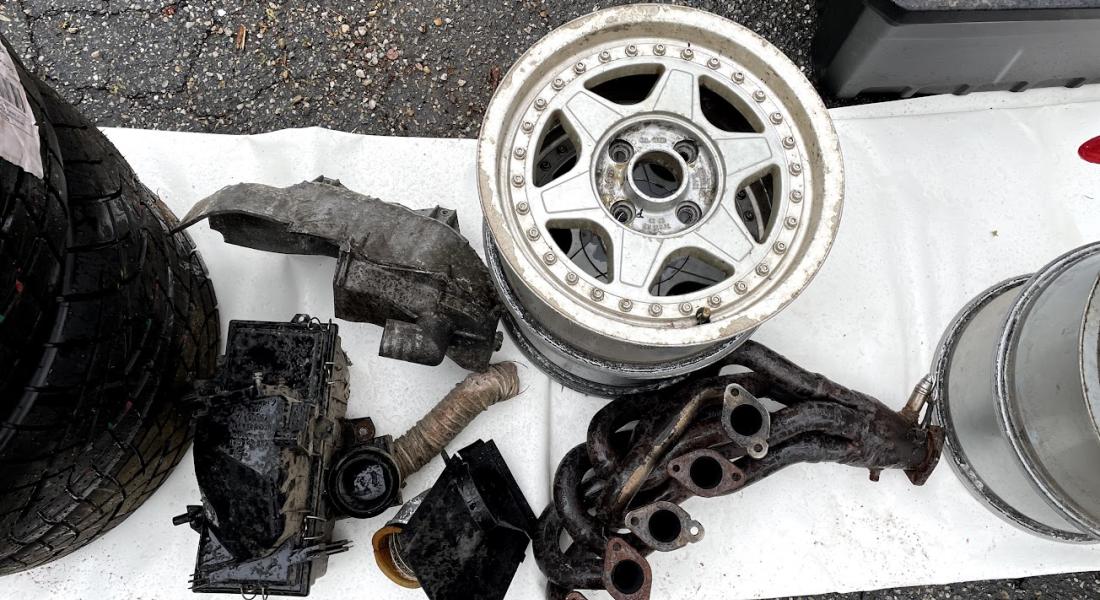
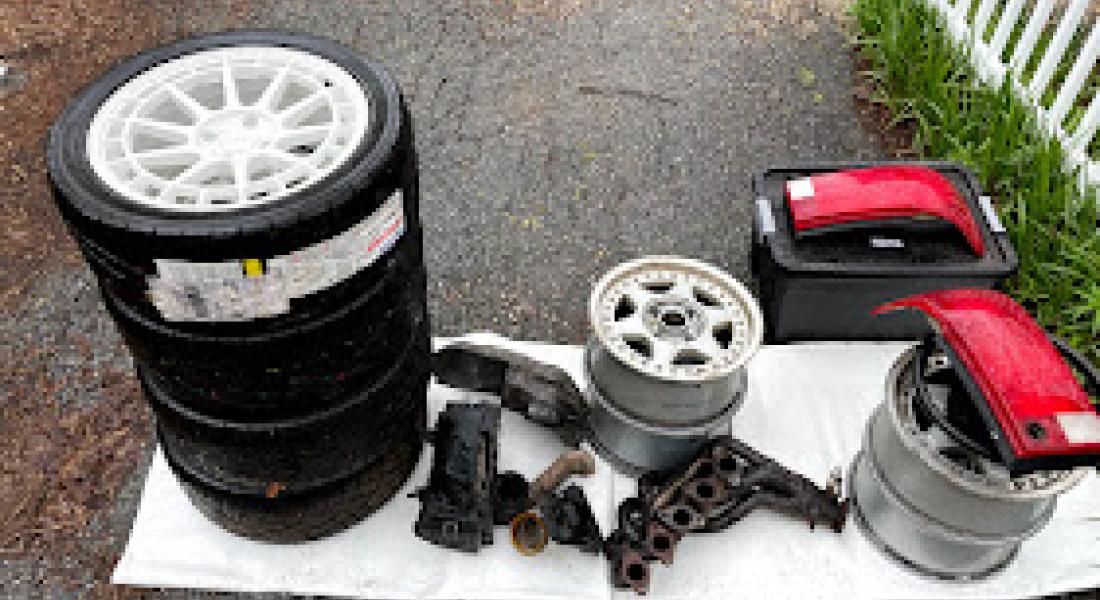
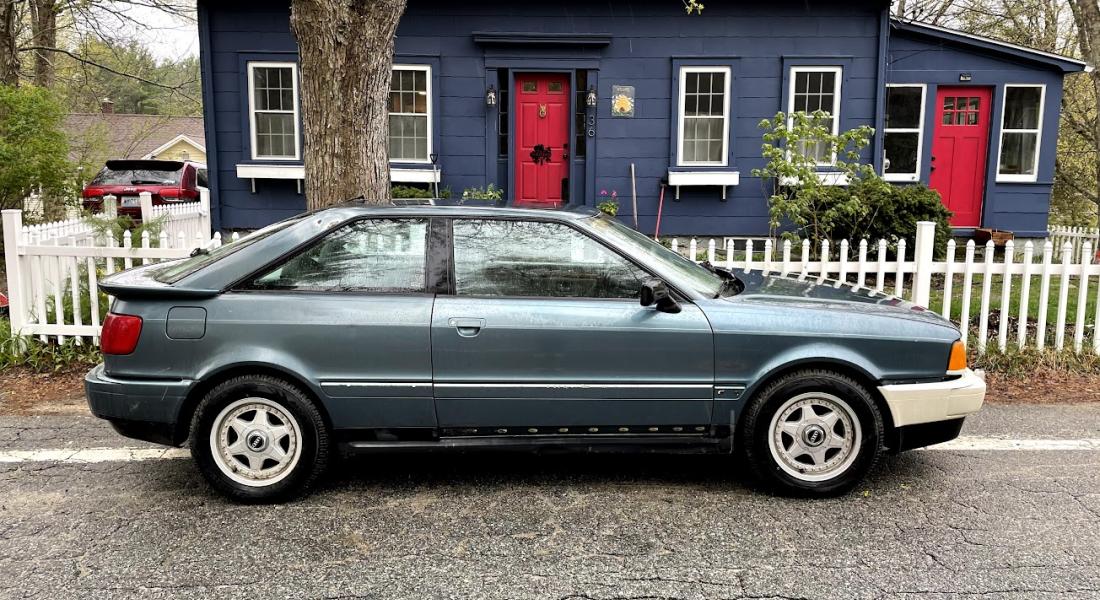
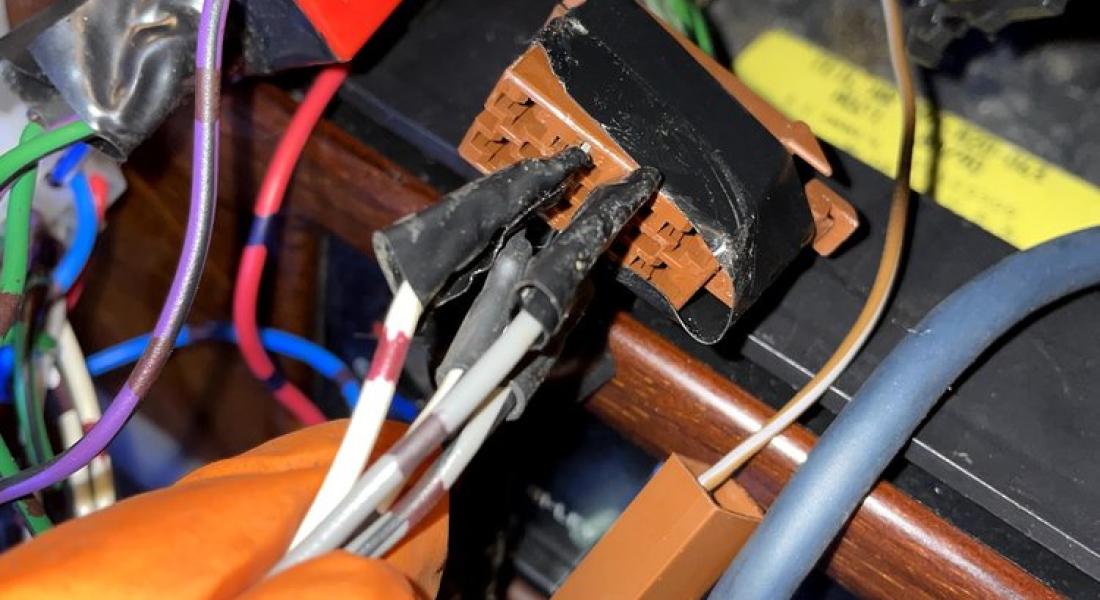
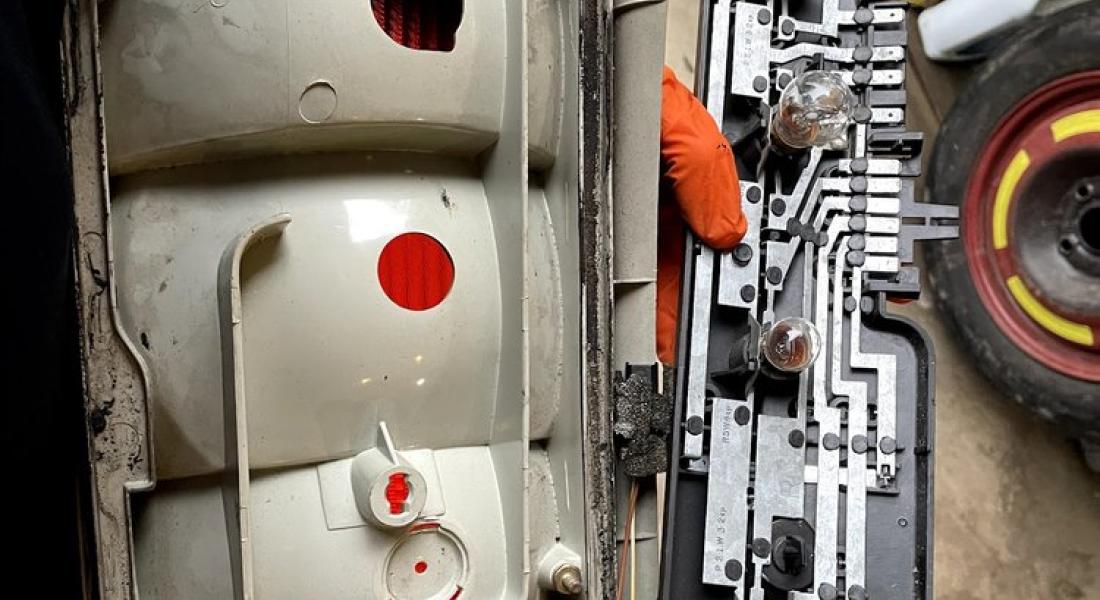
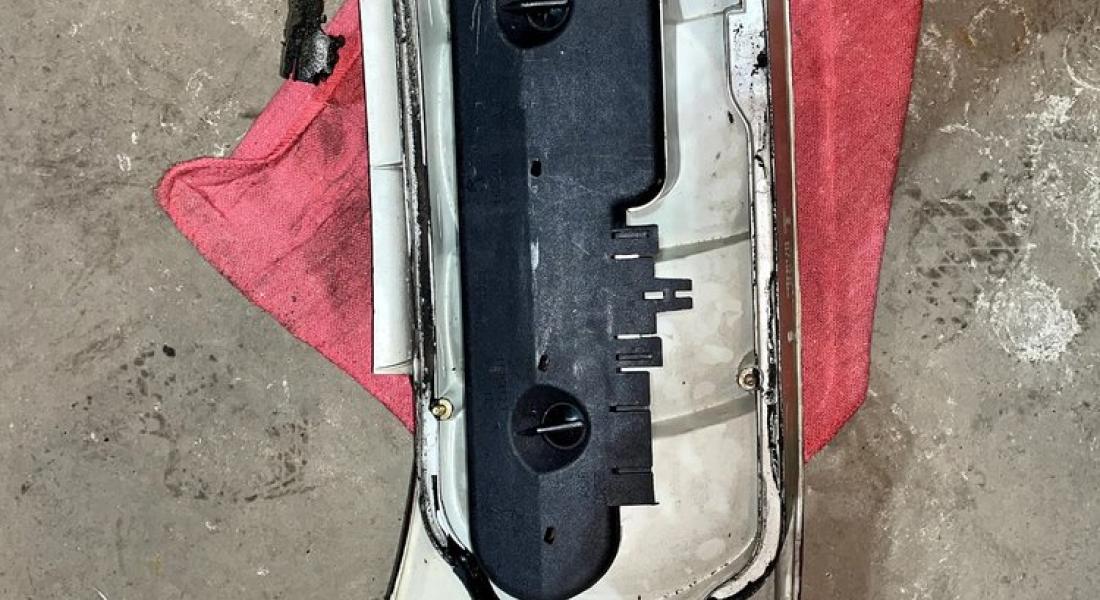
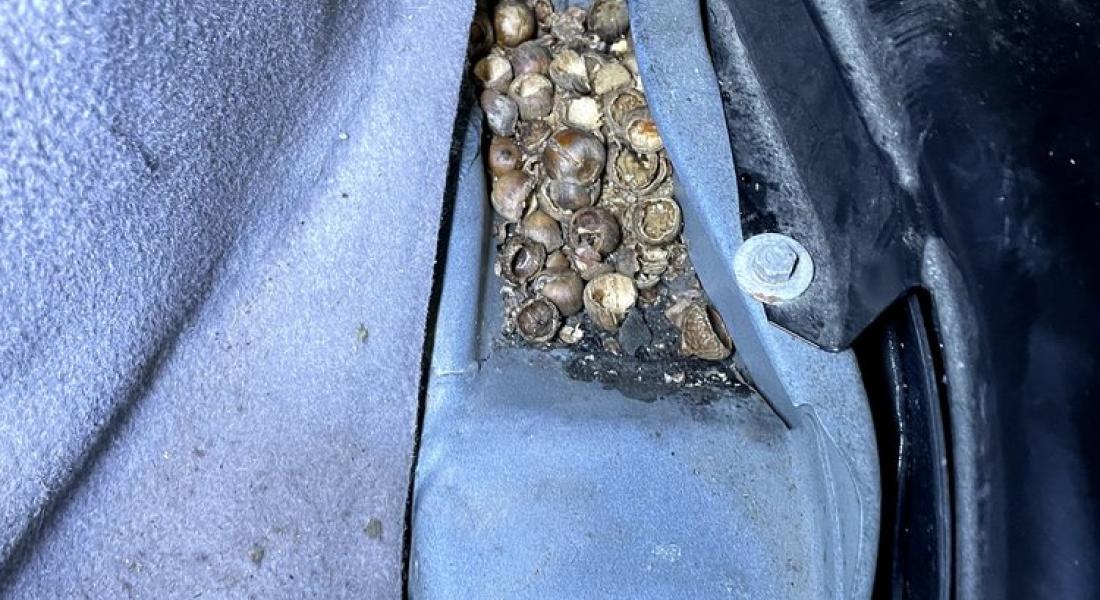
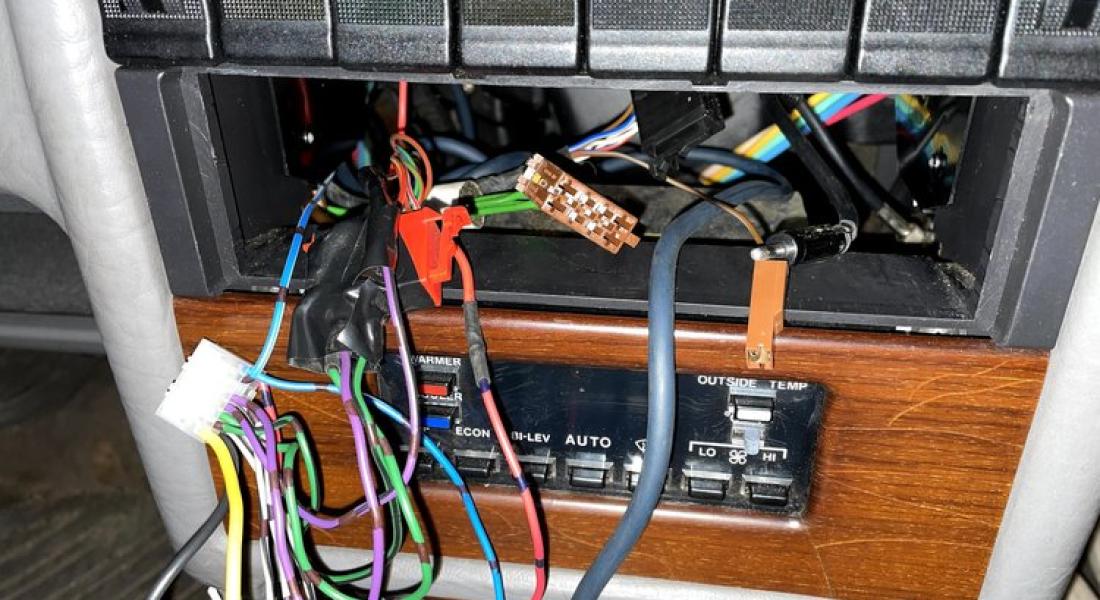
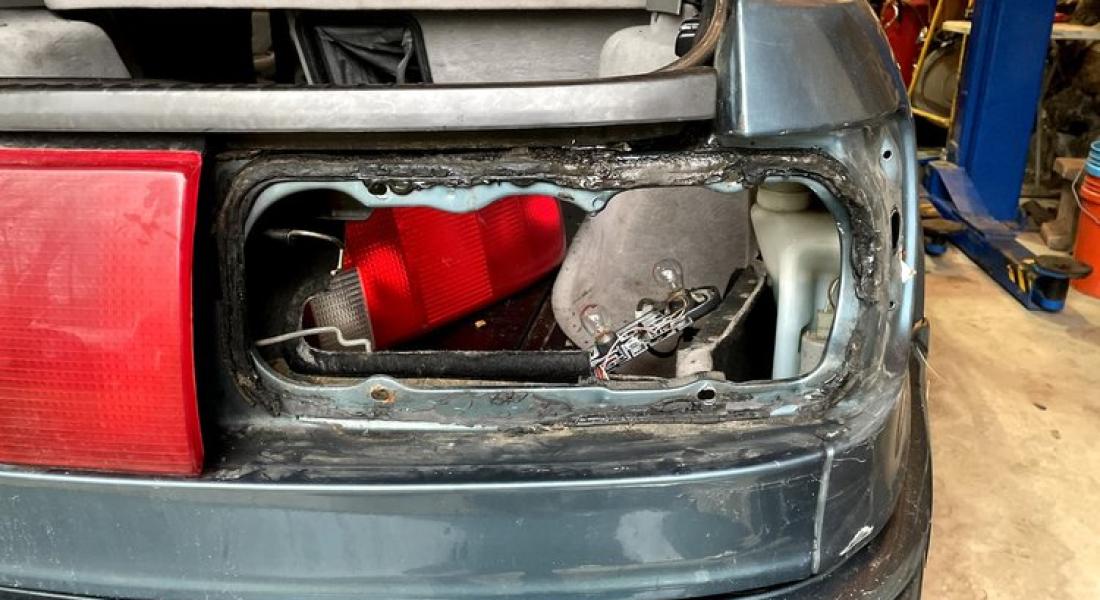
Author: john,
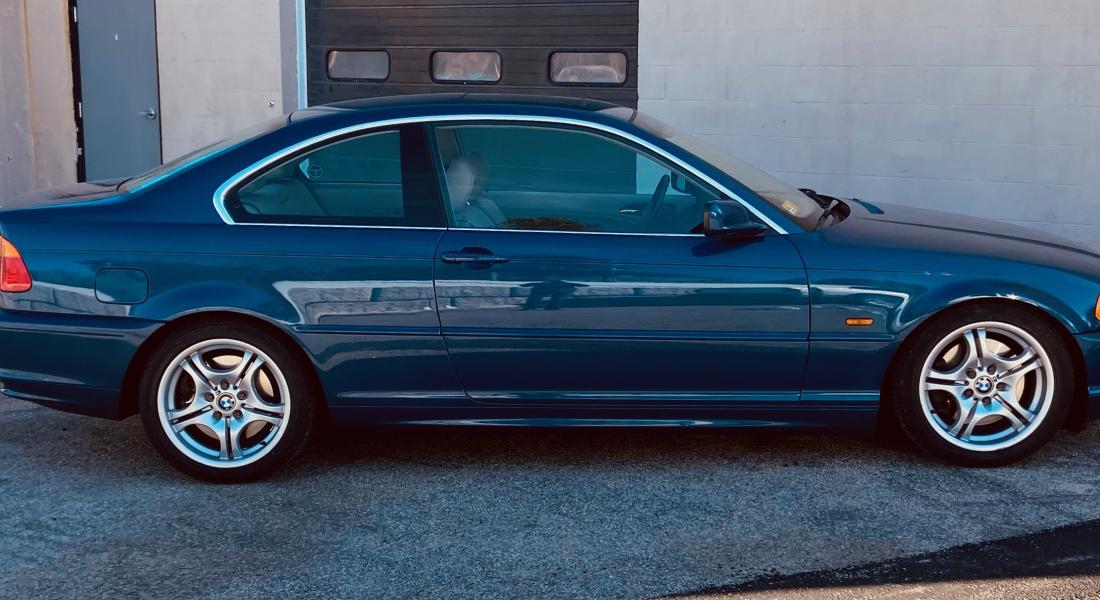
So the spring install went off without much of a hitch. This included installation of front strut tower reinforcement plates and replacement of the upper strut bearings, as well as a replacement of the front sway bar mount bushings while I was in there.
What didn't go off without much of a hitch was replacement of the rear trailing arm bushings (RTAB). Yes there are many how-tos out there as to drilling it out, pressing it out with found items, burning it out (yikes!), etc... I was able to get them out without issue, but no over-the-counter press or homemade tool allowed me to easily get them re-installed. Because I'm stubborn, and was already told to do so before I even started, I stopped with the install and bought the tool.
Kids - Always buy the tool.
All in all I think the car looks great, and the ride is only diminished by some additional harshness. Yes it does hit bumps a bit harder, but the more noticeable thing is the road vibration. I realize that you have to give up something to get something, so really, the tradeoff seems more than worth it.
Project - More Details
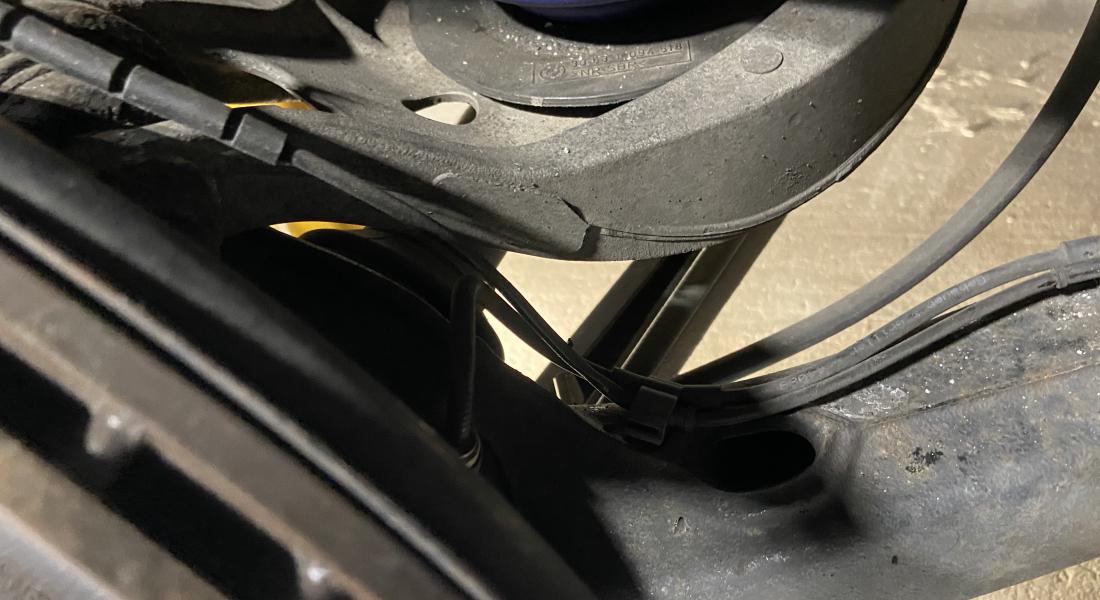
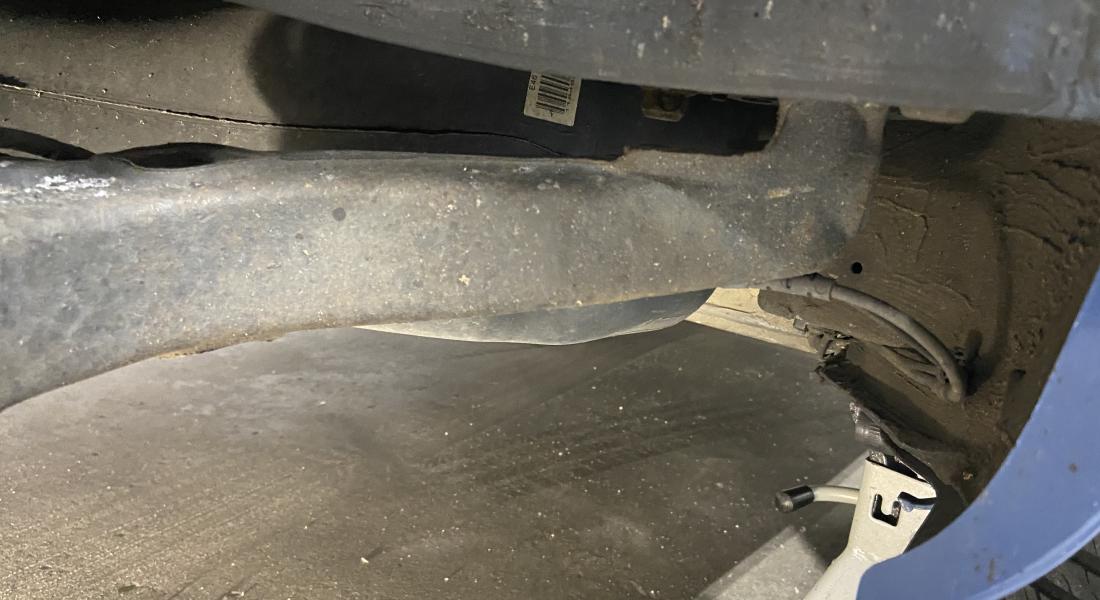
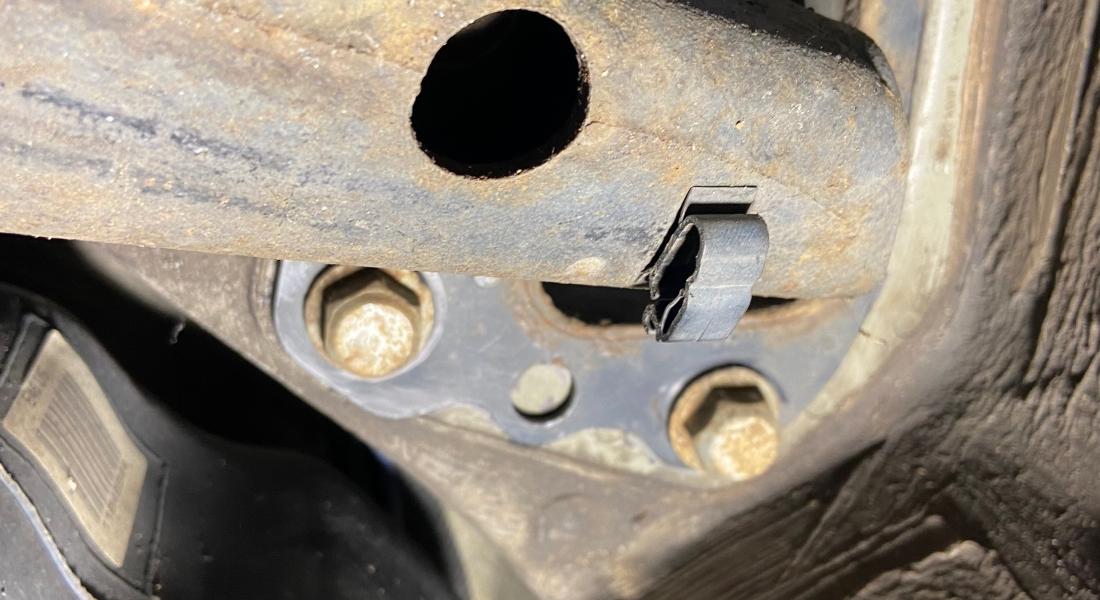
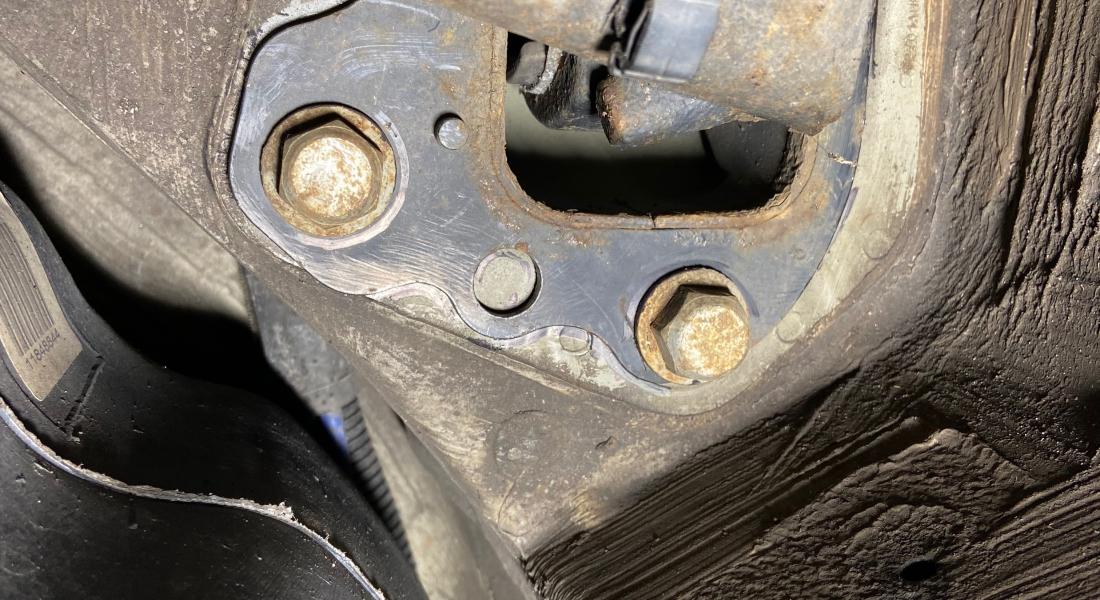
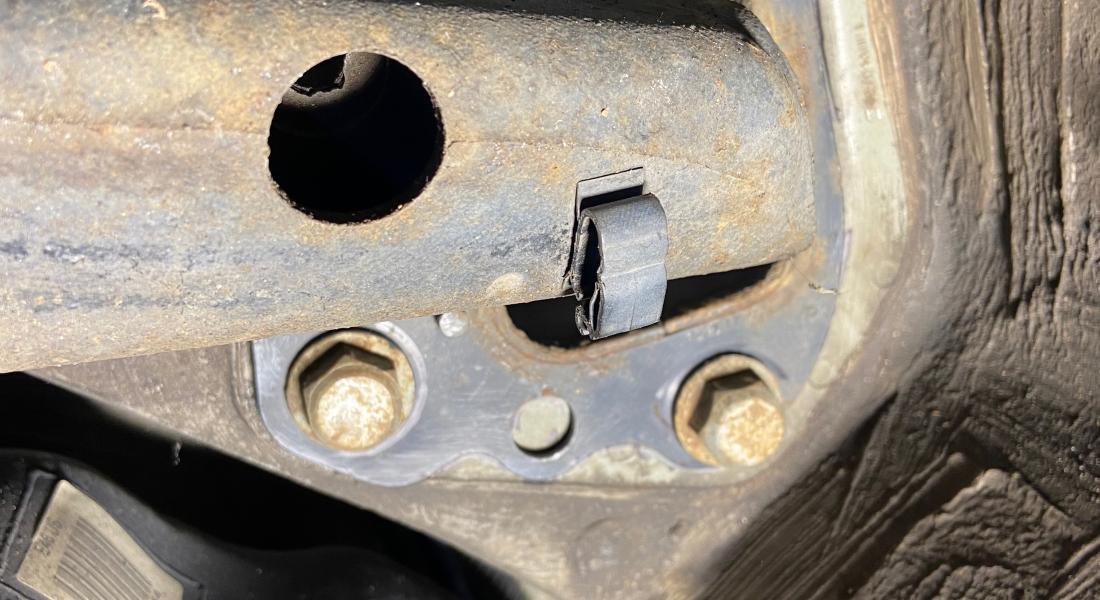
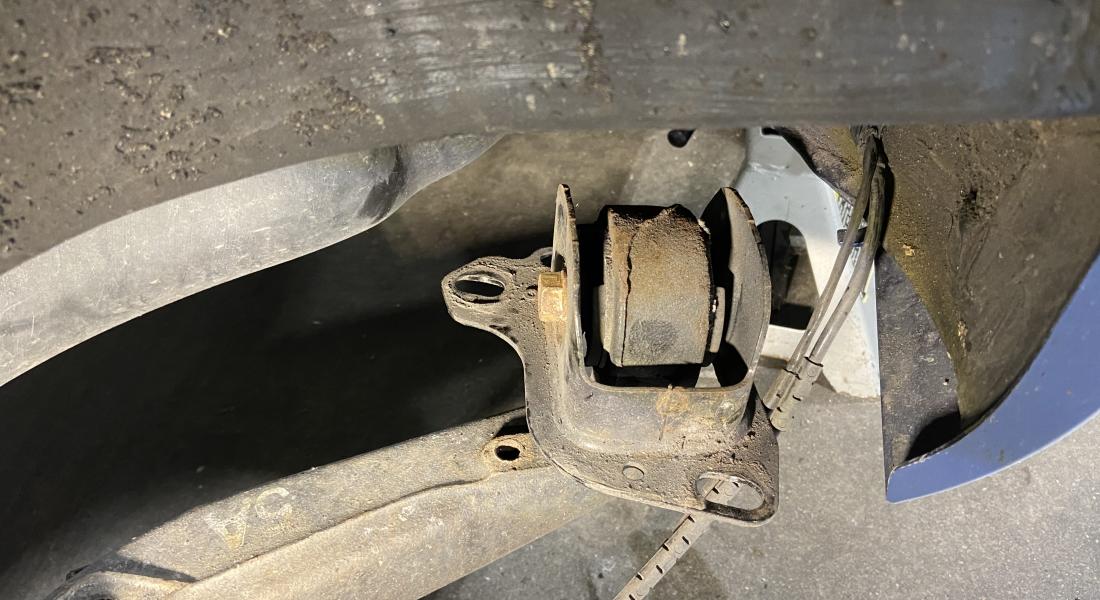
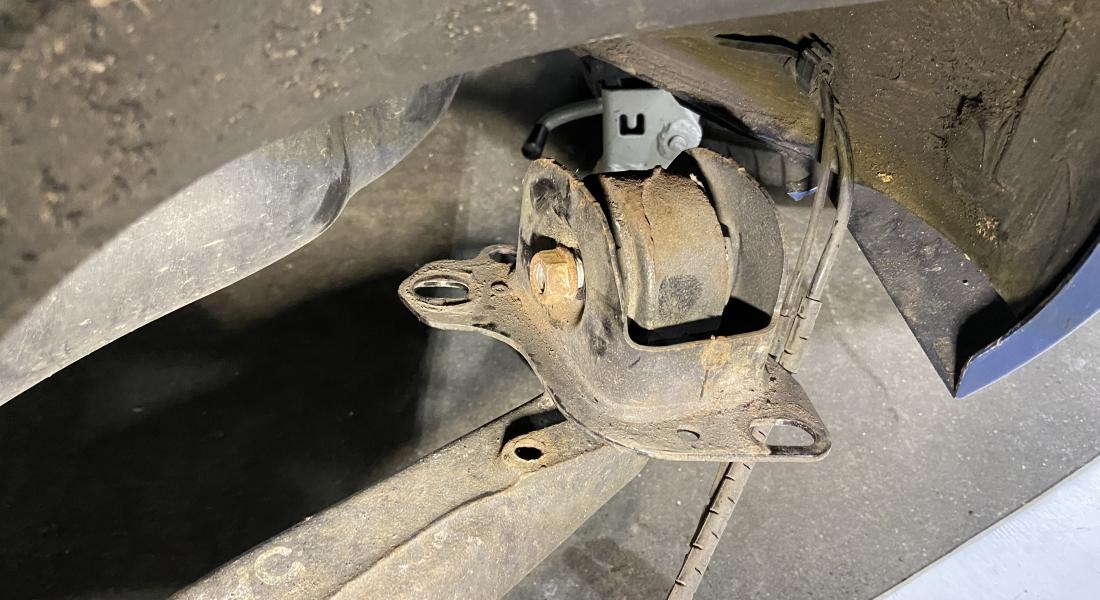
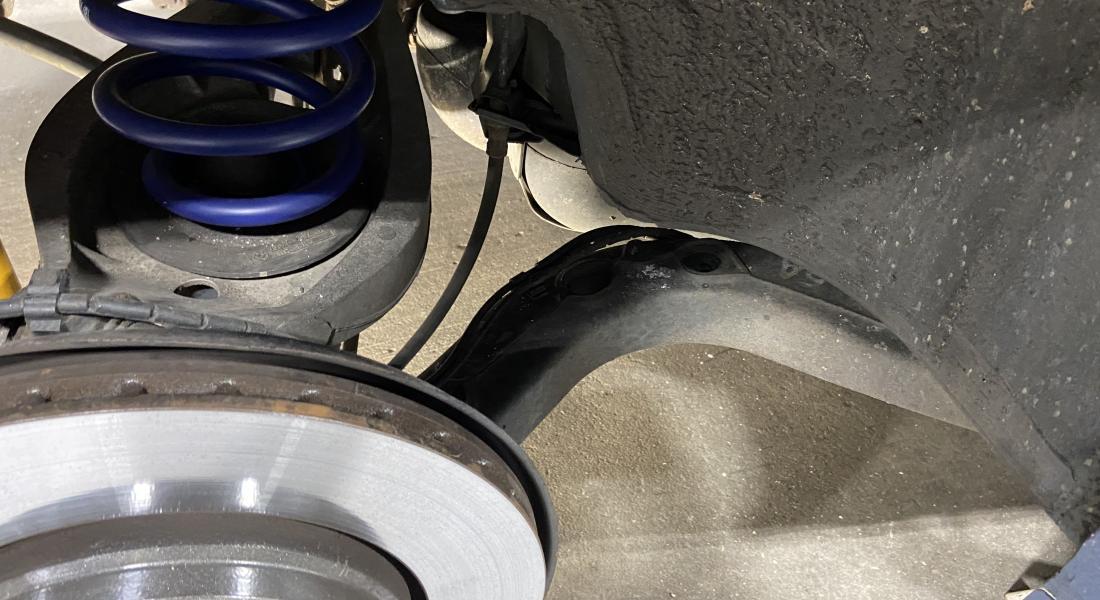
Author: john,
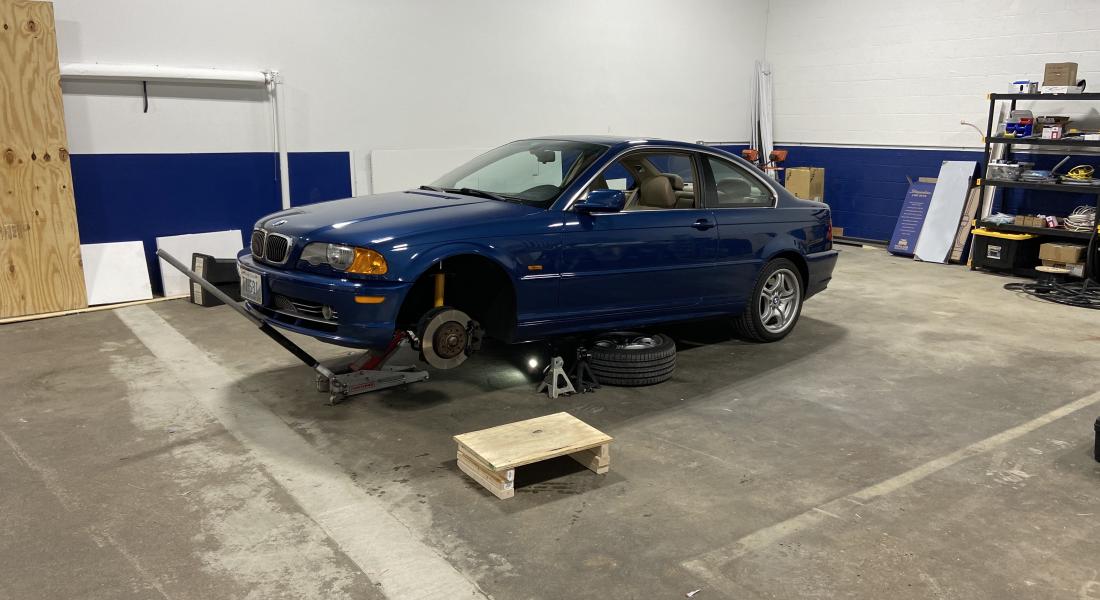
Last weekend I actually had some personal time, and decided it was best used with a wrench in hand and a mask on face. In my search for suspension upgrades in preparation for reduced body roll without completely sacrificing ride, I decided to try H&R Sport springs with my already-installed Koni struts.
In researching this route there are numerous opinions, and I realized that none of them held actual value to me, so I decided to just go for it. Because coil-overs are expensive and because I already had the struts / shocks, my first thought was to install a Ground Control coil-over conversion, which for the E46 is well-documented and seems like a great choice (https://groundcontrolstore.com/collections/e46-coilover-conversion). I kept thinking about it, and because I would be doing the work myself and my research said that the Ground Control setup would then require constant tinkering to get the ride height, spring rates, corner balance, etc., etc., all sorted, my best route was a conventional lowering spring. OK great, now what to choose.... Long story short, my friends at Turner Motorsport suggested the H&R Sport spring. While in there I also replaced the front strut mounts, front sway bar end links, installed strut mount reinforcement plates, and tidied things up.
I am mostly distrustful of any aftermarket products where ride and safety are potentially compromised, but man, that body lean has to be sorted out, and doing it on a budget is my favorite way. As advertised, the drop was spot-on between .5" and .75", and my initial impressions are that the ride has not changed for the worse-- It does feel different, but not in a completely detrimental way. So initial vote for this install is a thumbs-up!
I'll wait to get an alignment until I get a few miles on the springs, check ride height to make sure nothing weird is going on, and make sure I'm good with how it feels-- I still have to drive this thing so I cannot have something terrible in the ride department, and my original springs are good to go back in if necessary.
Project - More Details
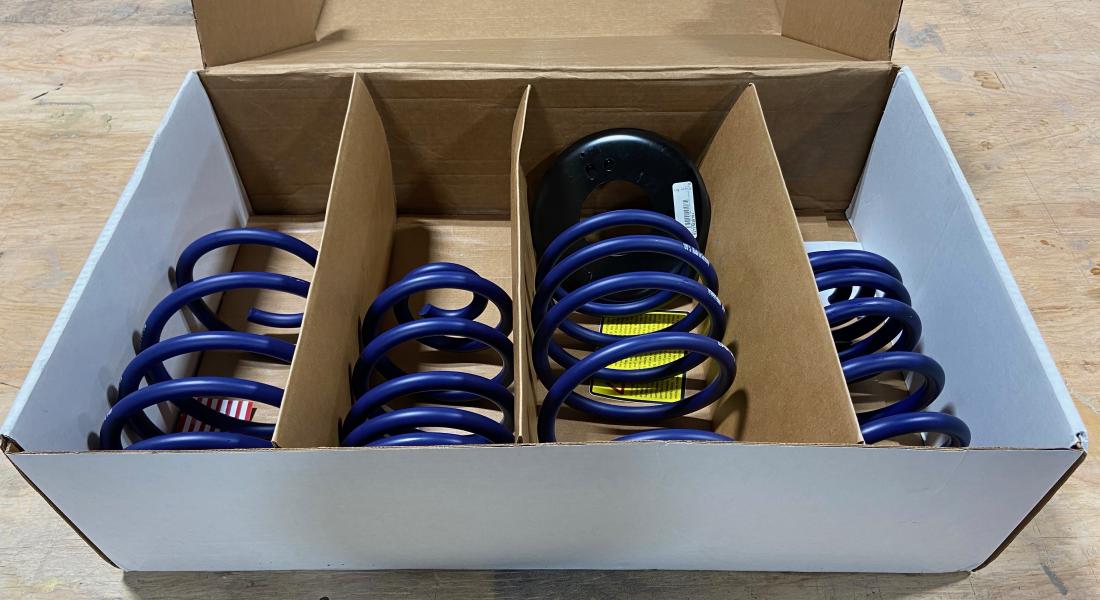
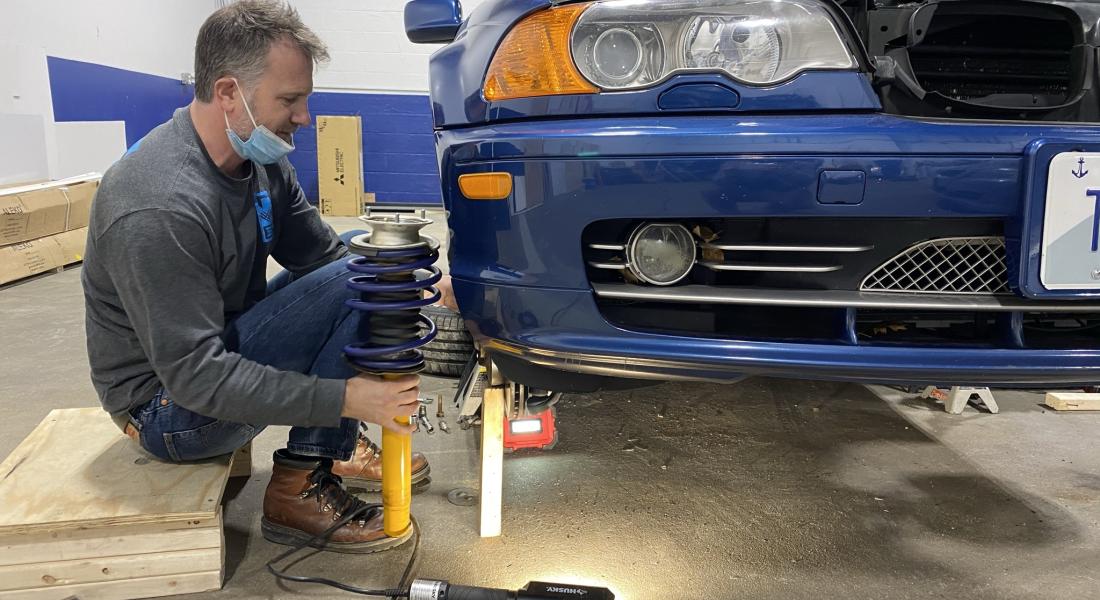
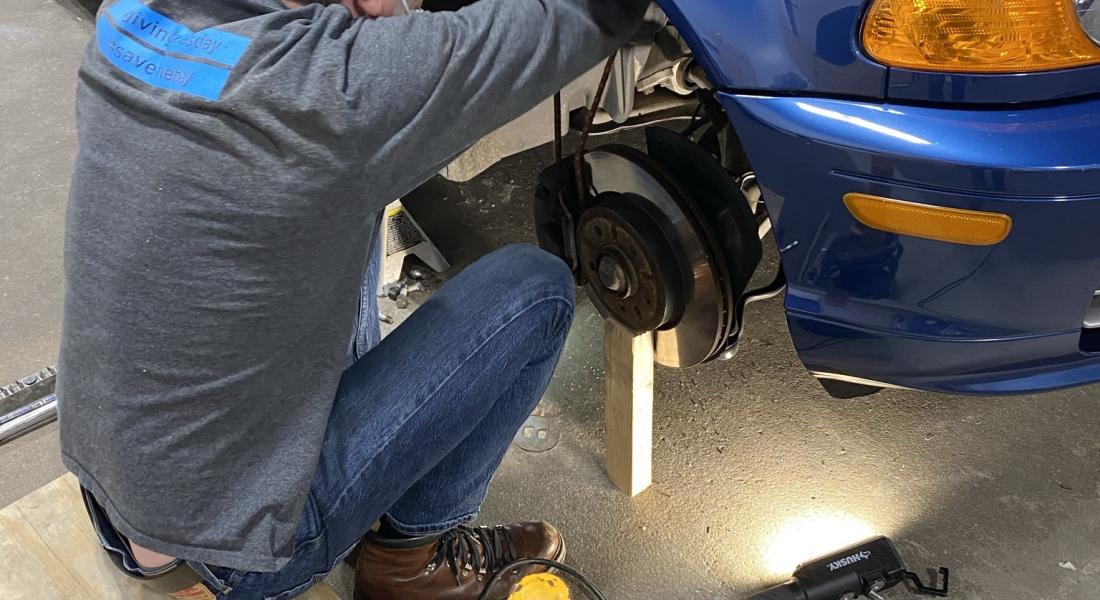
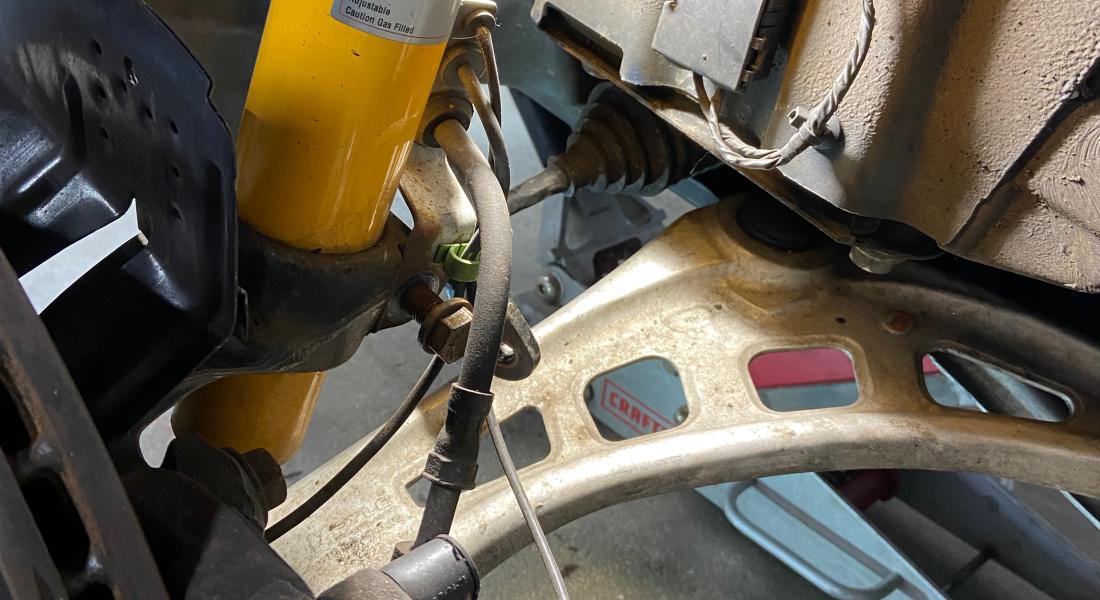
Author: toolbox,
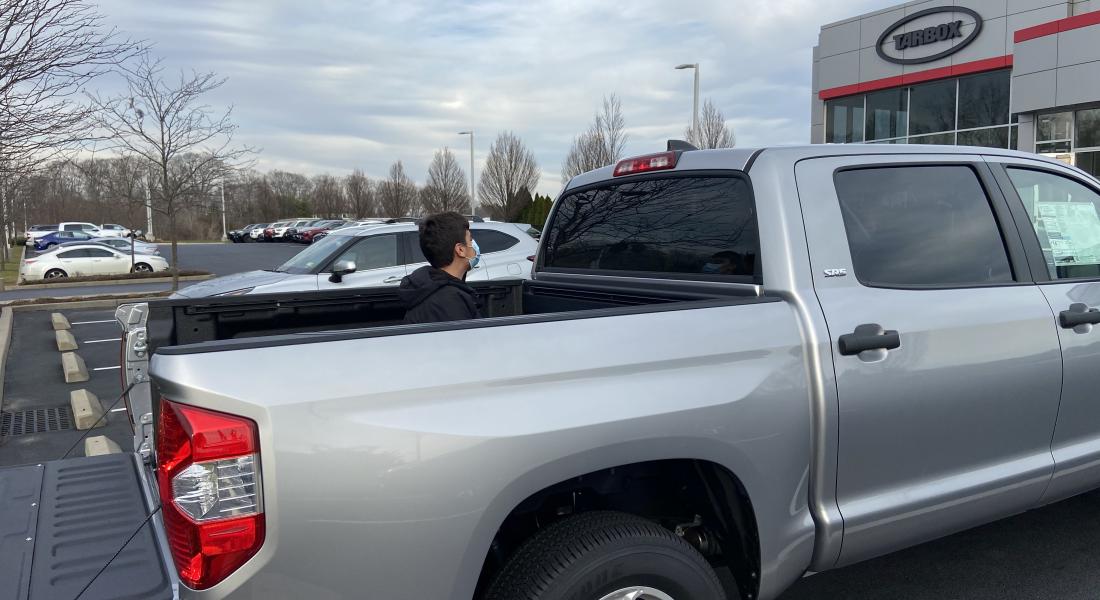
I had to buy a truck in my endeavor to support and protect the human race. Well, part of the human race, anyway; the part that lives in RI and may travel through one of the 16 Covid-19 mobile testing and evaluation units that were built by my startup, MITS LLC. I needed something that could tow up to 10k lbs., and the F150 doesn't get it done. If you step up to an F250 you are very quickly outside of the amount I wanted to spend, and I'm not into the whole Ram vibe.
First thing - There are no big trucks anywhere. When they show up on the lot they are usually spoken for. Next, I had to trade my outgoing 4Runner, so staying within the Toyota family made sense, especially after they offered me $3500 more than the 4Runner was worth because they didn't have any on their lot and couldn't find any to turn in. I like Toyota trucks, but am not much of a Toyota car fan, and I never really liked the 4Runner all that much, so I was fine to get rid of that and into a Toyota truck. (Aside - 4Runners have the worst seats I've ever encountered in a modern vehicle, and the engine was also a letdown-- Low power, bad MPG. Also, the dash and radio kinda sucked. On the upside, Crawl Control is pretty much amazing, and got me out of an axle-deep burial on Nantucket).
Long story short, Tarbox Toyota had this truck on the lot and it was pretty much my ideal spec - Grandpa-spec with chrome grille and bumpers, and not a TRD Off-Road or Pro, which are largely stickers and leather seats plus an inflated price, which I didn't want or need-- I just needed to be able to tow. The Crewmax cab is awesome and provides more interior space than the 4Runner, and the SR5 gives me a 37 gallon fuel tank and aluminum wheels.
This is my first real truck, and I'm totally into it.
Project - More Details
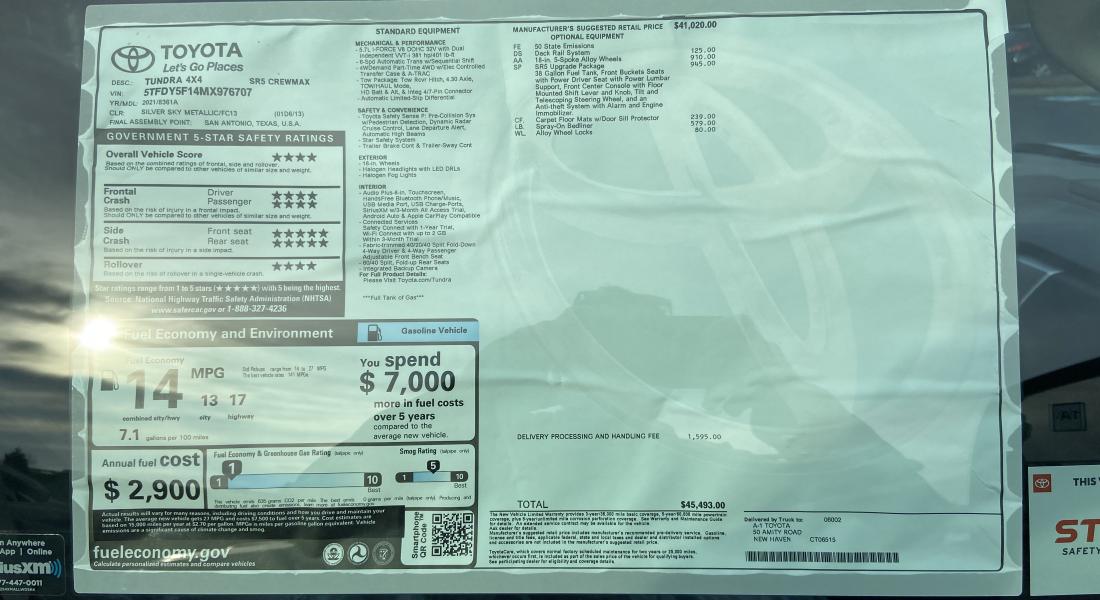
Author: john,
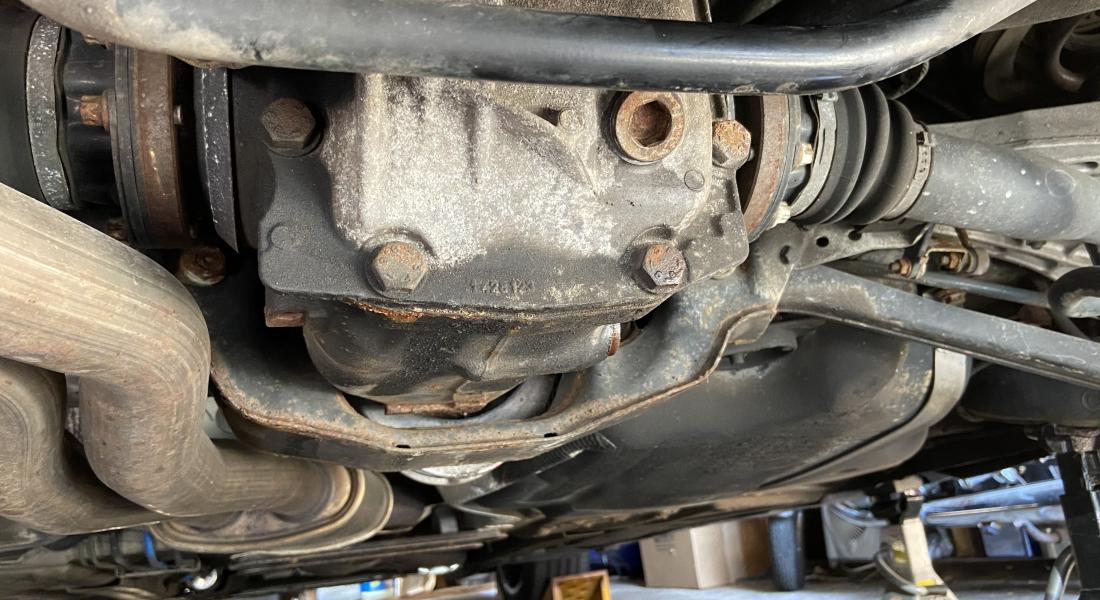
Every weekend I'm trying tp pick up some deferred maintenance items in preparation for the world returning to to normal at some unknown point in the future. Today it was changing the differential fluid. I used Redline 75W-90 NS, which is fine for the open diff that the E46 has. I used my trusty old pump and the process is straight-forward. I do find that I also hate the smell of heavy oils such as these, and that it's impossible to get all the oil out of the pump, so I just wiped it off and plopped it in a ziploc bag. One pointer that I've read for this style of BMW differential - Make sure the fill plug will break loose before opening the drain plug and draining the fluid. You do not want to be stuck without the ability to get fluid back into the diff in the event that you cannot get the fill plug broken free. For me it was an easy breaker bar pull and the plugs were loose, but if you have trouble, don't leave yourself worse off than you were.
Project - More Details
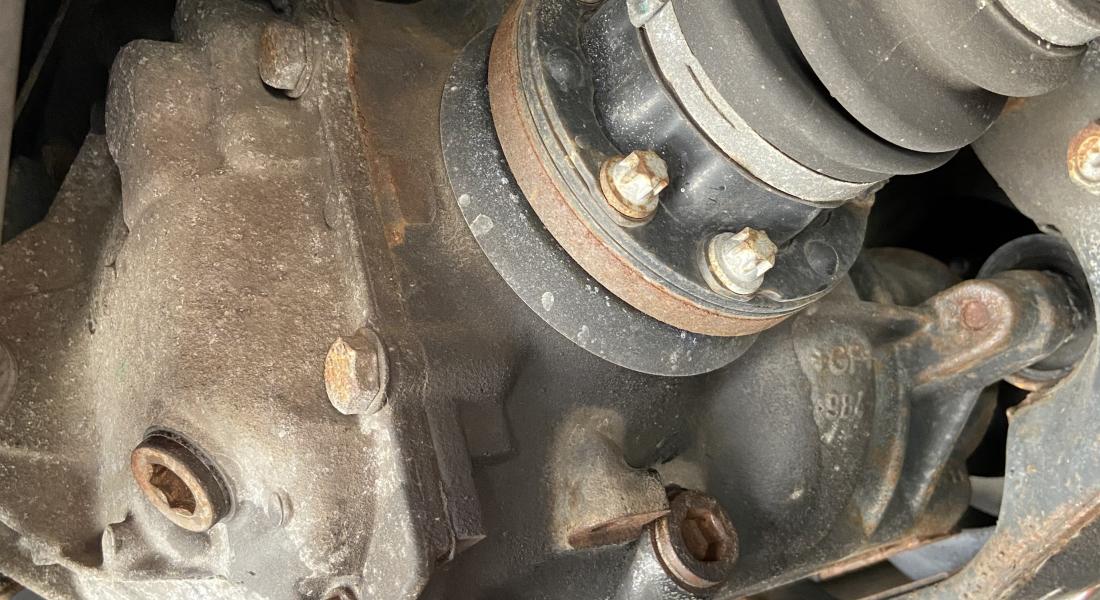
Author: john,
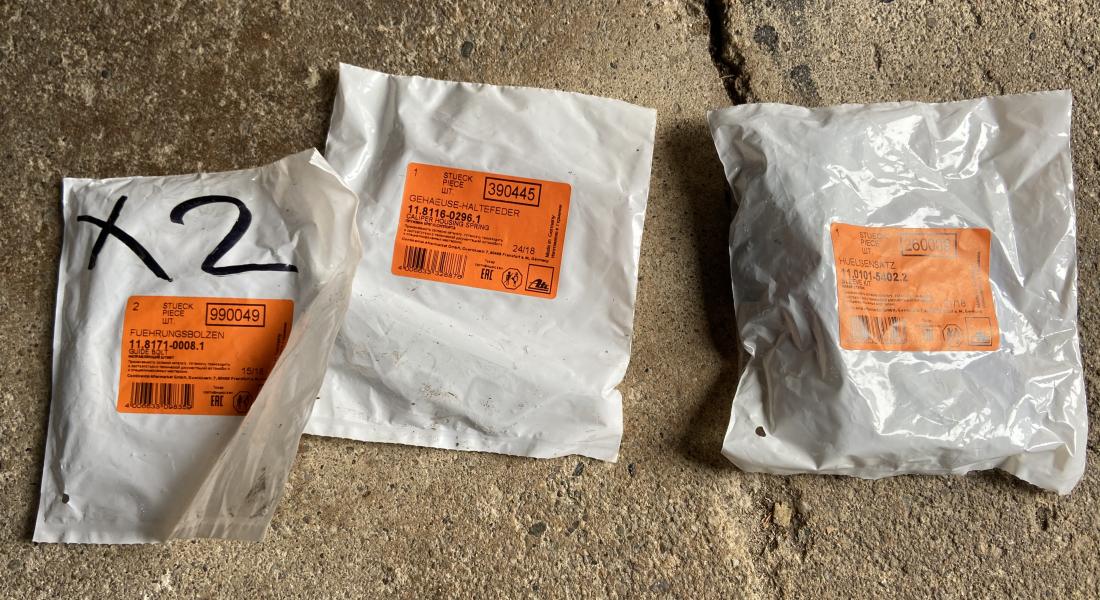
So the E46 got a bit of quarantine maintenance on Saturday that included installation of Stop Tech Sport pads, new caliper slider pins and caliper guides all around, and a bedding-in session. The pads feel great and stop hard, but the harder to believe element is how grungy they brembo pads that I removed were. The brembo pads have been on the car for just over a year and were not driven in the winter, so the weathering has only been done by car washes and the occasional rain drive. They are rusty with the backing plates falling off, and I can’t say that I would recommend them at all.
Project - More Details
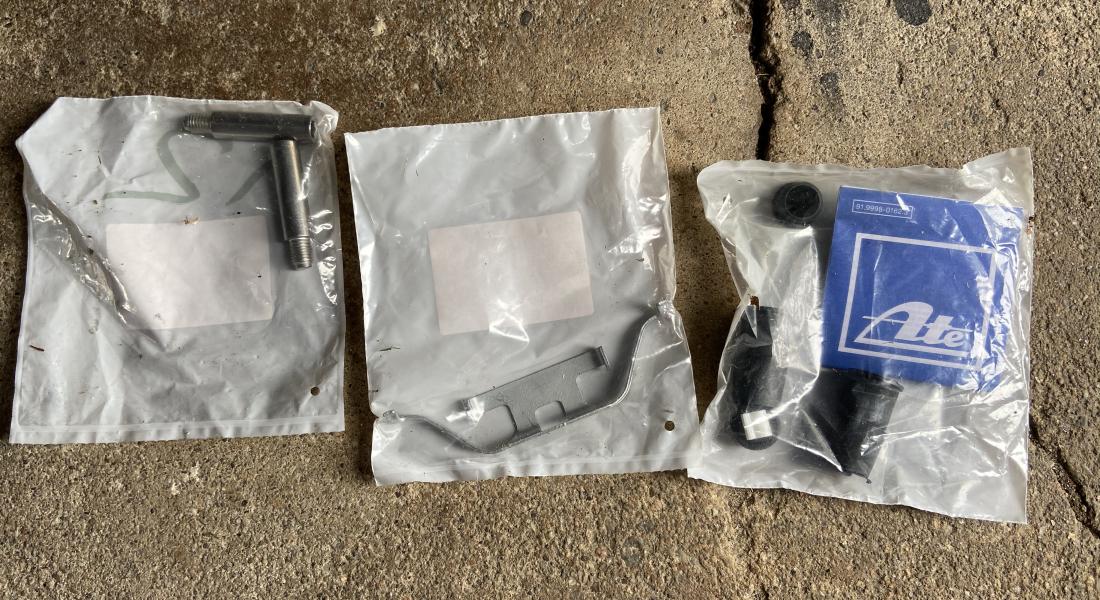
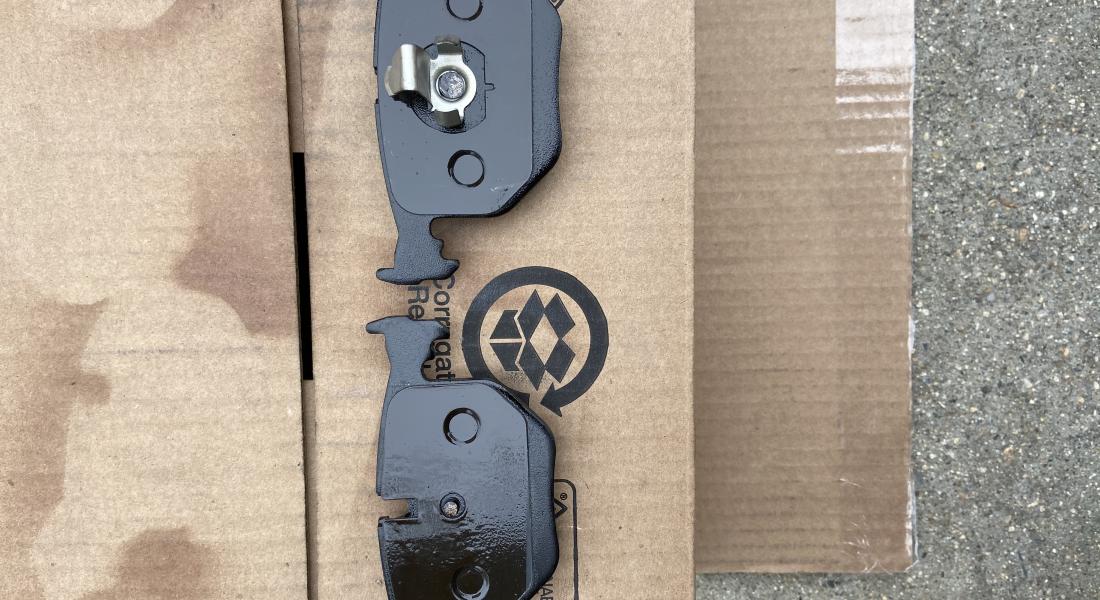
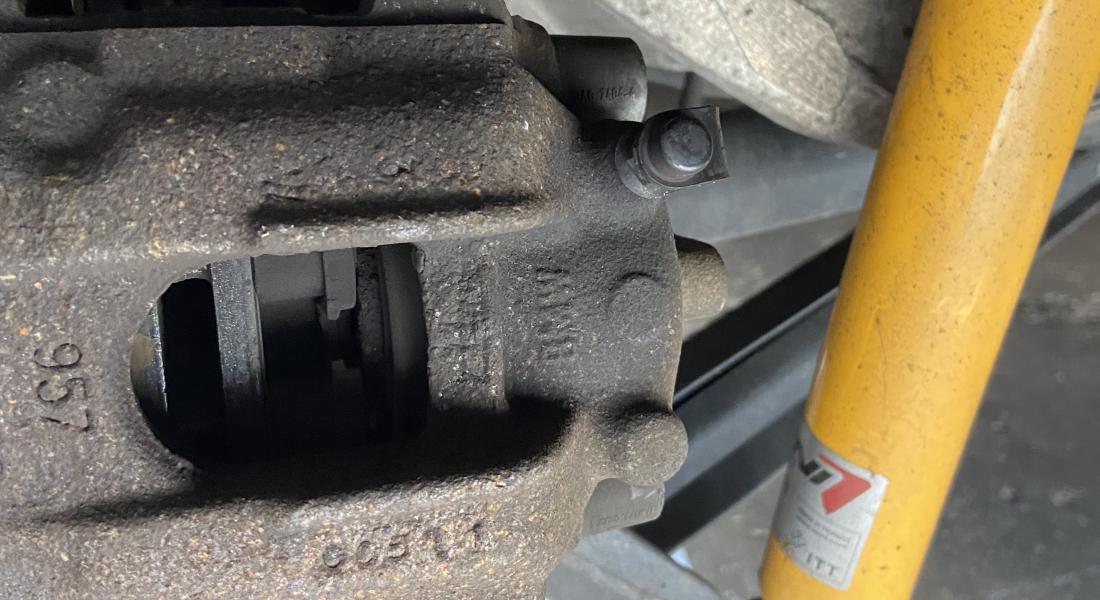
Author: john,
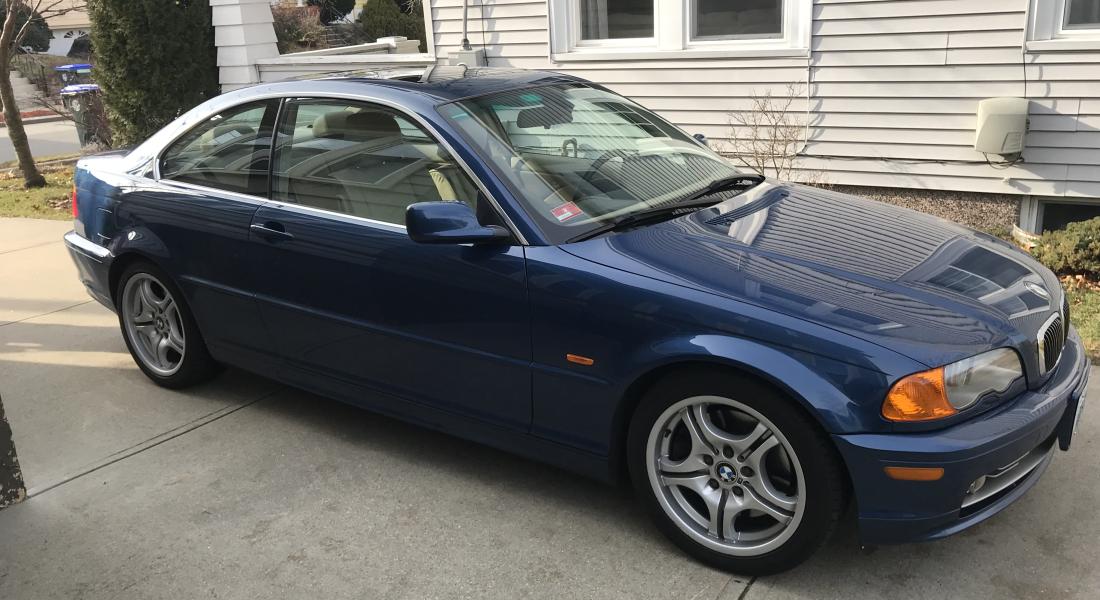
So here is my new project. The site will be a great place to track what happens with it, but initially I will drive it to replace my aging VW Eurovan, while fixing a bunch of deferred maintenance and neglect. The guy I bought it off of was nice enough, but he had zero receipts and didn't know a socket from a screwdriver, so I'm going into this one planning on learning a few things.
Right off the bat, there is oil leaking from the valve cover (big surprise) all over the exhaust manifold and making a lot of bad smell, the LF wheel appears to be bent at the outer lip causing a chassis shake, LF front sway bar end link is broken (connected methinks), tires are mis-matched between front and rear (one of my cardinal rules to avoid at all costs, but this does have staggered wheels so I let it slide), and the car is totally filthy. All of this helped with my negotiating, and this 115k mile ugly ducking is now mine. On the bright side the car is a nice color combo, doesn't rattle or do anything weird, has no dash lights, seems to run great and is faster than I'd expect, and has a clean CarFax. It checks all the right boxes for what I was looking for, and will be a good project.
I'm excited to dig in, and to log the project on the site.
Author: Michael's Motor Cars,
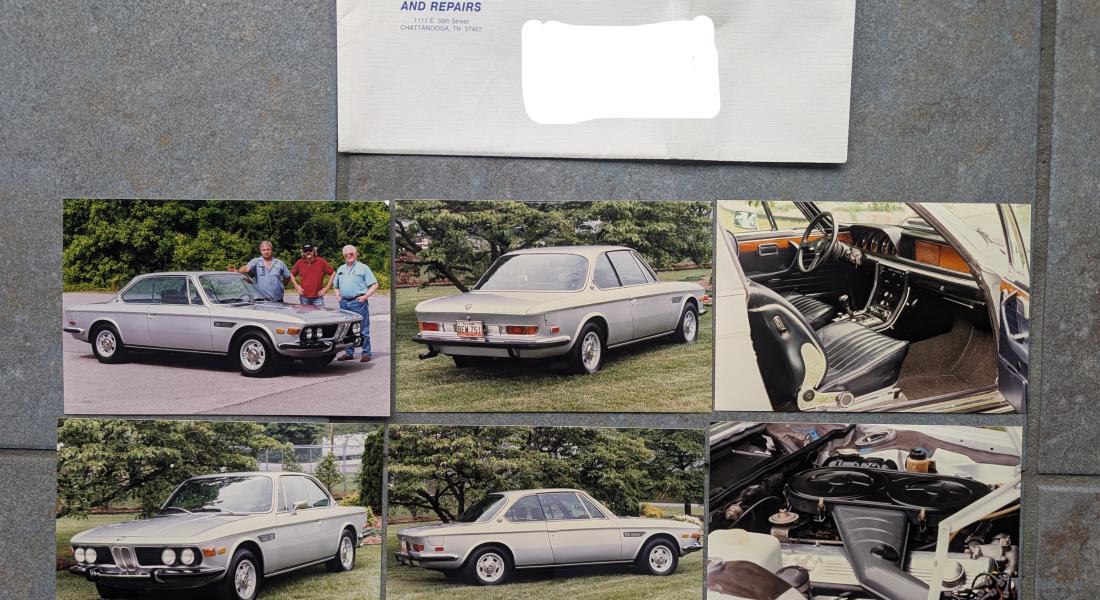
Glass out respray and associated bodywork to perform cosmetic refresh of this E9.
Author: Michael's Motor Cars,
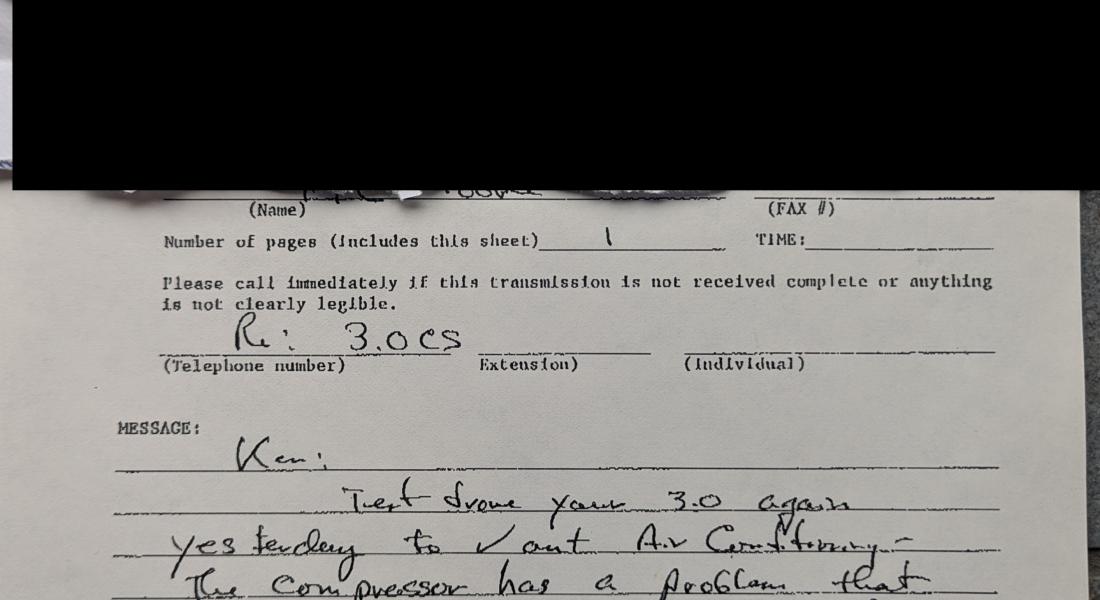
Nearing the end of the cosmetic refresh and final communications between shop and owner.