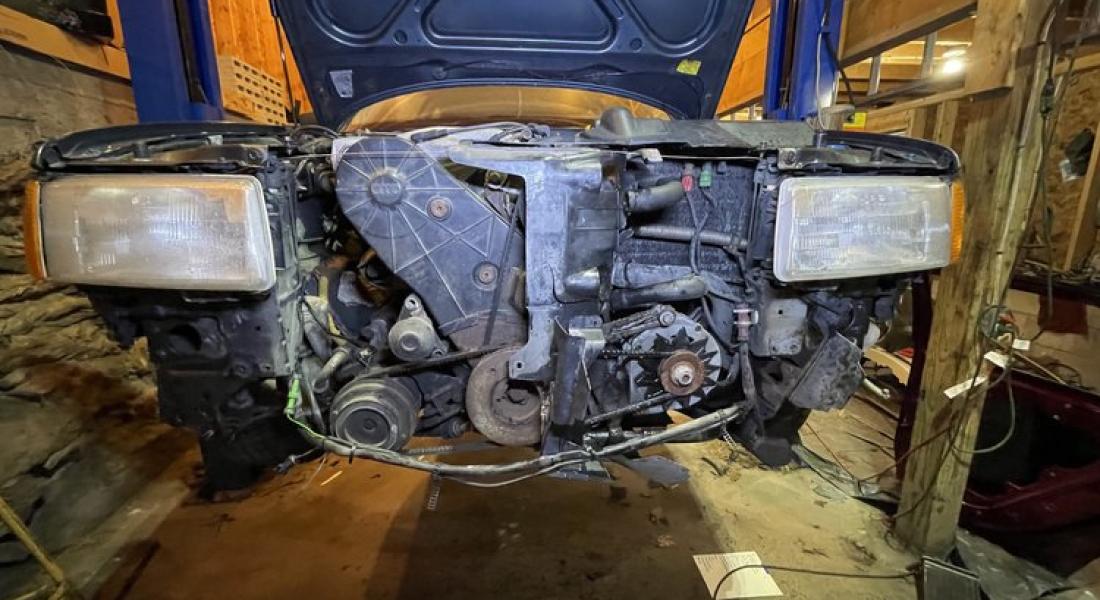
This was the first real-time that I ended up tearing up the front of the car. After removing bumpers, shrouding, and an auxiliary radiator, the belt system was revealed. Replaced in this service were the timing belt, crank seals, idler pulley, power steering belt, AC compressor belt, and an alternator belt. The first belt ended up arriving at my house defective and was 2 inches shorter than the listed specifications online, thus leaving me to order another. During this time it was determined the timing was off on the motor originally, which could have been some of the culprits in the Audi running poorly. Upon receiving the new belt, the water pump was replaced and used as the tensioner in the system and then the remaining accessory belts were changed.
Project Chronicle
Author: Henderson,
The Audi's first real service.
Project - More Details
Author: Henderson,
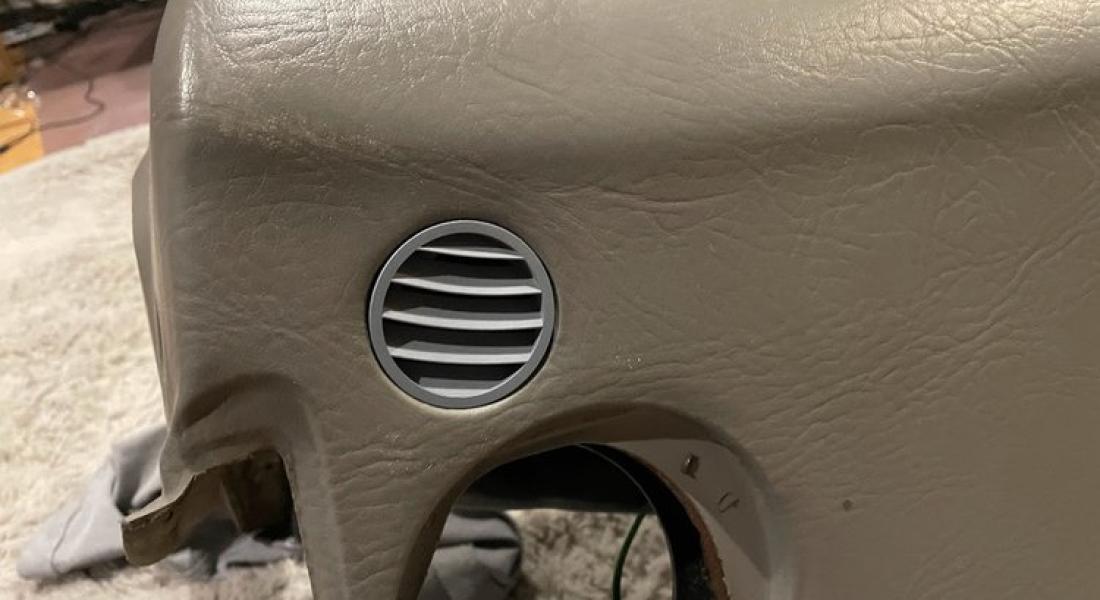
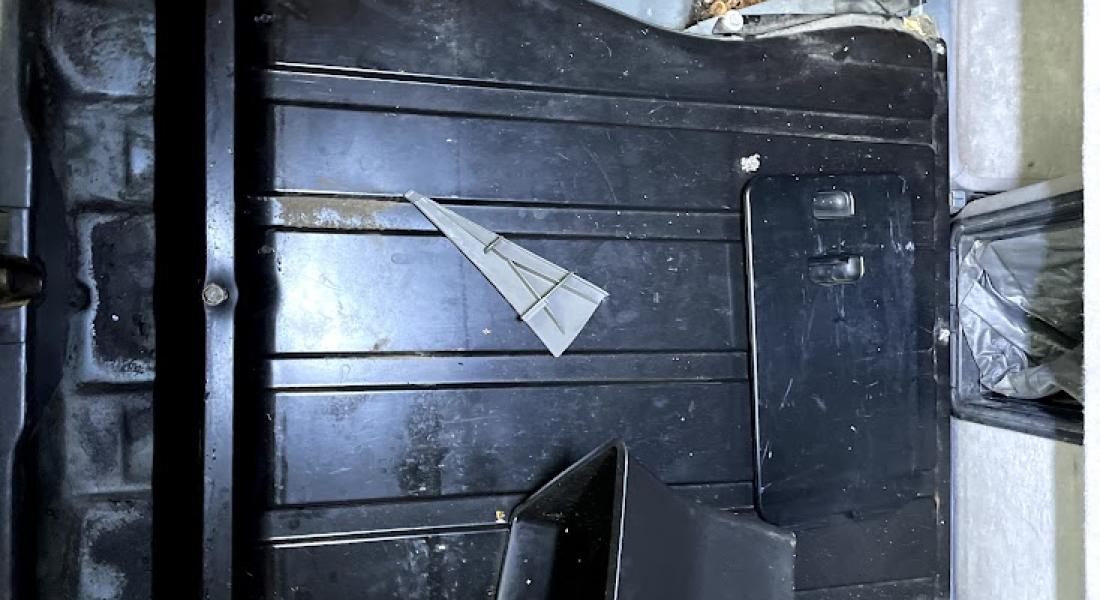
Designing and printing the new dash defroster vents along with more cleaning up.
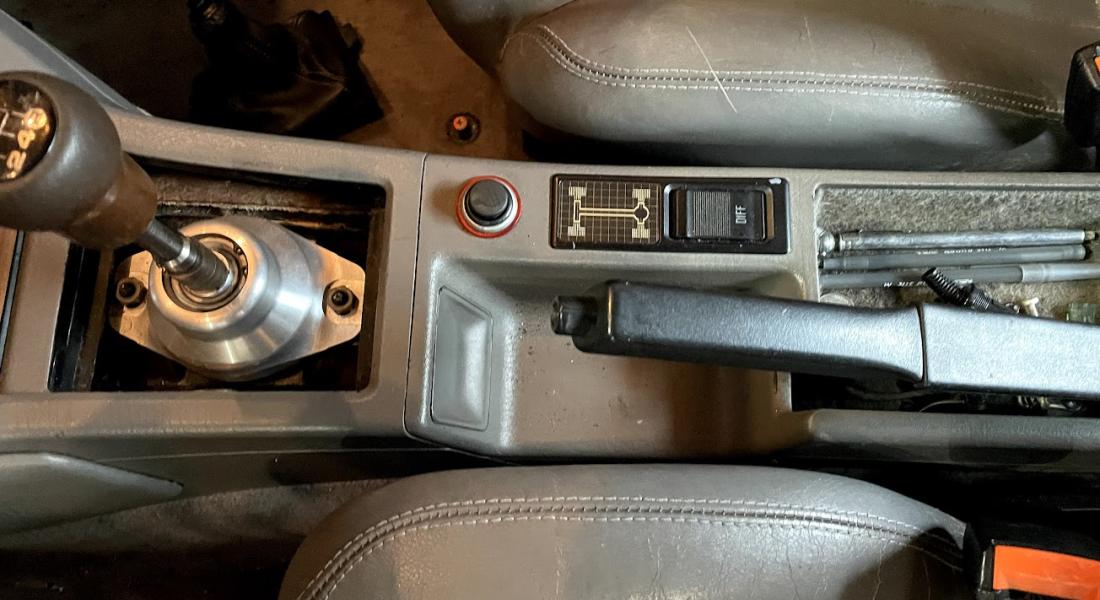
Project - More Details
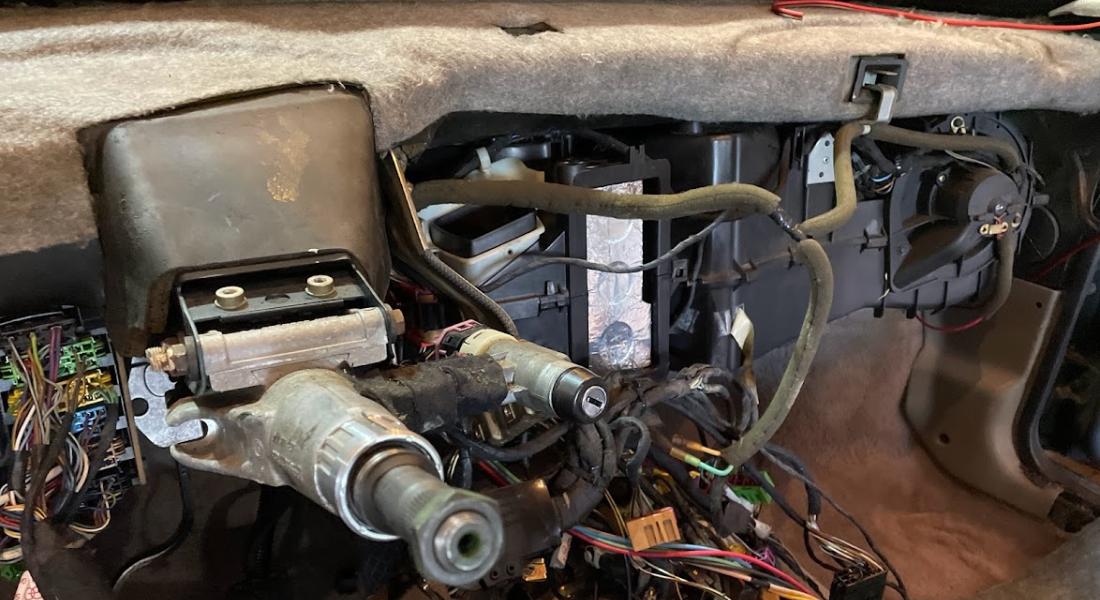
Here showcases the dashboard vent that I modeled and printed for my dashboard. These are the defroster vents and I have in total 50% of one of them (shown above). It was a bit annoying to model as I had to assume most of the time, I could have just gotten the circle size and done my own pattern, but I wanted it to look factory. The completed piece in gray can be seen in the dashboard, unfortunately, I forgot to take photos of the painted pieces before I inserted them into the dash. The other images above show the auxiliary gauges that are directly in front of the shifter. They were quite dirty, with dead bulbs, and disintegrating cable insulation. The insulation that was falling apart I removed and cleaned up the old candy wrappers, dirt, and sticky coins. Once that was done I set this stuff to the side as I still had some work to do in the interior before these went in. The next day though these were back in the car which can be seen in the end photos of the gallery above. Climate control also went in that day, which allowed me to start reading some pulse signals from the car ECU which can be read using electronic climate control.
Author: Henderson,
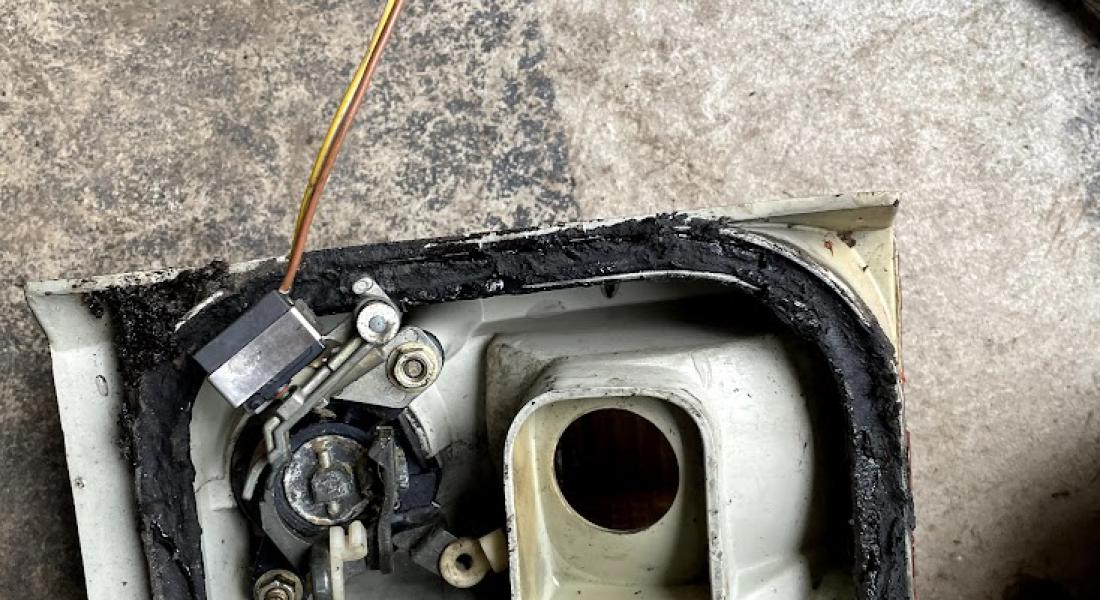
Replacing the heater core in the Audi CQ was a nightmare as it looks like it HAD been attempted before but was stopped short as firewall bolts were stripped.
Project - More Details
This one has a lot of photos because this part was one of the main deterrents when purchasing the car: the infamous heater core. The heater core in these old Audi Coupes is notoriously difficult to get to. The dash, center console, and airbag systems must come out including nearly all of the interior components north of the front seats. What made this one million times worse was the car was sold to me where someone had attempted this before and failed, leaving a trail of stripped bolts on the way. I spent days, literal days, cutting through two bolts in a spot I could not see into with a jigsaw blade… BY HAND. Two millimeters of movement at a time I would saw, elbow deep into the dash. Unless I wanted to pull the engine, which I really did not, this was the only way. Once the heater core box and all of the tubing were out I went ahead and rebuilt them. I took out all of the old foam where I deemed it unnecessary and replaced it with a few layers of thick aluminum ducting tape. Once the box pieces were individually rebuilt, they were assembled into the clean-looking box in the early images above. Then I ran into more problems, torn vacuum actuators (shown above), finding a way to mount with stripped bolts/studs from the previous repair, and the new replacement core not having the same angle of tubing as before. Not knowing when I would be able to ever get a new, and of course no longer available, heater core I just would modify my firewall to work with this one. One thick rubber firewall gasket later, some aluminum-rubber sound deadening, and a great deal of force later it fit.
Author: Henderson,

First attempt to correct some of the errors in the Audi gauge cluster.
Project - More Details
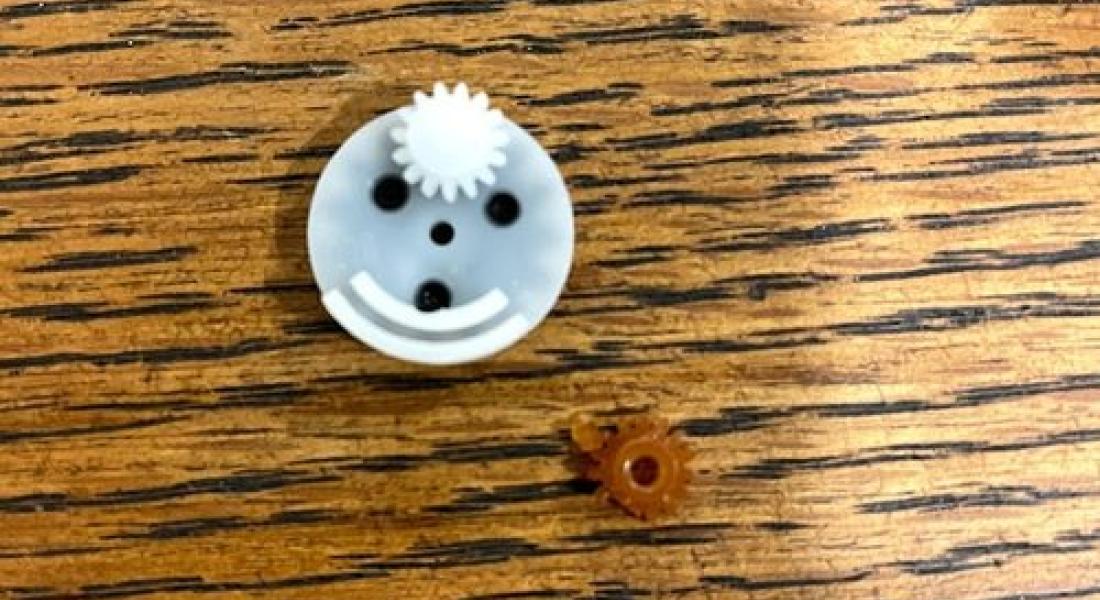
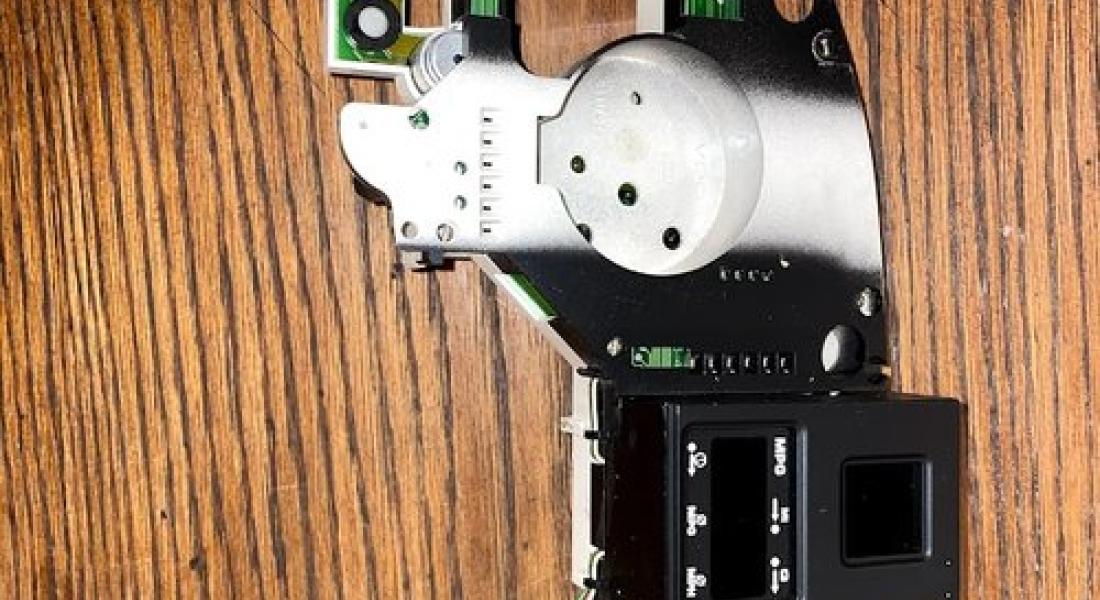
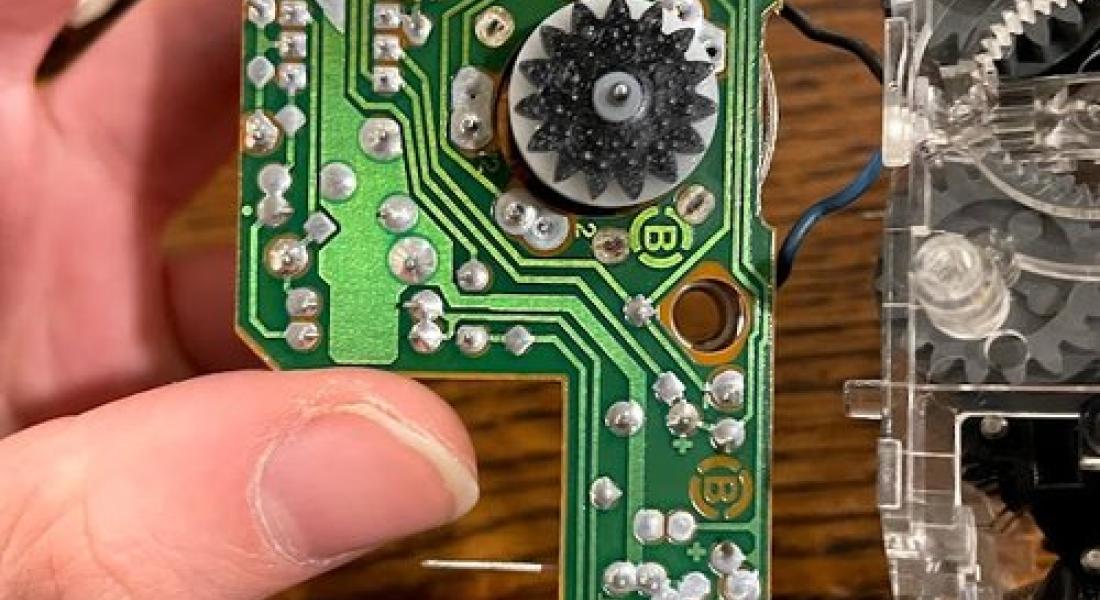
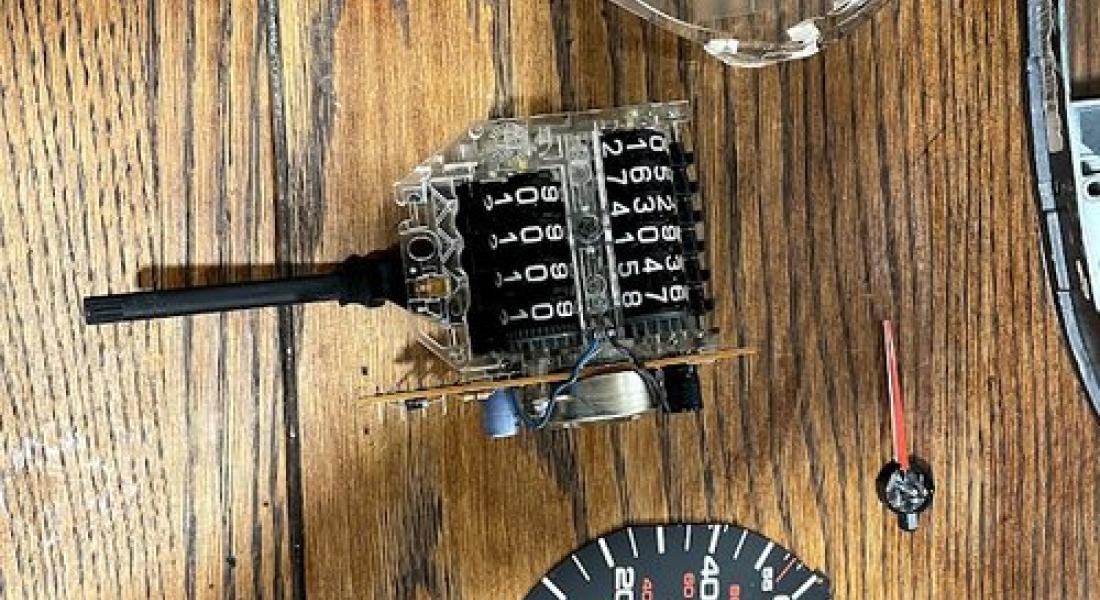
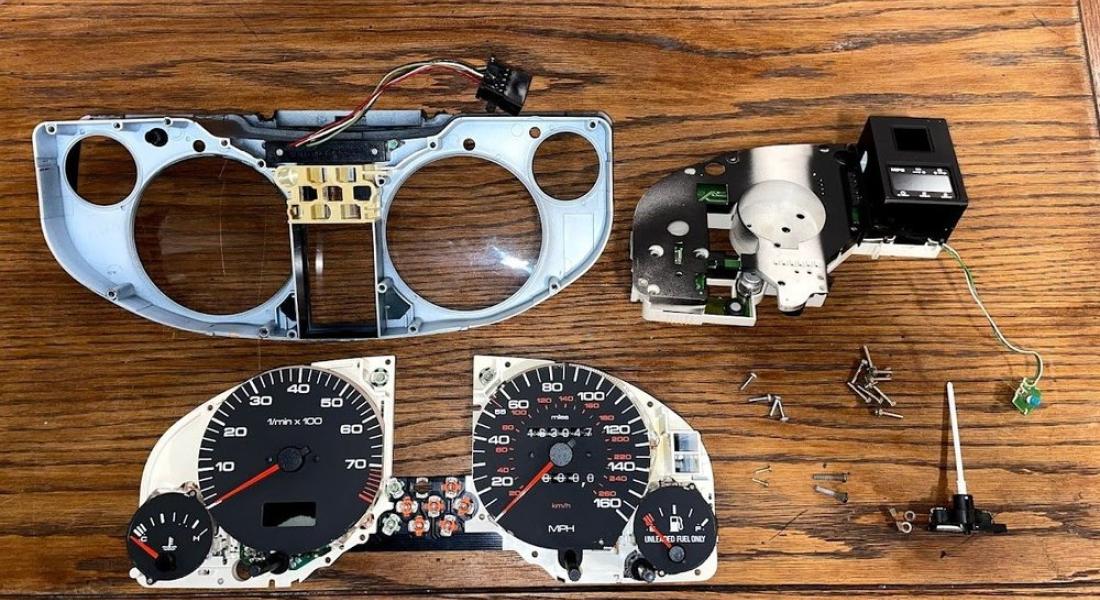
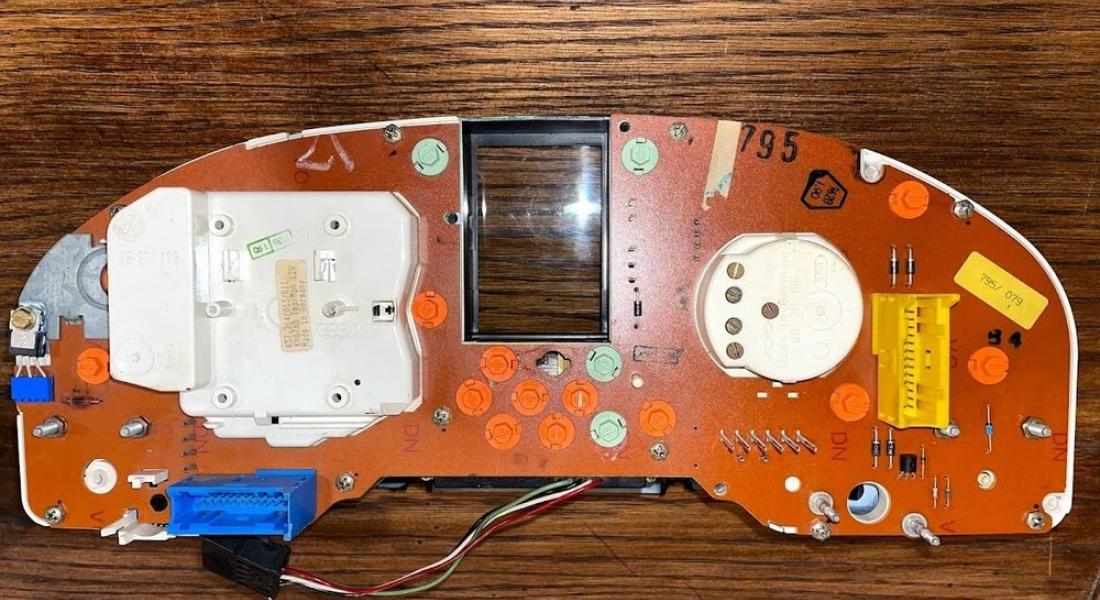
This was the first attempt to correct some of the errors in the gauge cluster. As it sat before (and now to my knowledge) is that nothing on the cluster worked besides fuel level. A common fault in these is the odometer gear which drives part of the speedo and therefore that was my first check. Sure enough, it was bad and I replaced the old broken orange gear with a new white gear specifically made for this cluster. Upon plugging the gauge cluster back in the speedometer still reads a solid 34 MPH as the car idles, and nothing else but fuel works. These could be sensors, these could be bad solder joints (notorious on these), or just a bad board. There were some parts of the board on inspection that looked like water had gotten into the board, fried some resistors, and some other pieces. This will need to be inspected again in order to pass a safety check for registration. The main problem with these is that there are only a few people working on them, and therefore there is little supply for salvaged parts as the clusters are tossed when bad. Other notable items: the check engine light and airbag light were not present in the cluster (which means they 100% were on when they did work), and the onboard clock was covered with electrical tape to look solid black as replacements are $120 or more for just the screen that isn’t bleeding as mine was.
Author: Henderson,
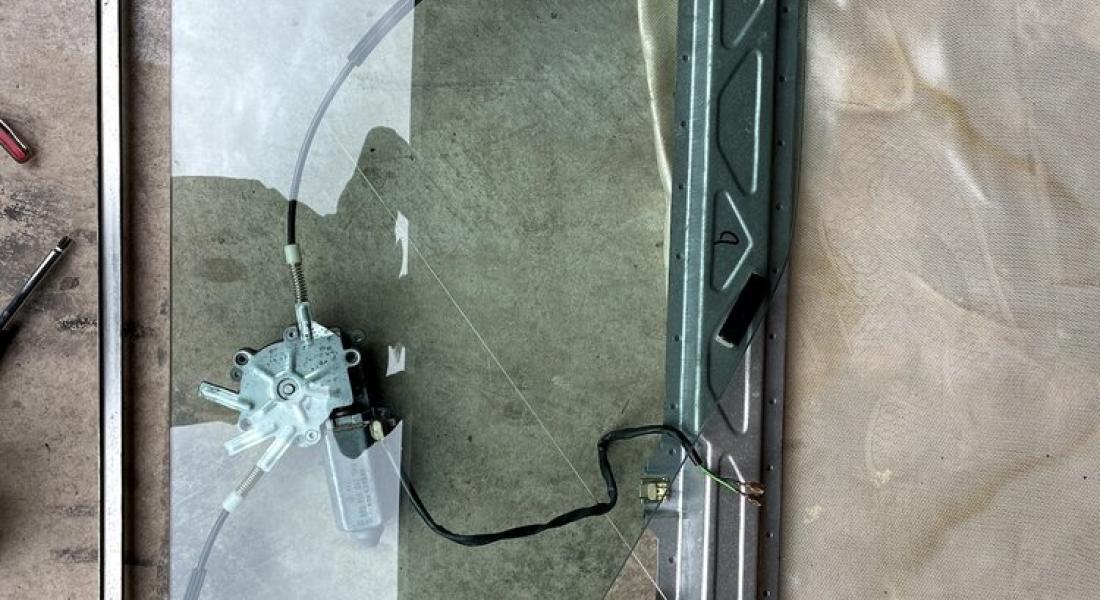
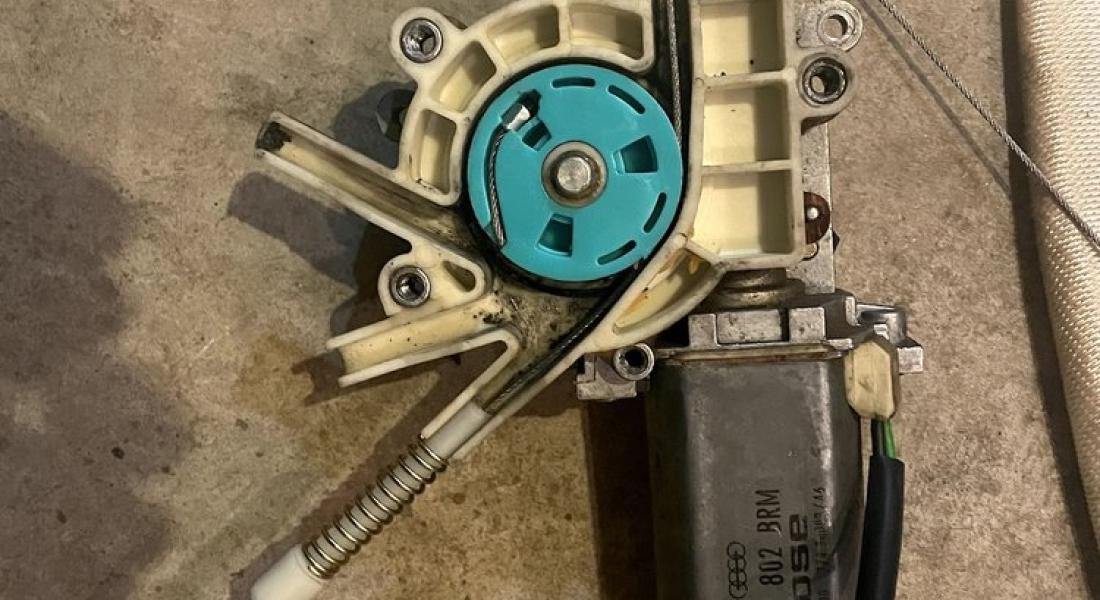
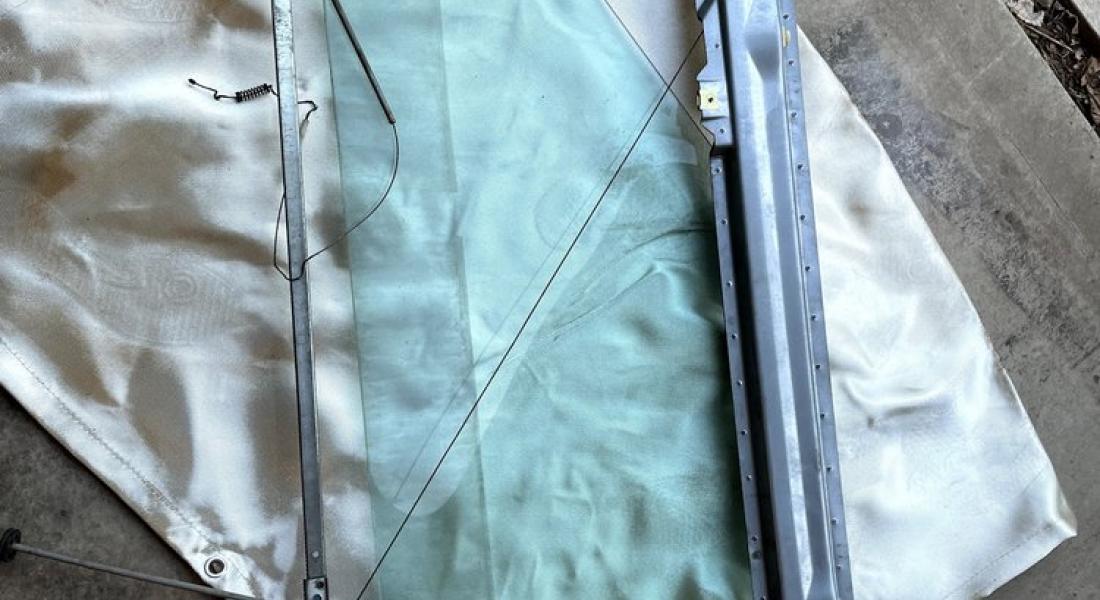
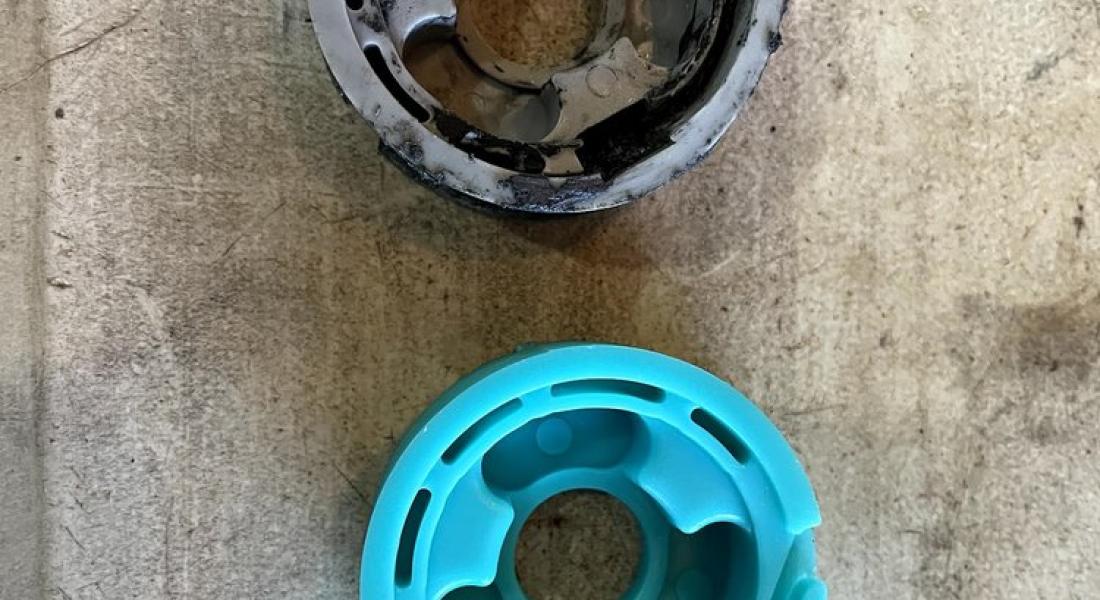
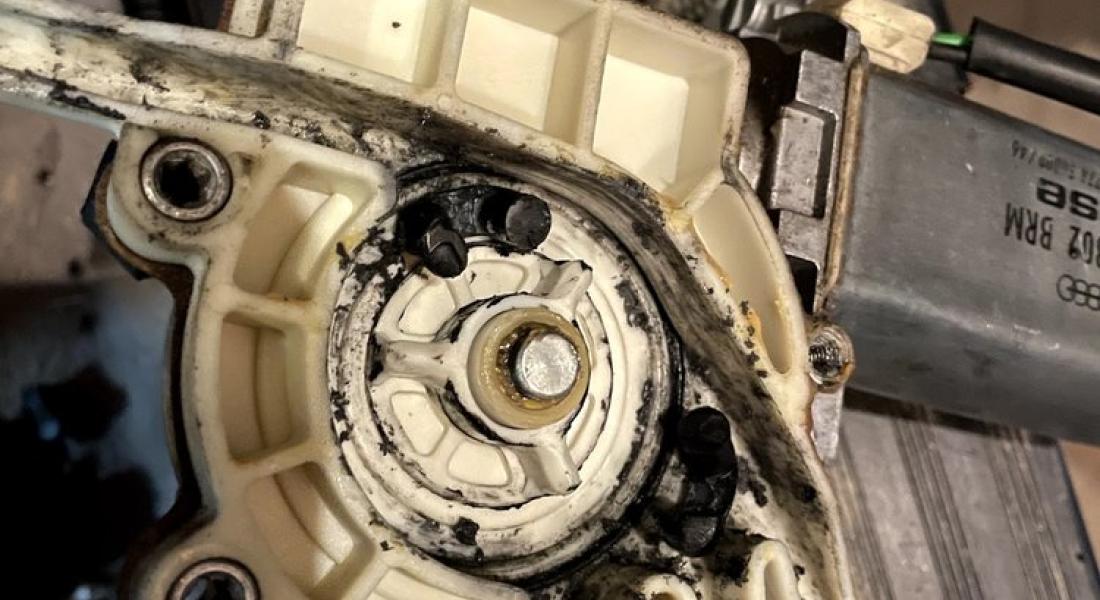
Rebuilding Audi CQ window regulators with new cables, spools, and lots of grease.
Project - More Details
Anyone who has ever owned an older VW or Audi from the 80’s/90’s knows that window regulators are essentially a wear item in these cars. The plastic teeth on the spool center strip out and the steel cables get tangled and only allow the window to roll up a few inches before retracting down again. Once this happens it puts enough pressure on the plastic plugs and starts snapping them and sucking them into the center furthering the problem. I ordered some rebuild kits from eBay Ukraine as it was impossible to find in the US. Once they finally came in I got to work on replacing them. The hardest part was trying to figure out the window path once I took it apart. That and my motor was very crusty so I had to source some spares to create a fully functioning piece. Albeit a little crunchy, my window rolls up and down now. I’m not sure if the crunch is the motor itself, the rails that the window slides on, or even the replaced parts, but that is a project once the car is operational.


Author: Henderson,
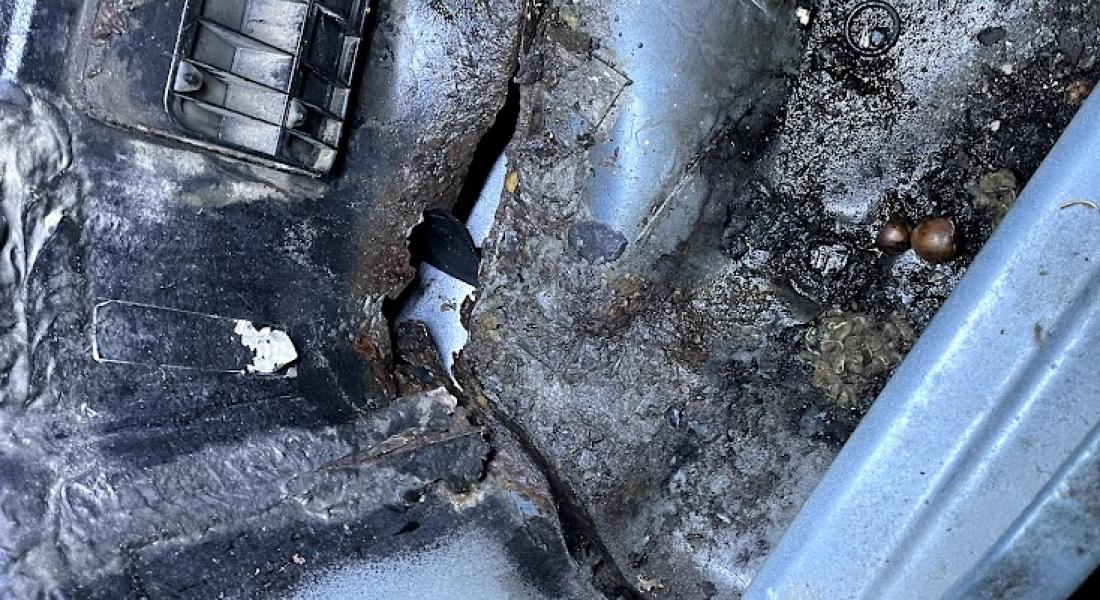
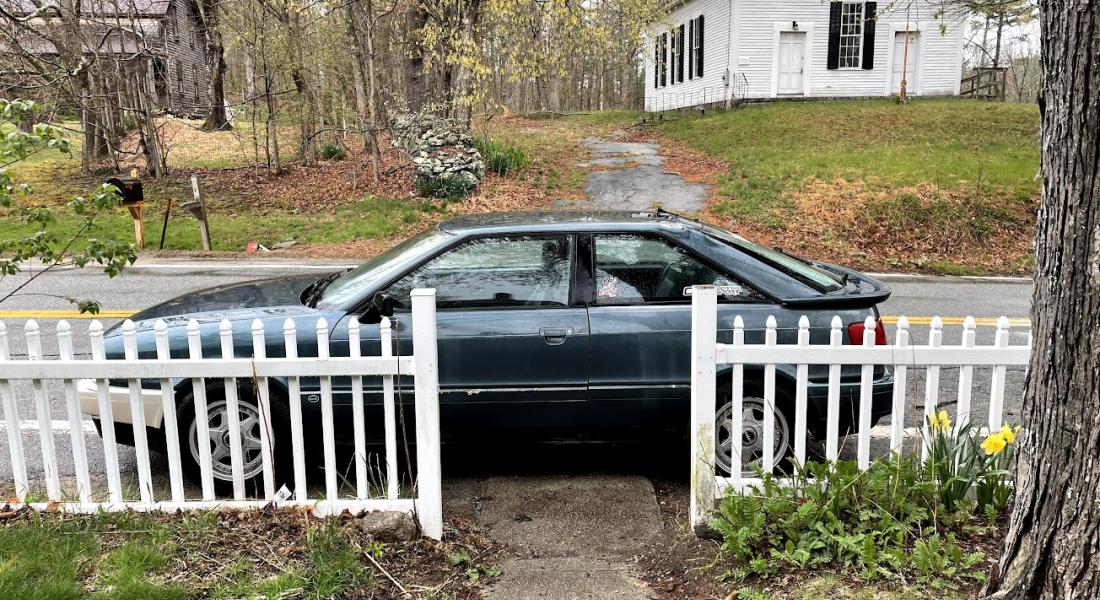
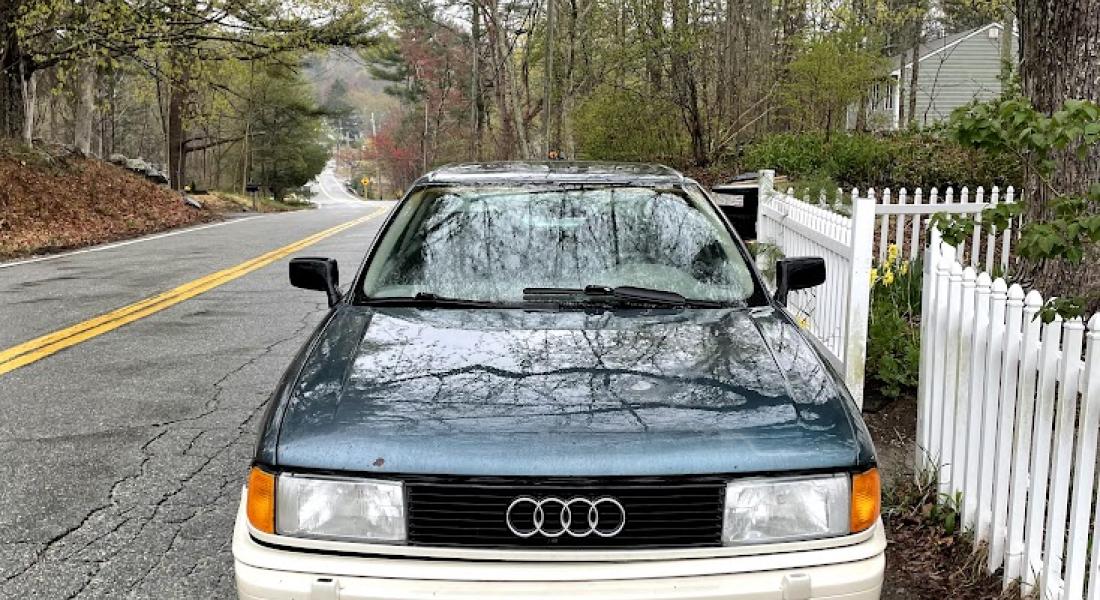
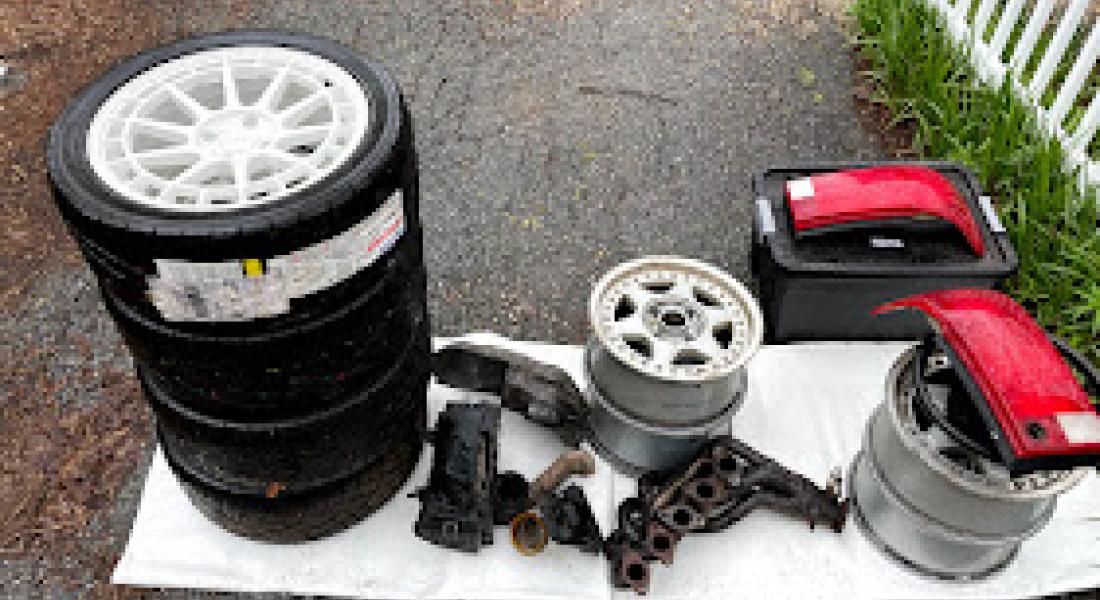
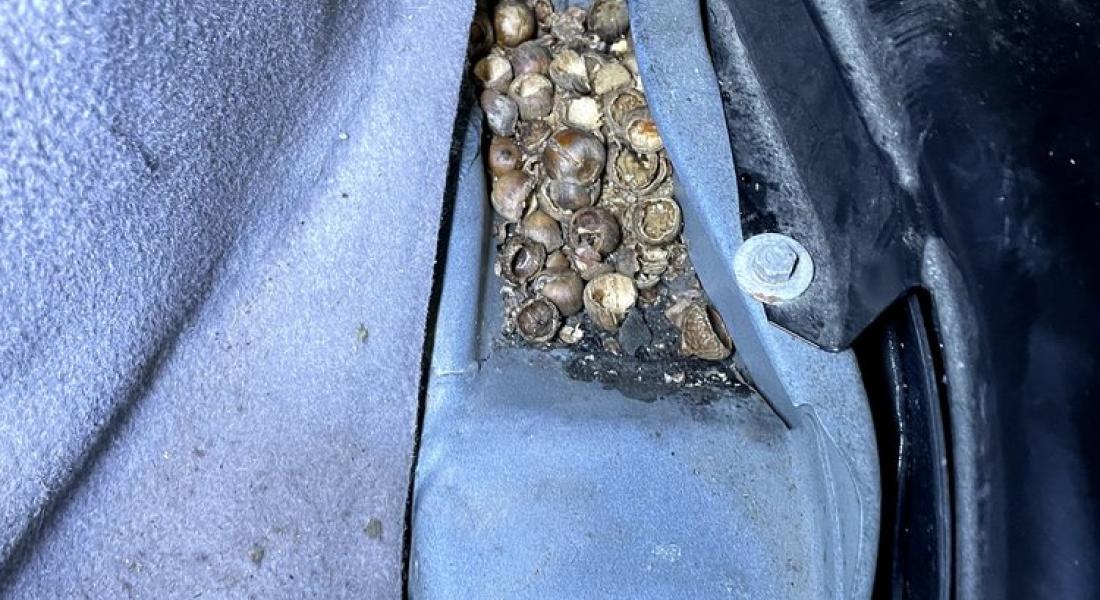
I FINALLY find a cheaper Audi CQ project that I can work on and realize how much work this will be.
Project - More Details
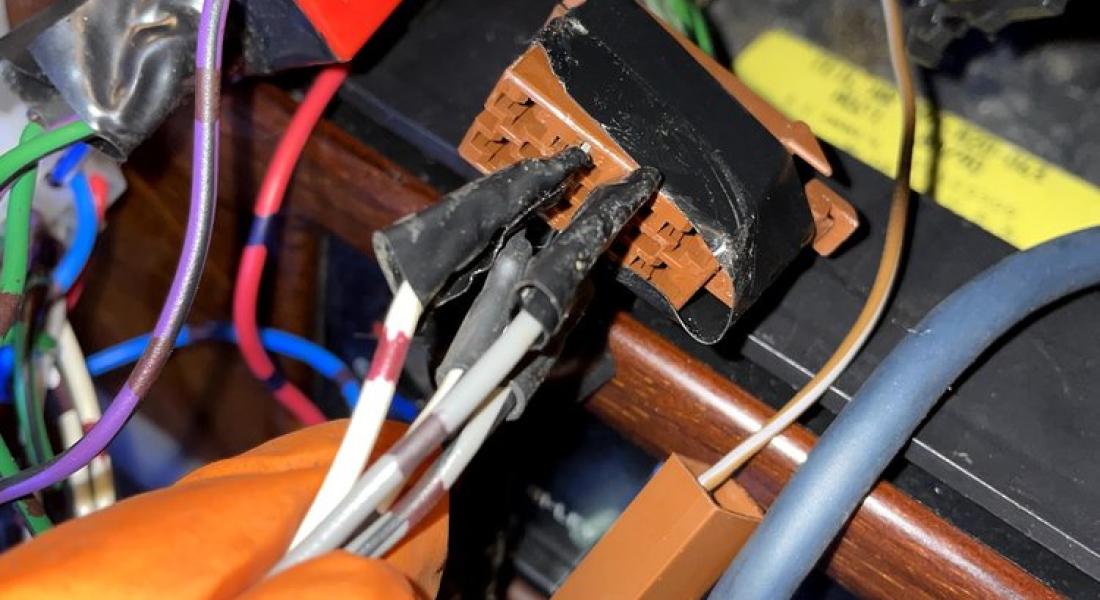
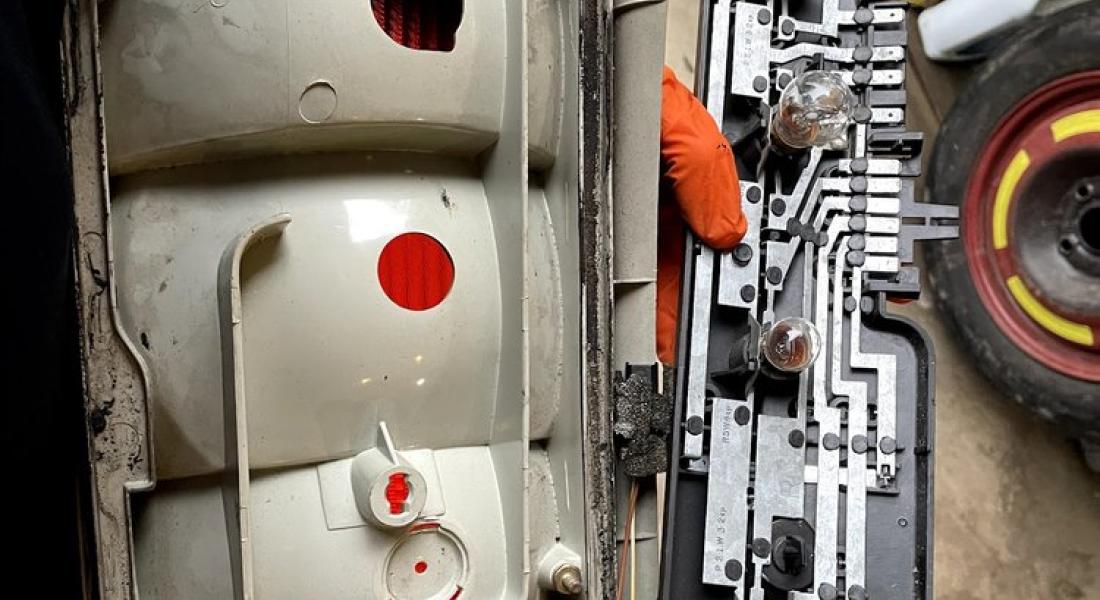
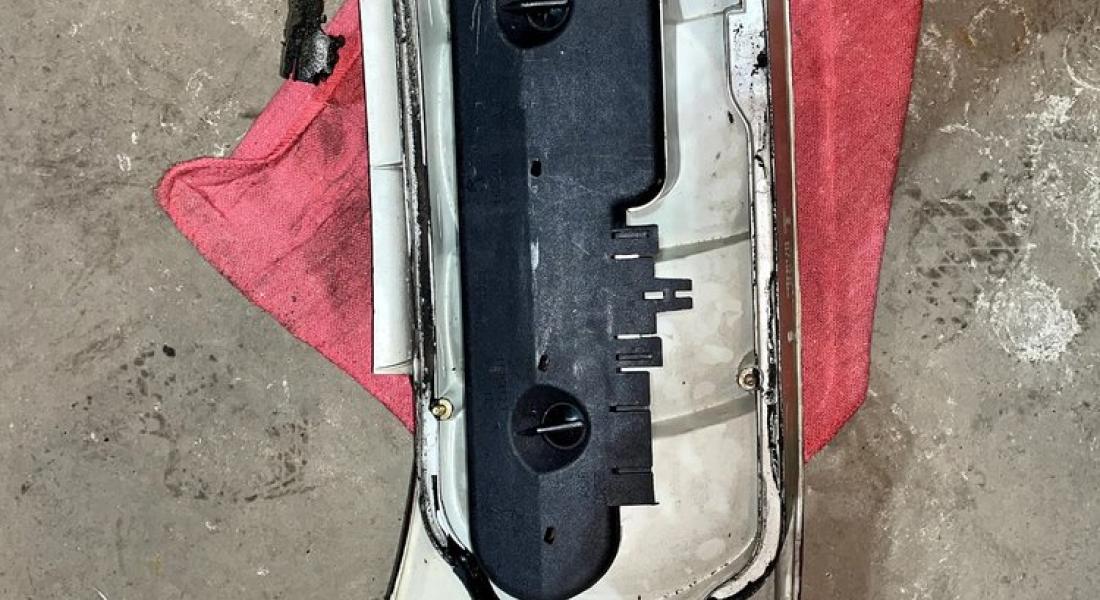
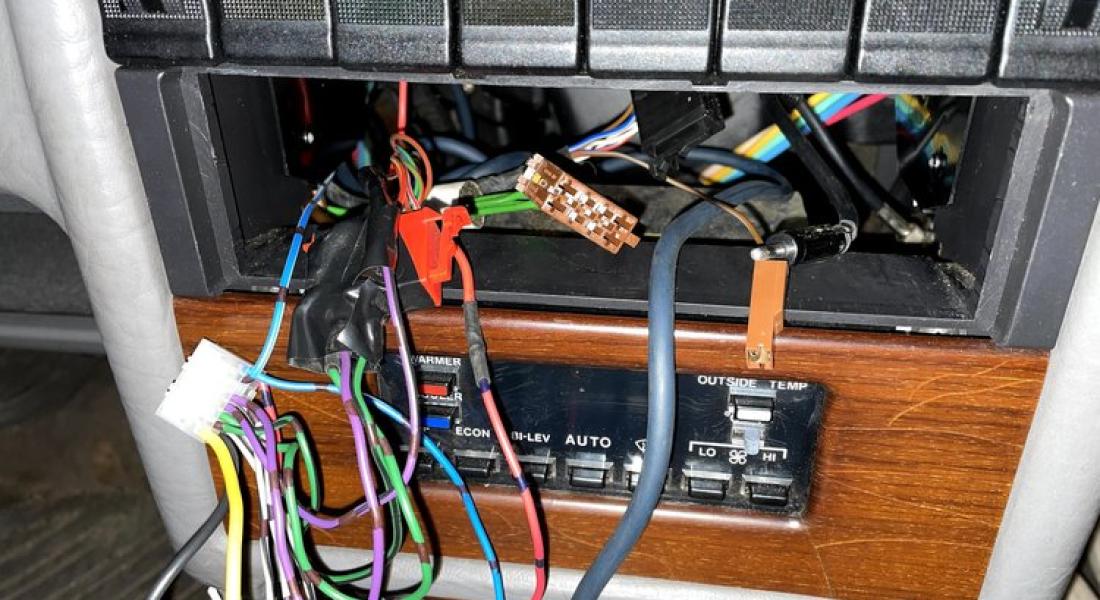
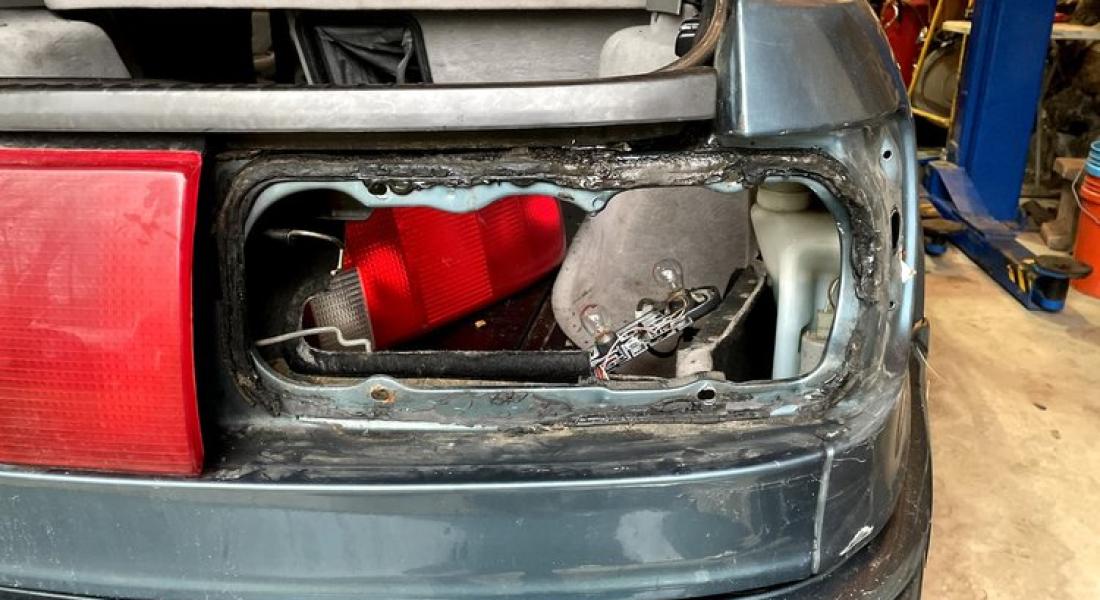
This was delivery day, but the work part of the day. This is where a friend and I tore out some of the bad carpets to find mice nests, mice in those nests, acorns, walnuts, and many pools of mud, and 30 years of who knows what else. Deeming it was dirty as could be I moved on to the tail light replacement that came with the car. Once complete, the radio took our attention as there was a mouse nest (a common theme) of mangled wires. This was where I realized the wiring in the car was going to be a nightmare. We (while not shown here) found vampire clips attached to many cables, factory wires spliced into each other, cut wires, random inline resistors, and a plethora of bad audio wiring. Looking under the hood there were a bunch of cuts and clamped off vacuum lines which look like they had been out of commission a while as the vice grips sealing them were stuck closed via rust. Lots of assessing and cleaning to come, that’s for sure.