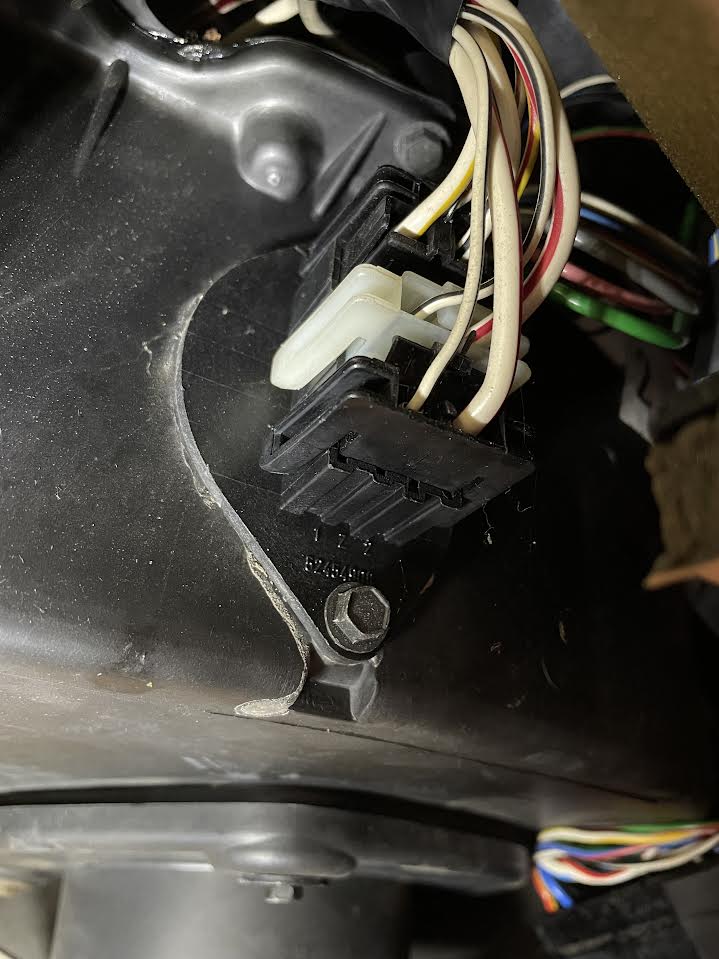
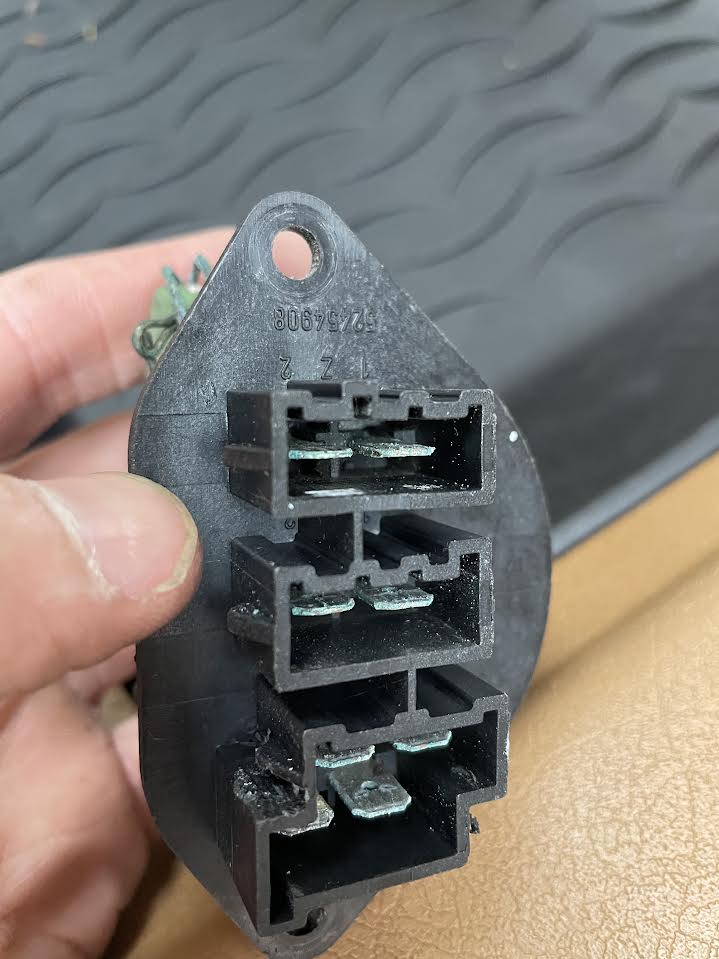
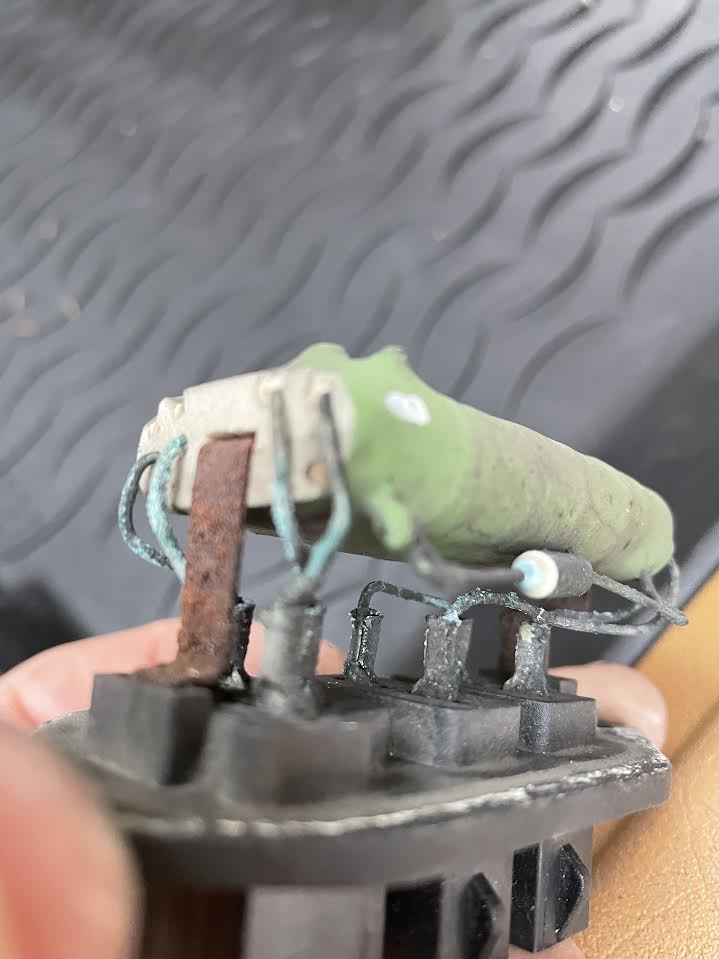
No fan operation whatsoever, at any speed. Confirmed all fuses are intact. Due to experience with this generation of Volvos, I suspected the fan resistor pack was at fault. Disassembled passenger footwell/glovebox to the point that accessing the resistor pack was possible. Removed pack and found it heavily oxidized and corroded. Further investigation proved that the thermal fuse alongside was blown completely. Took some measurements across several contacts and found some to be shorted and some reading open.
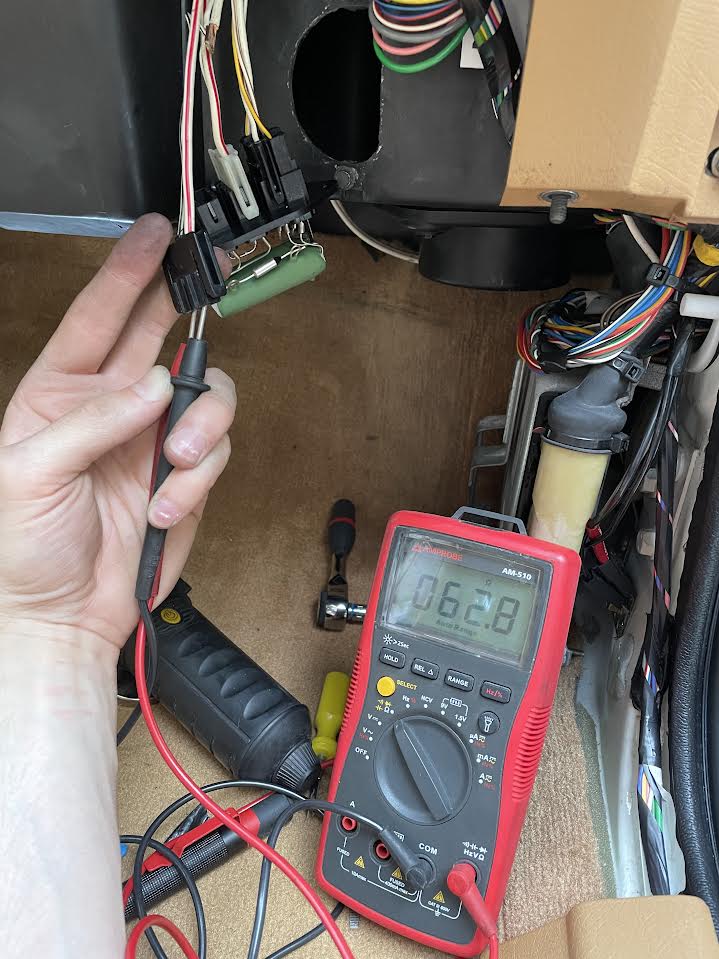
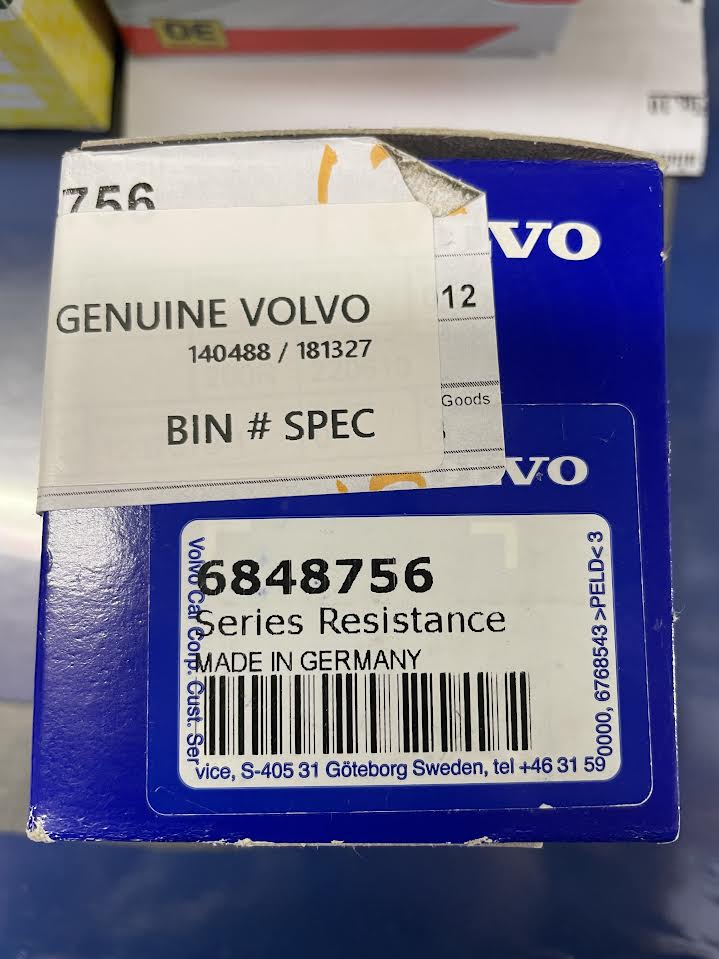
Sourced an OEM resistor pack P/N 6848756 from AutohausAZ of all places, as FCPEuro, IPD USA, VP Auto Parts etc were all out of stock. Matched resistor packs when it arrived to confirm fitment, installed new pack, and fan was still non-functional. Again checked fuse, no fault. Checked voltage to the resistor pack, found 12VDC at each resistor cluster indicating full function.
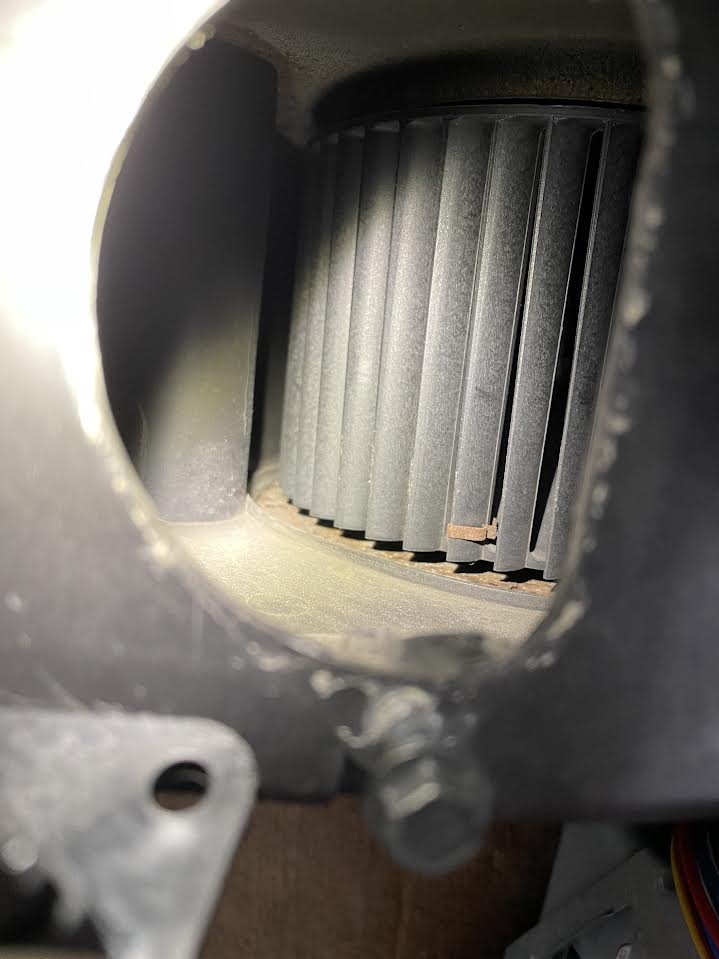
This left the fan. Identified the connector that led directly to the fan, found resistance well out of (typical) tolerance for a fan, over 100ohms. I managed to stick a finger into the blower box, touching the fan. Found it to be "lightly" seized but broke it free with some gentle back and forth and got it spinning, though very grudgingly. reconnected resistor pack and fan, tried again now that fan had broken free, still no movement. Again checked fan resistance and found it high and intermittent, reading resistance while I spun the fan with my finger. Time to pull it out...
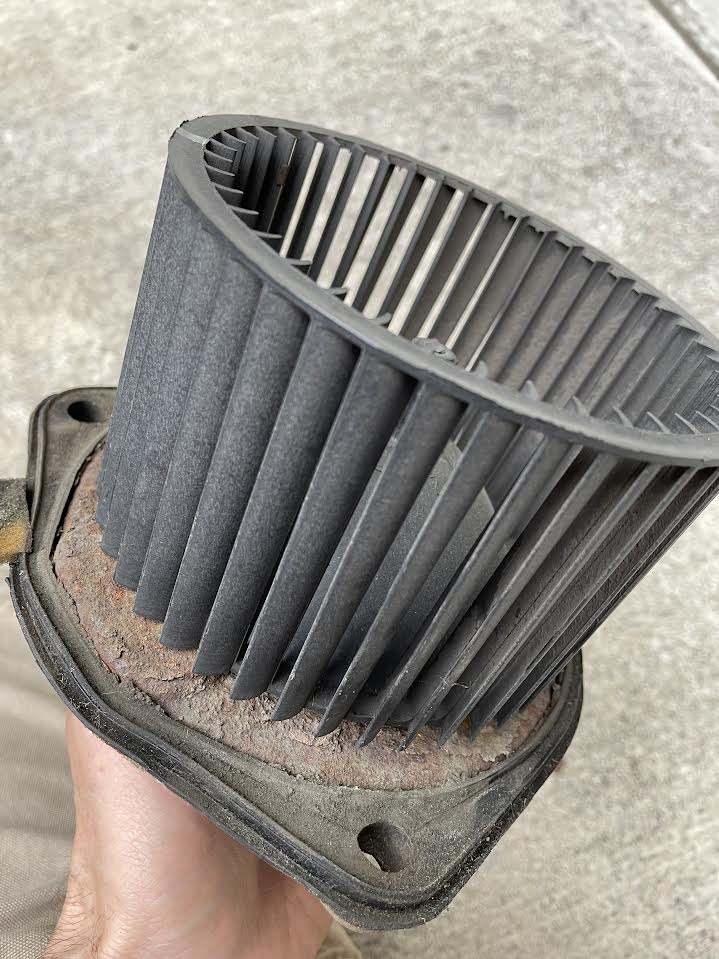
Got the fan out and found it to be heavily corroded. Oscar spent his first 15 years in CA and likely spent a lot of time with the fan at full blast and A/C on, before coming to the west side of WA where he lived until recently. Hot and dry followed by humid and cool, not a great recipe. Especially after sitting for what may have been the last few years. Took the chance while it was all disassembled to clean out the heater core and box and stuck some tubing into my shop vac to make a maneuverable and precise vacuum attachment.
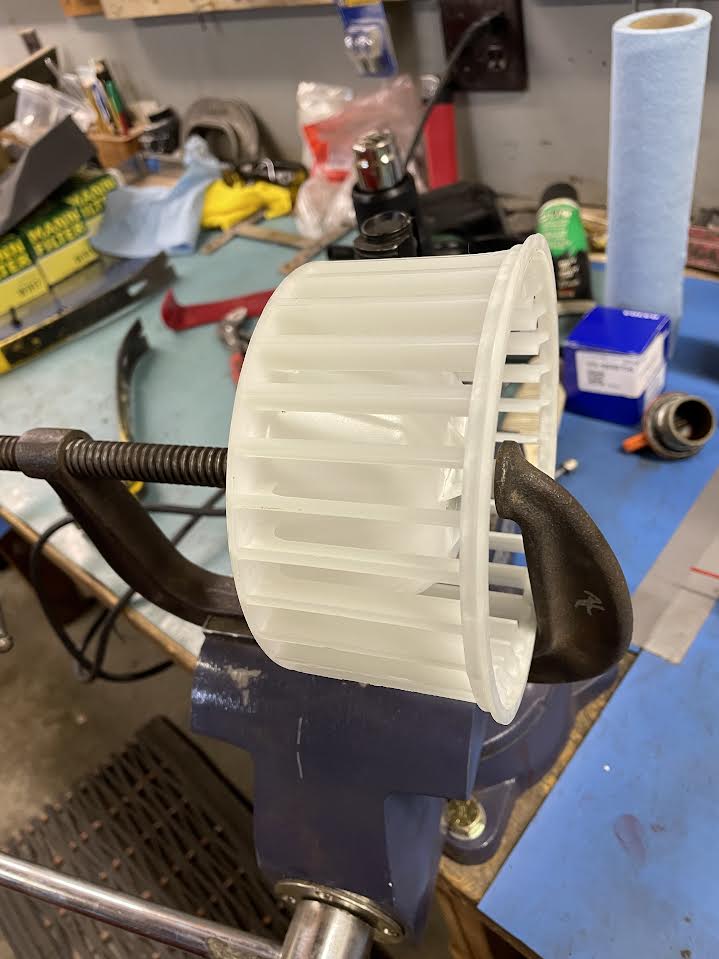
Sourced a fan from my LAPS surprisingly, not the quality I'd like to seek out but new and warrantied. Inspected the fan and compared it to the original in the car, satisfied myself, and drove home. Went right into the garage, prepped everything for install and found that somehow in that 5 minute drive, the hamster wheel (different material and dimensions from the original) managed to crack at the hub. Grrrrr.....
Increasingly frustrated and impatient, I popped off the cracked fan, went through my C-clamp collection to find one that fit just right, wicked some glue into the crack and sought to get it clamped as square and flush as possible, pretty close to square according to my eyechrometer.
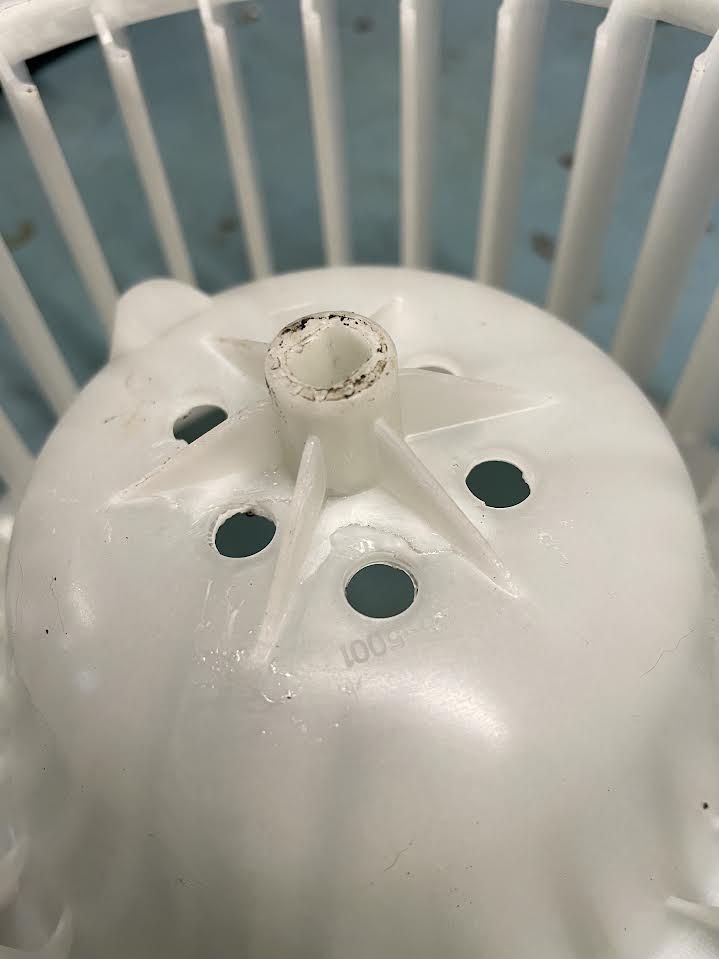
While that sat and cured (gave it a full 18 hours or more, against my will) I entertained myself by trying to get the old hamster wheel onto the new motor. It was more or less doomed from the start as the shaft was a different diameter, different thread, different height, but I fiddled with it for a bit while I was waiting and even got it seated and flush, only to discover that it was now too tall to fit into the heater box.
The next day, I was relieved to find that the glue held and it had squared up pretty well. I mounted it back on the motor, got everything reassembled, and wired it up for a dry run sitting on the floor. Success! Worked on all speeds and ran smooth and quiet. Gathered up hardware, applied foam tape to all the gaps and seals, buttoned it all up, ran it for a few minutes on hot and cold, and did the final tidy-up and trim assembly.